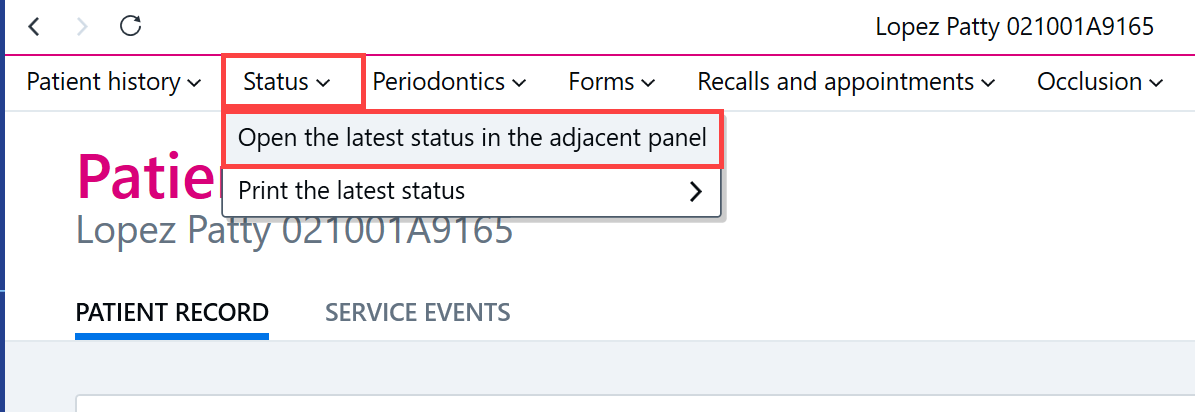
The Status view can be accessed from the Status button at the top of the patient record by clicking Open the latest status in the adjacent panel. In order to open the status for the first time, the visit must first be opened.
Creating entries
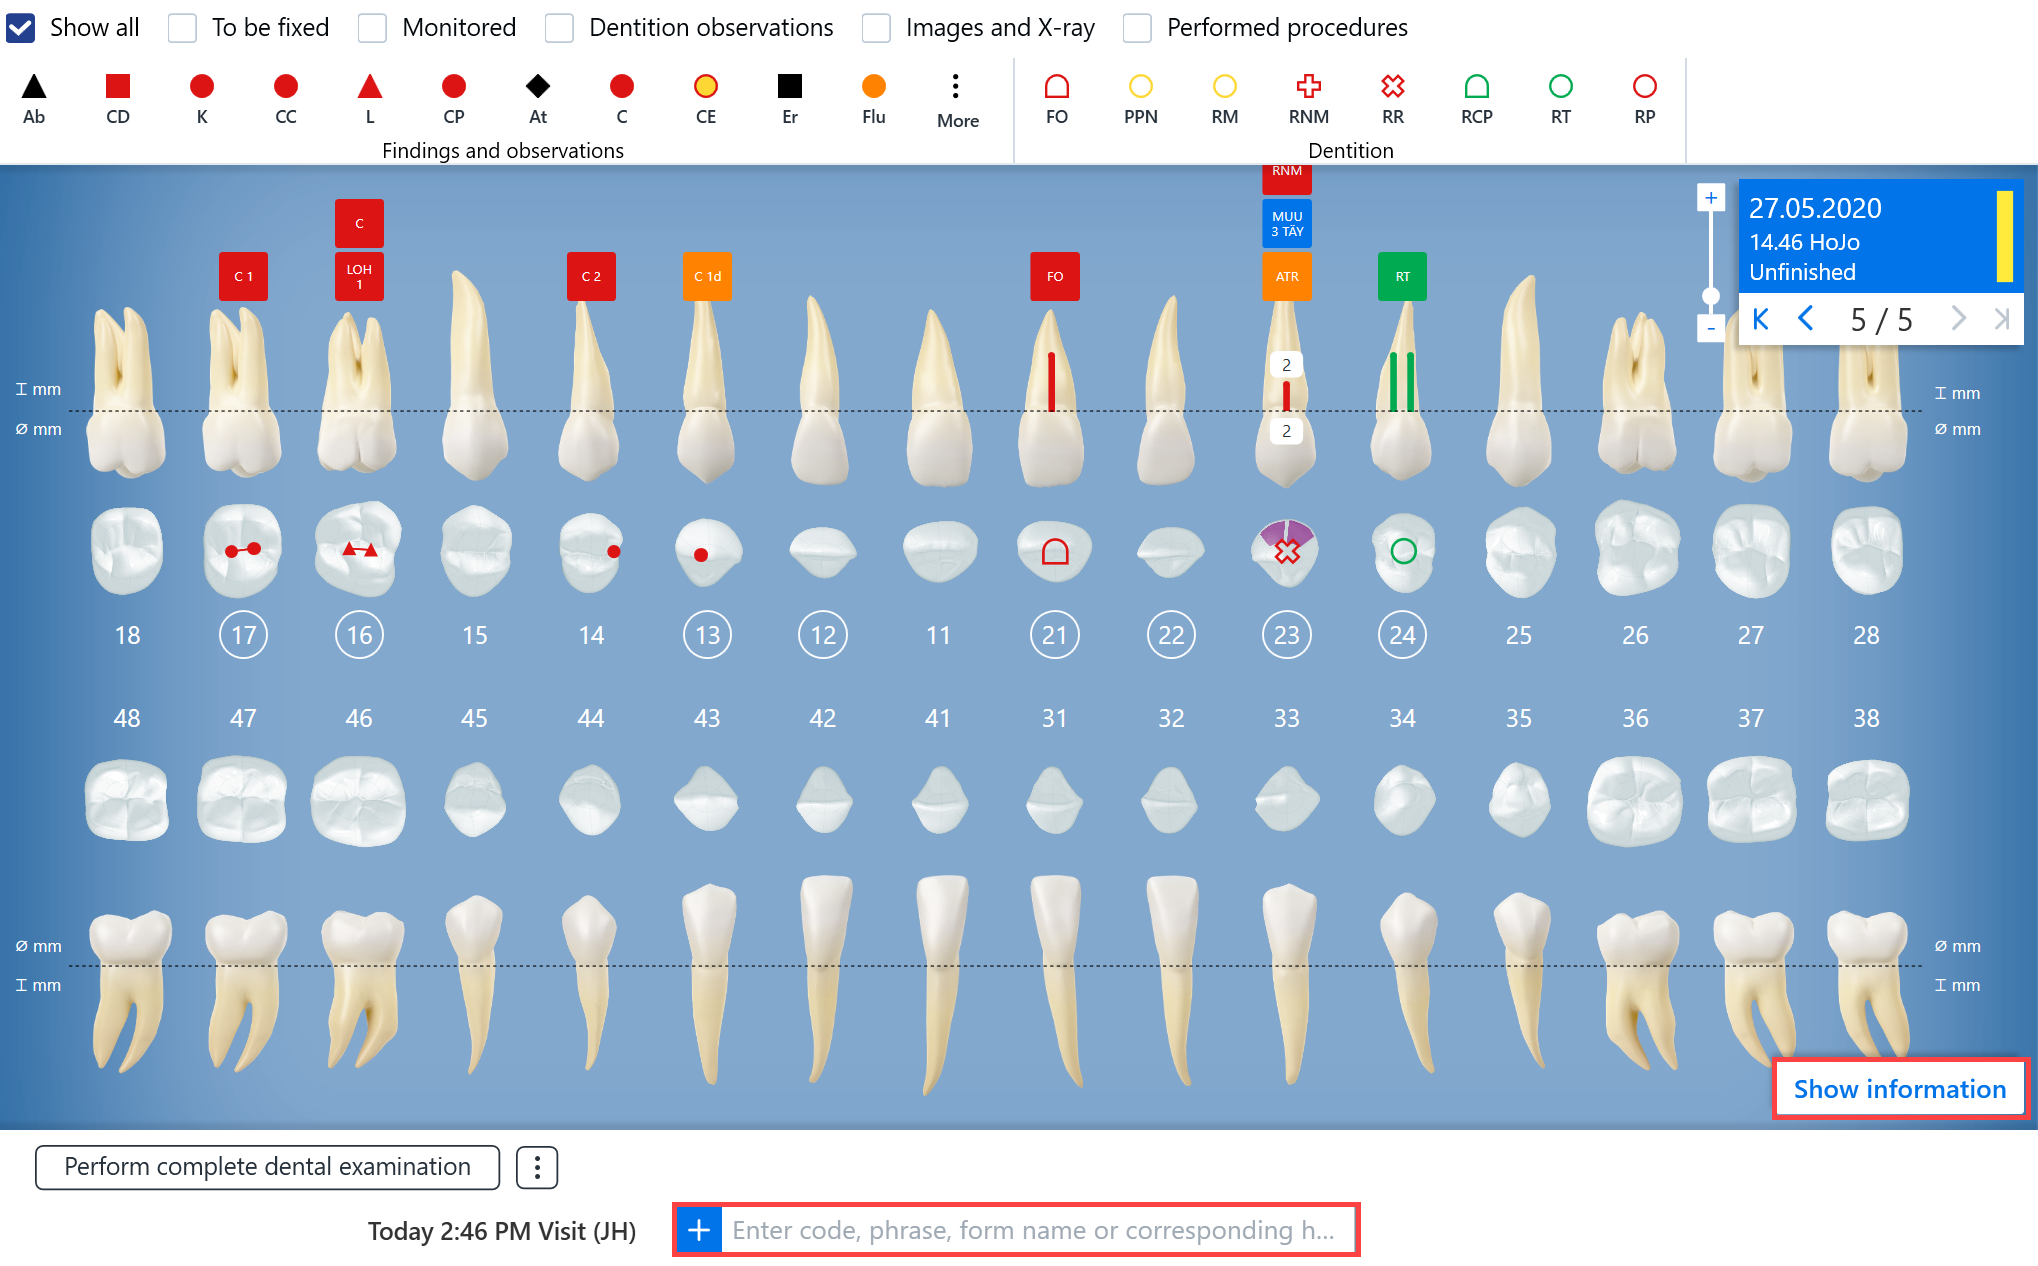
Observations can be recorded in the status, for example by using the quick entry field. The acronyms for the most common observations can be found here.
If you also want to record procedures, for example, you must either remove the restriction from the status quick entry field or use the patient record quick entry field.
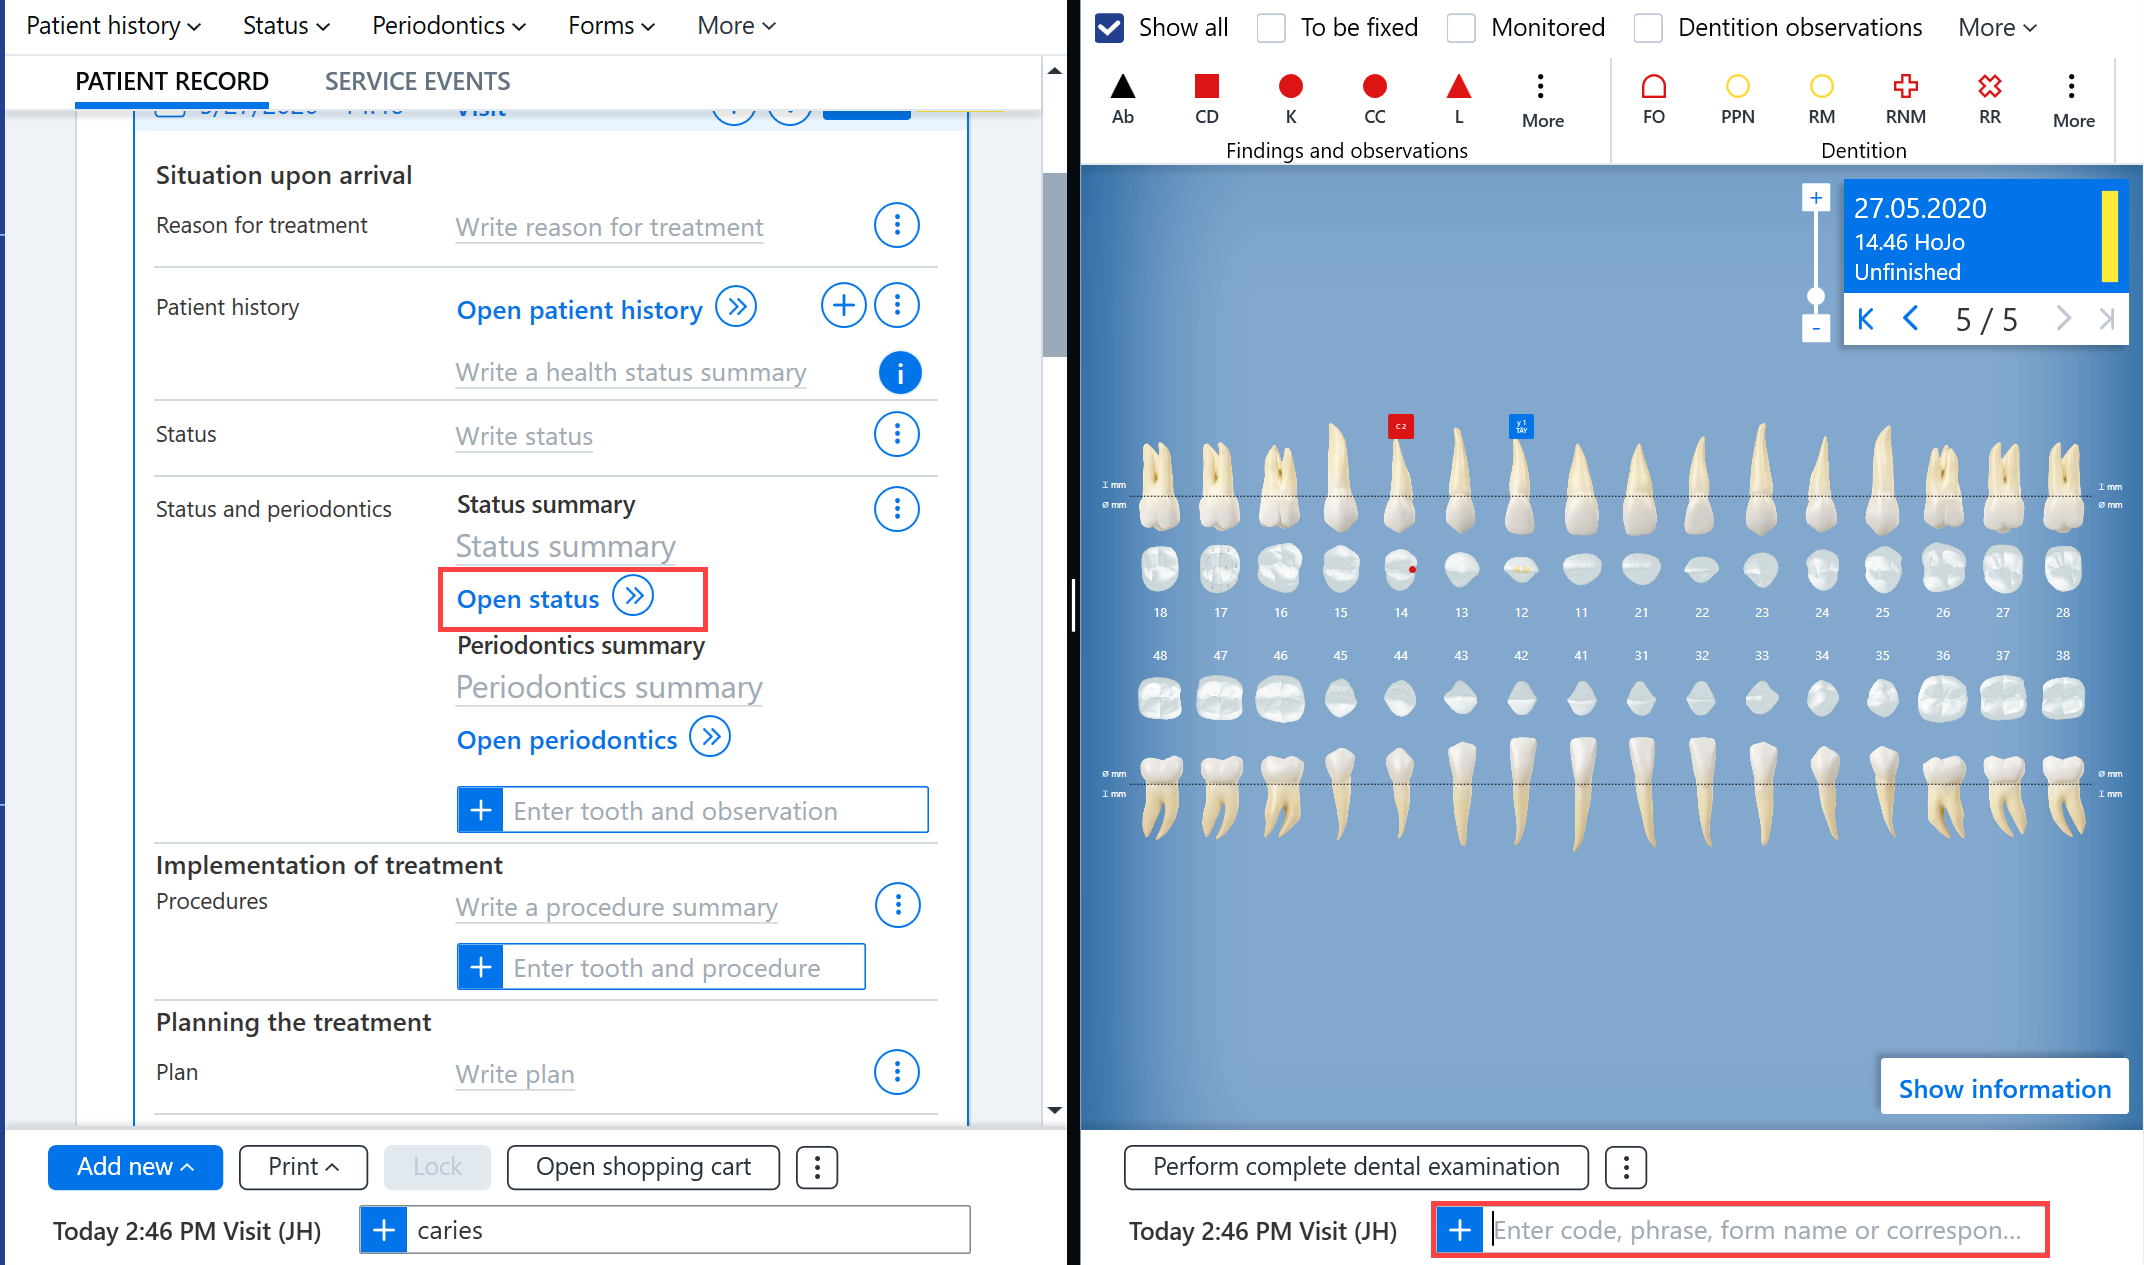
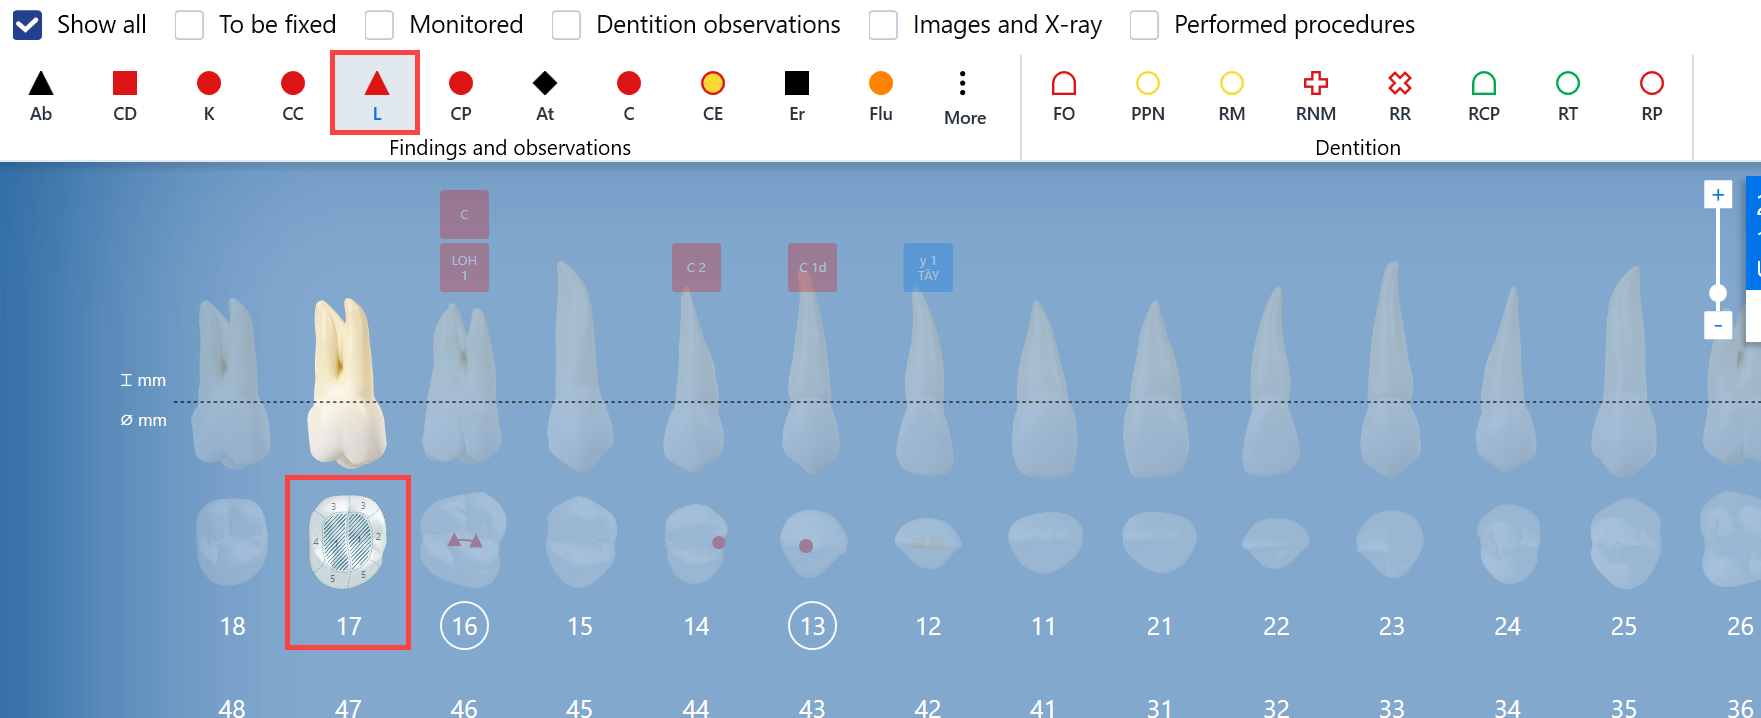
Entries can also be added by first selecting the surfaces of the desired tooth and then selecting from the top the desired observation for the surfaces. All entries made in the status are saved immediately and are also visible in the patient record.
Editing entries
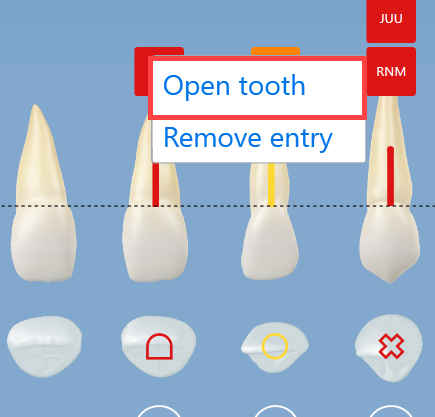
Tooth entries can be added by clicking on the entry boxes displayed in the status and selecting Open tooth.
In the tooth card that is displayed, you can edit the tooth information and add entries using the + button.
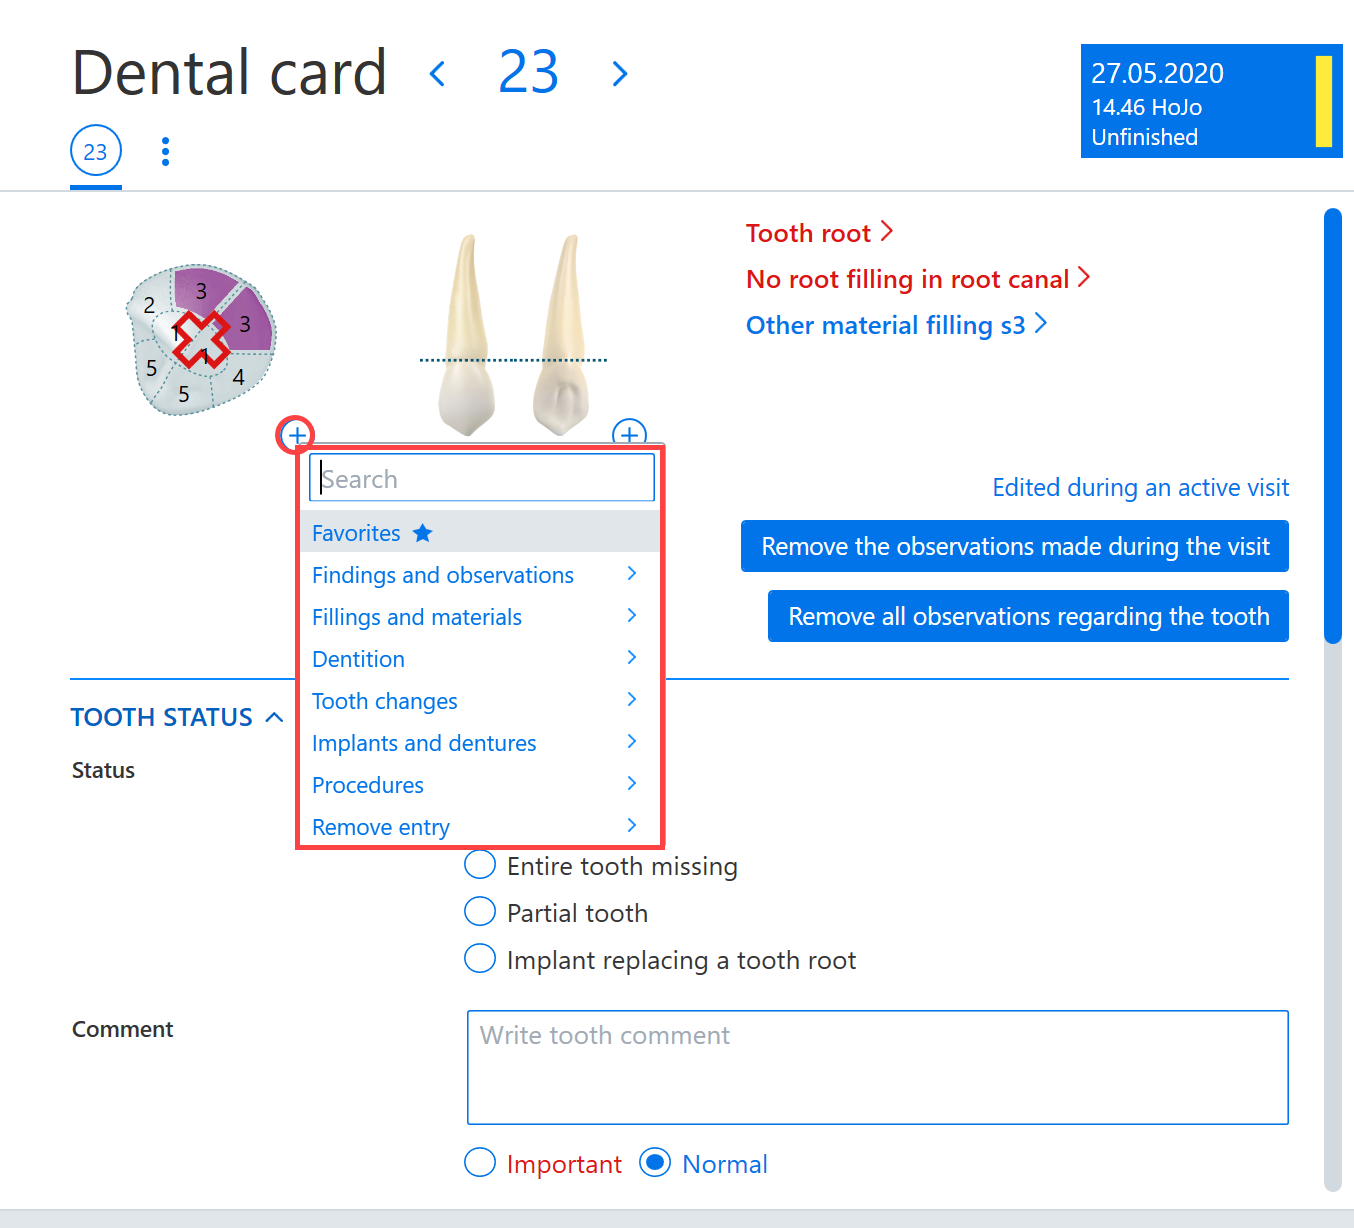
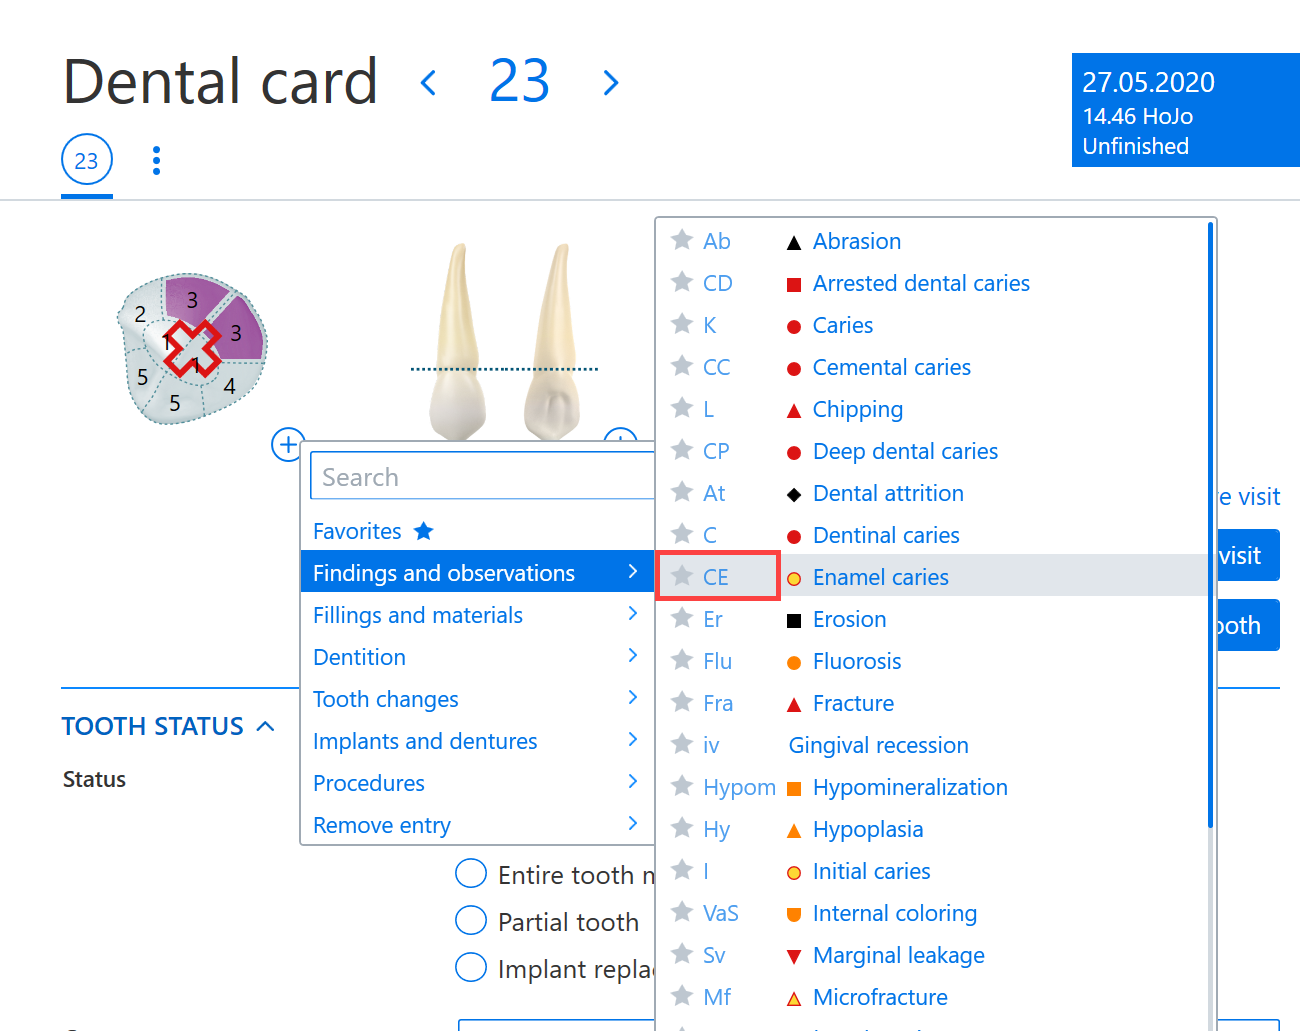
The list that opens from the + button allows you to assign favorites by placing an asterisk in front of them.
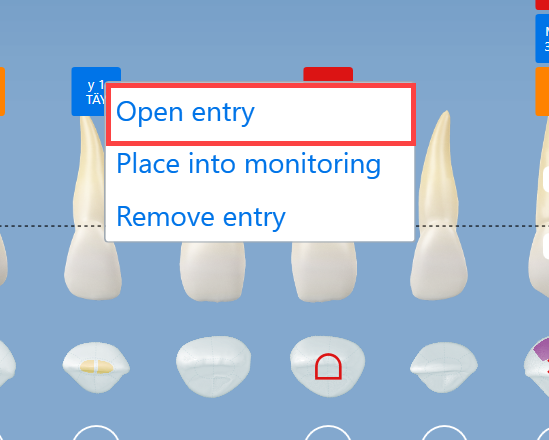
By clicking on the Open entry button in the status options, the entry can be edited in the dialog box that opens.
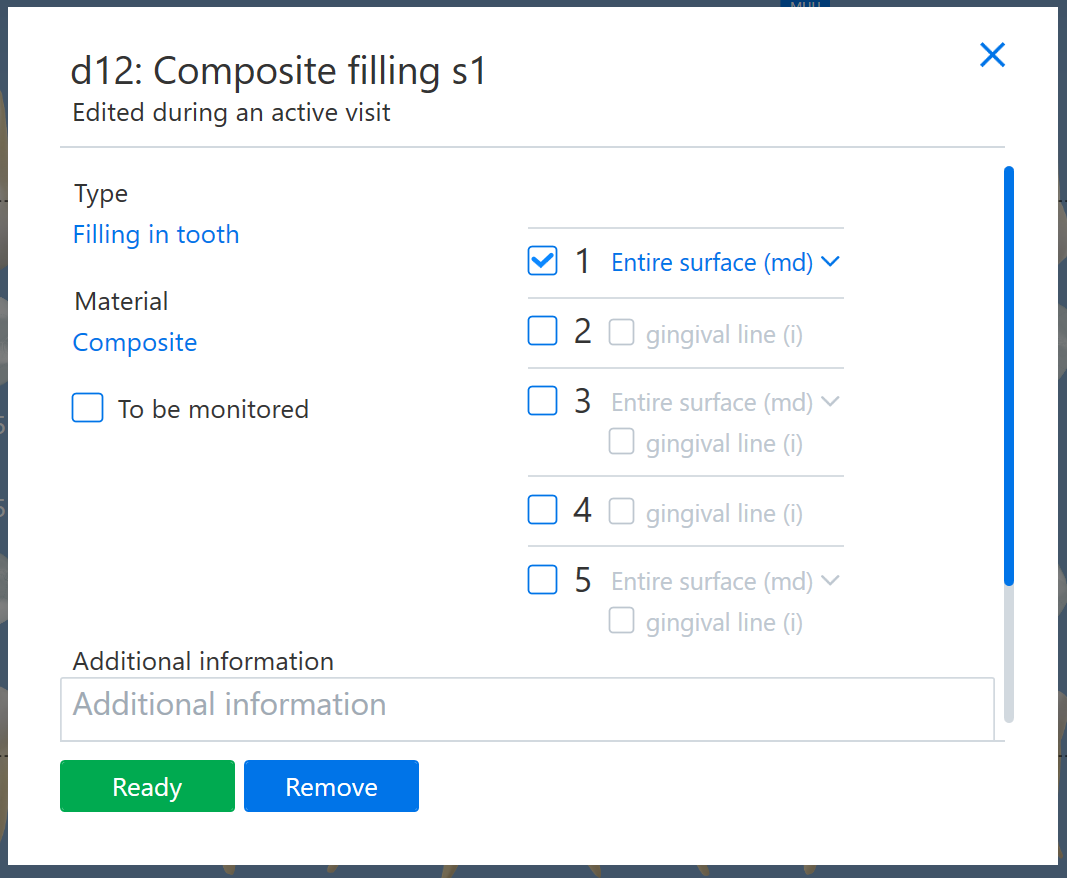
Finally, you can accept the changes by clicking Ready or remove the entry by clicking Remove. Additional information can also be added in the Additional information section.
CPI and dental arch summary
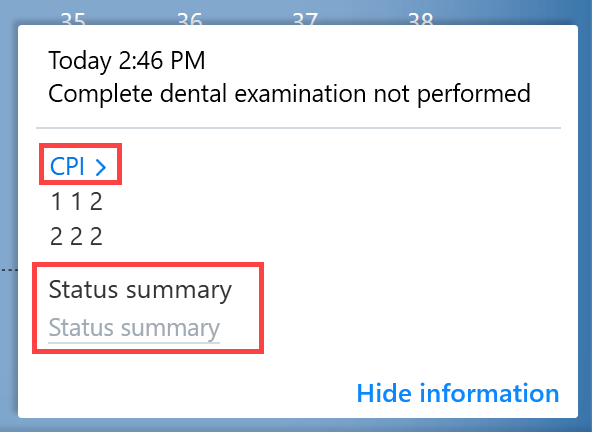
The CPI can be added using the quick entry field. The CPI entered can be viewed by clicking Show information.
The CPI is recorded in the quick entry field by entering the quick entry command CPI followed immediately by the desired values. The valid values are: 0-4 and x. Six values must be provided before the data can be saved, e.g. cpi10234x
The CPI can be edited by clicking on CPI or by adding a new value using the quick entry field.
The dental arch summary can be recorded in the dental arch view. This summary is also updated to the patient record.
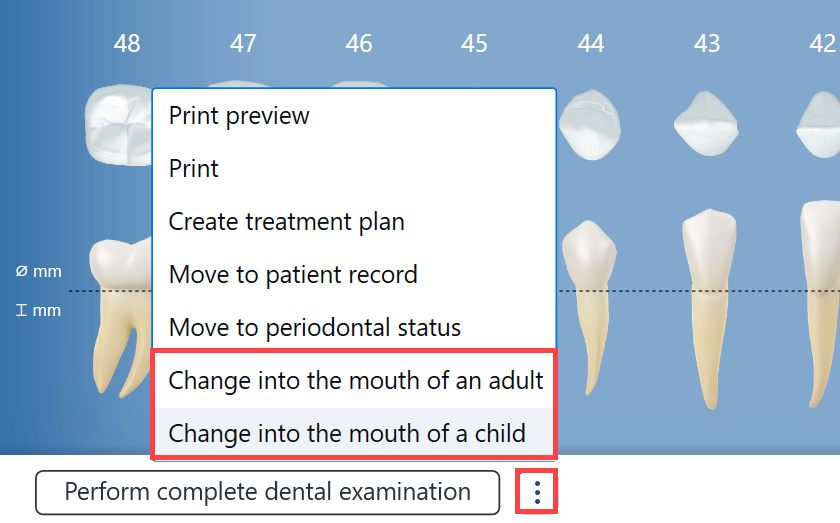
Changing status to child or adult
To quickly change the status to that of a child or adult mouth, click the Additional functions button and select Change into the mouth of a child or Change into the mouth of an adult.
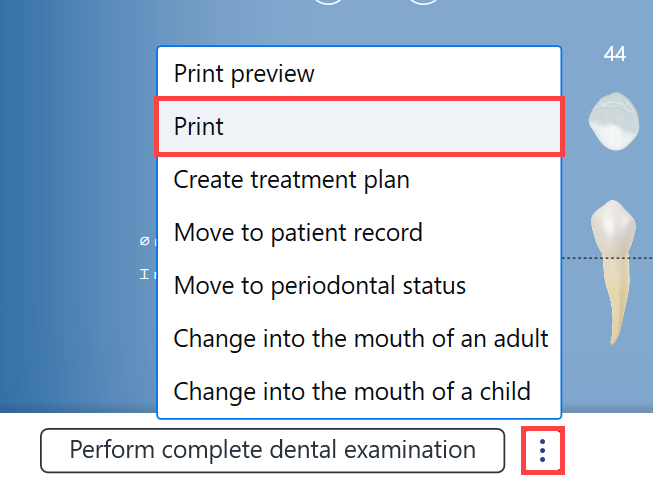
Printing status
The status can be printed by clicking the Additional functions button at the bottom of the status view and clicking the Print button. Note! Only the statuses for your own register controller can be printed.
Explanations of the status markings can be found here.