Before processing and sending recalls, you can also attach appointments to them.
You can access your recalls from the homepage.
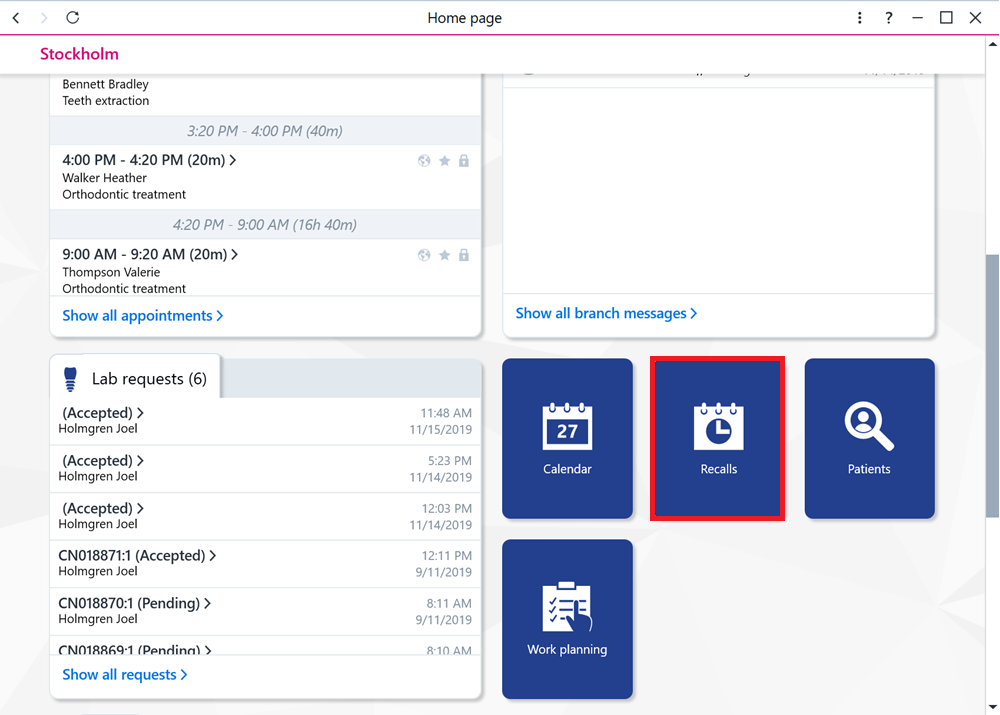
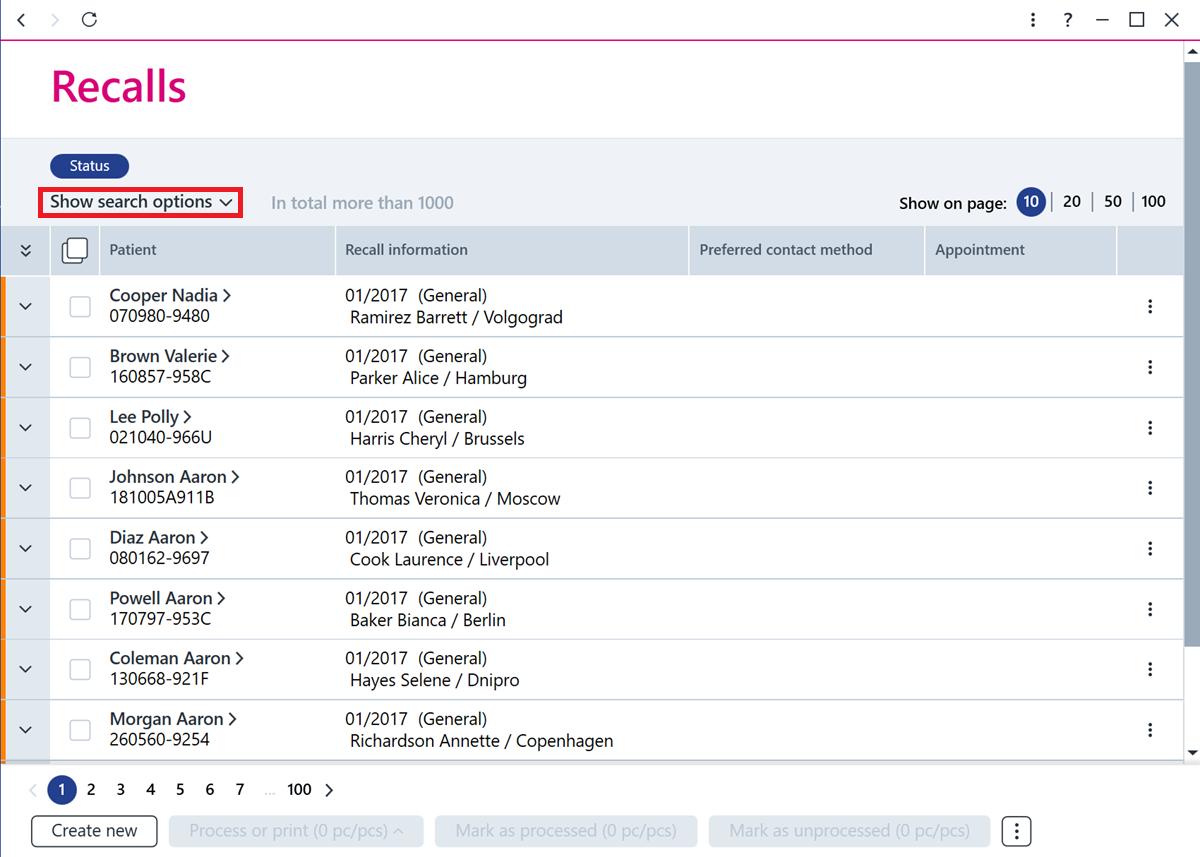
Next, search for the recalls that you want to process.
This is done using specific search criteria. For example, the listed recalls can be filtered by clinician, recall status, and date.
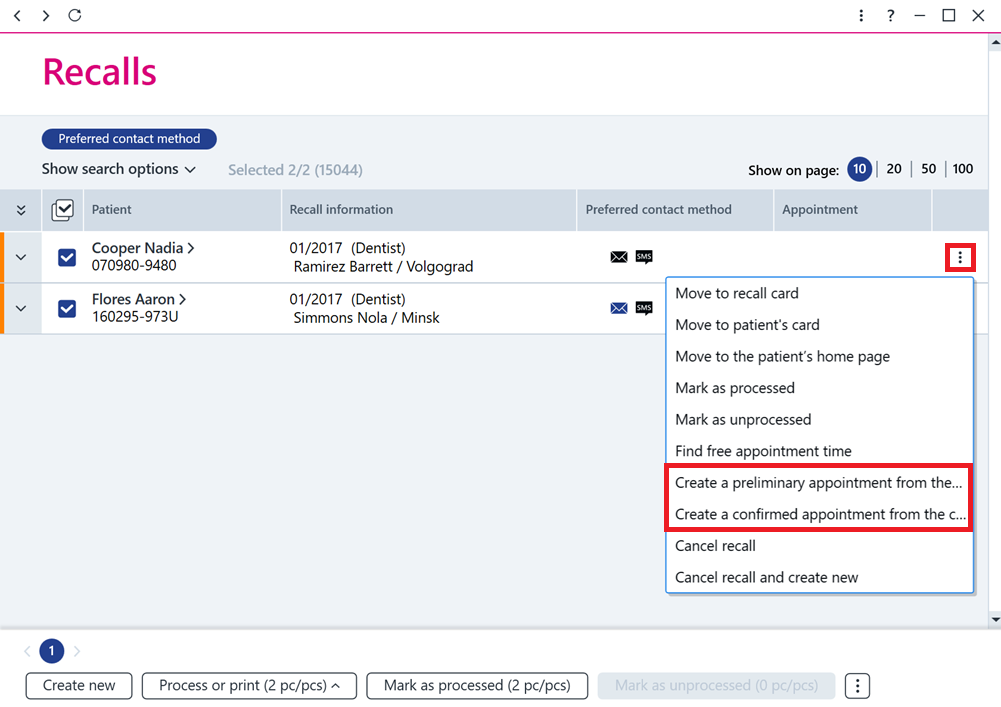
Click on the Additional functions button at the end of the recall row and select either Create a preliminary appointment from the calendar or Create a confirmed appointment from the calendar.
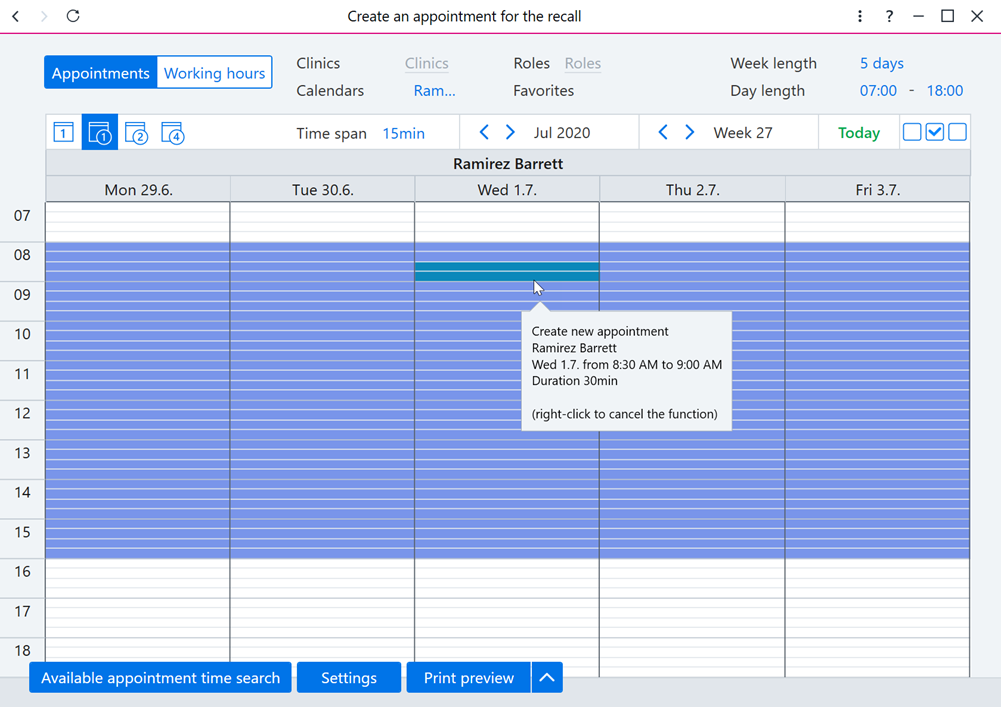
The program will now switch to the calendar of the clinician mentioned in the recall and display the month selected for the recall. Drag the mouse to select the appointment time in the calendar.
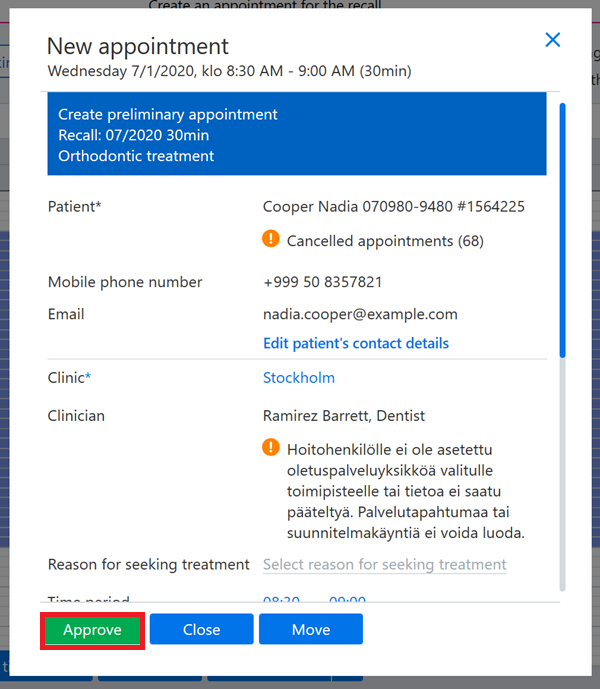
An appointment dialog box will open up for the selected appointment time. Make sure that the information in the dialog box is correct and, if necessary, modify the confirmation and reminder note settings for the appointment.
If a preliminary appointment was created on the basis of the recall, the Preliminary appointment option is automatically added to the appointment dialog box.
Once you have confirmed that the information is correct, click Approve.
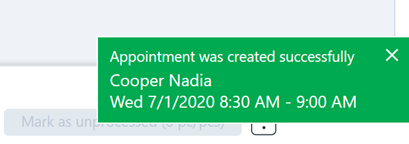
When the appointment has been approved, you will be automatically returned to the recall register. A message will appear at the bottom stating that the appointment has been successfully created.
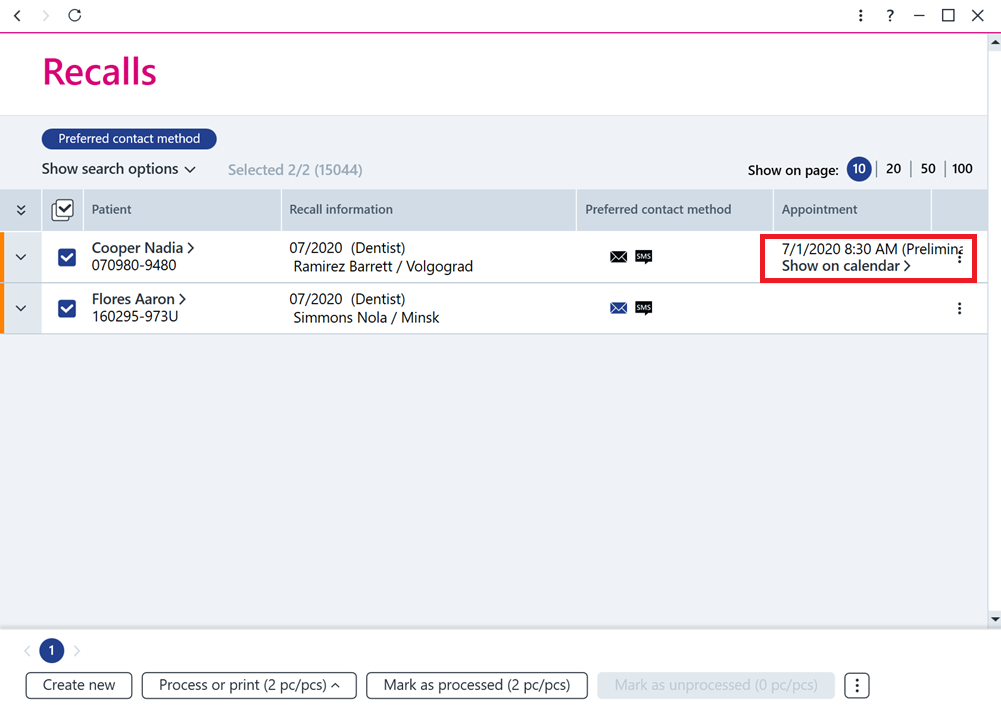
The appointment is now displayed in the recall row.
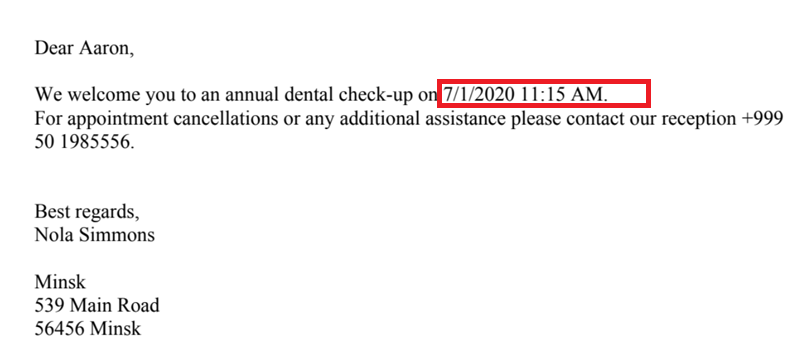
When an appointment is attached to a recall and the recall is still in process, the appointment is automatically displayed for the recall if the message variable connected with it has been used in the recall class model, such as [aikapvmklo].
Instructions for recall message settings and message variables.