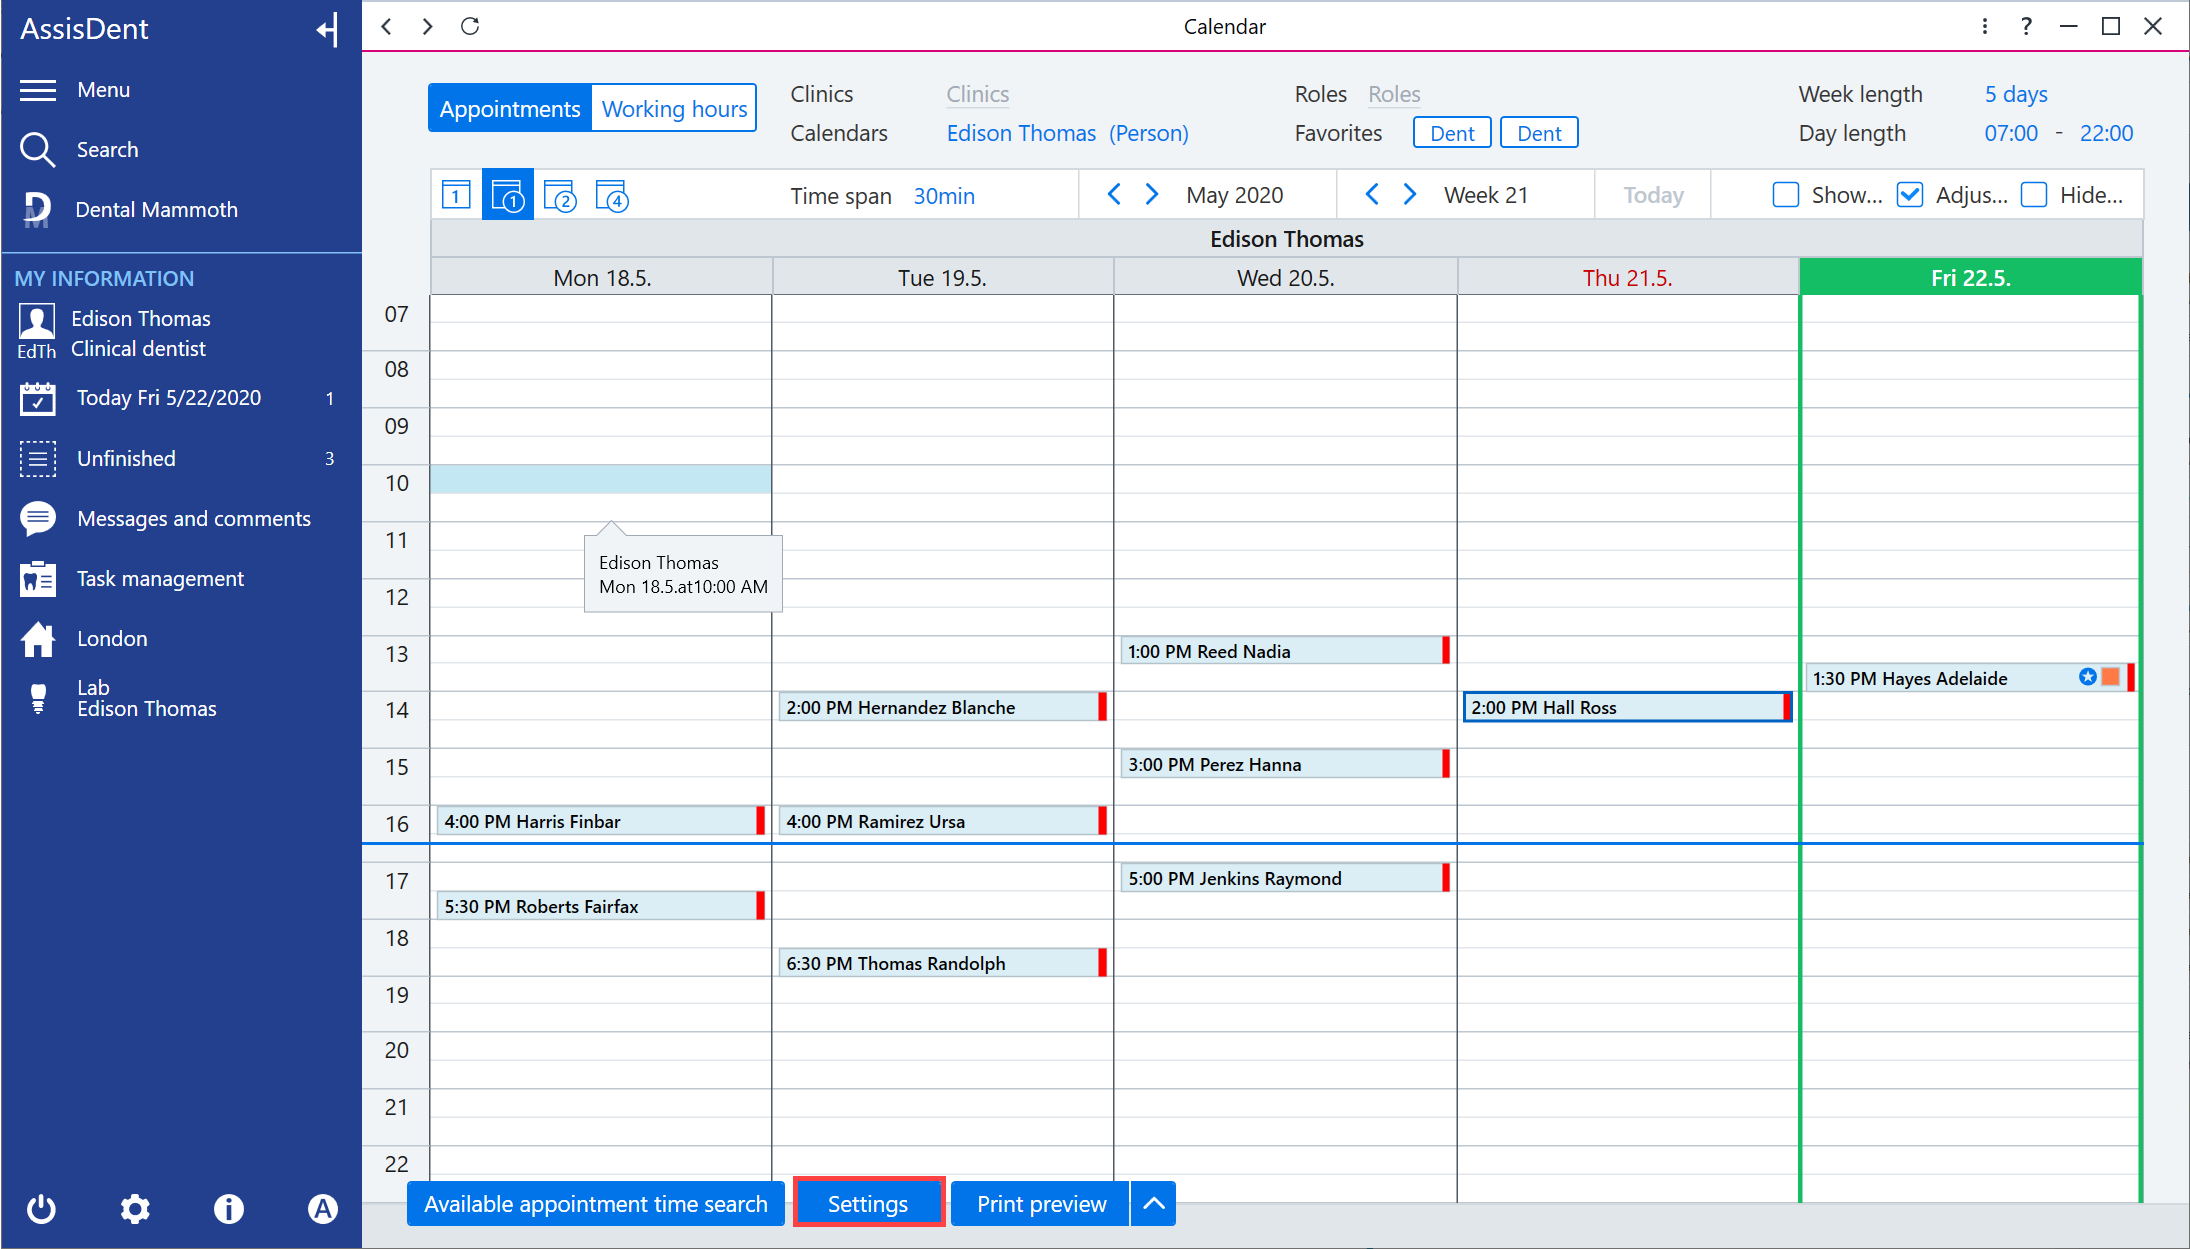
You can add quick filters to the appointment calendar for quickly and easily filtering certain appointment resources. Quick filters are user-specific; they are not visible to other users.
Quick filters can be edited by selecting Settings on the bottom of the calendar.
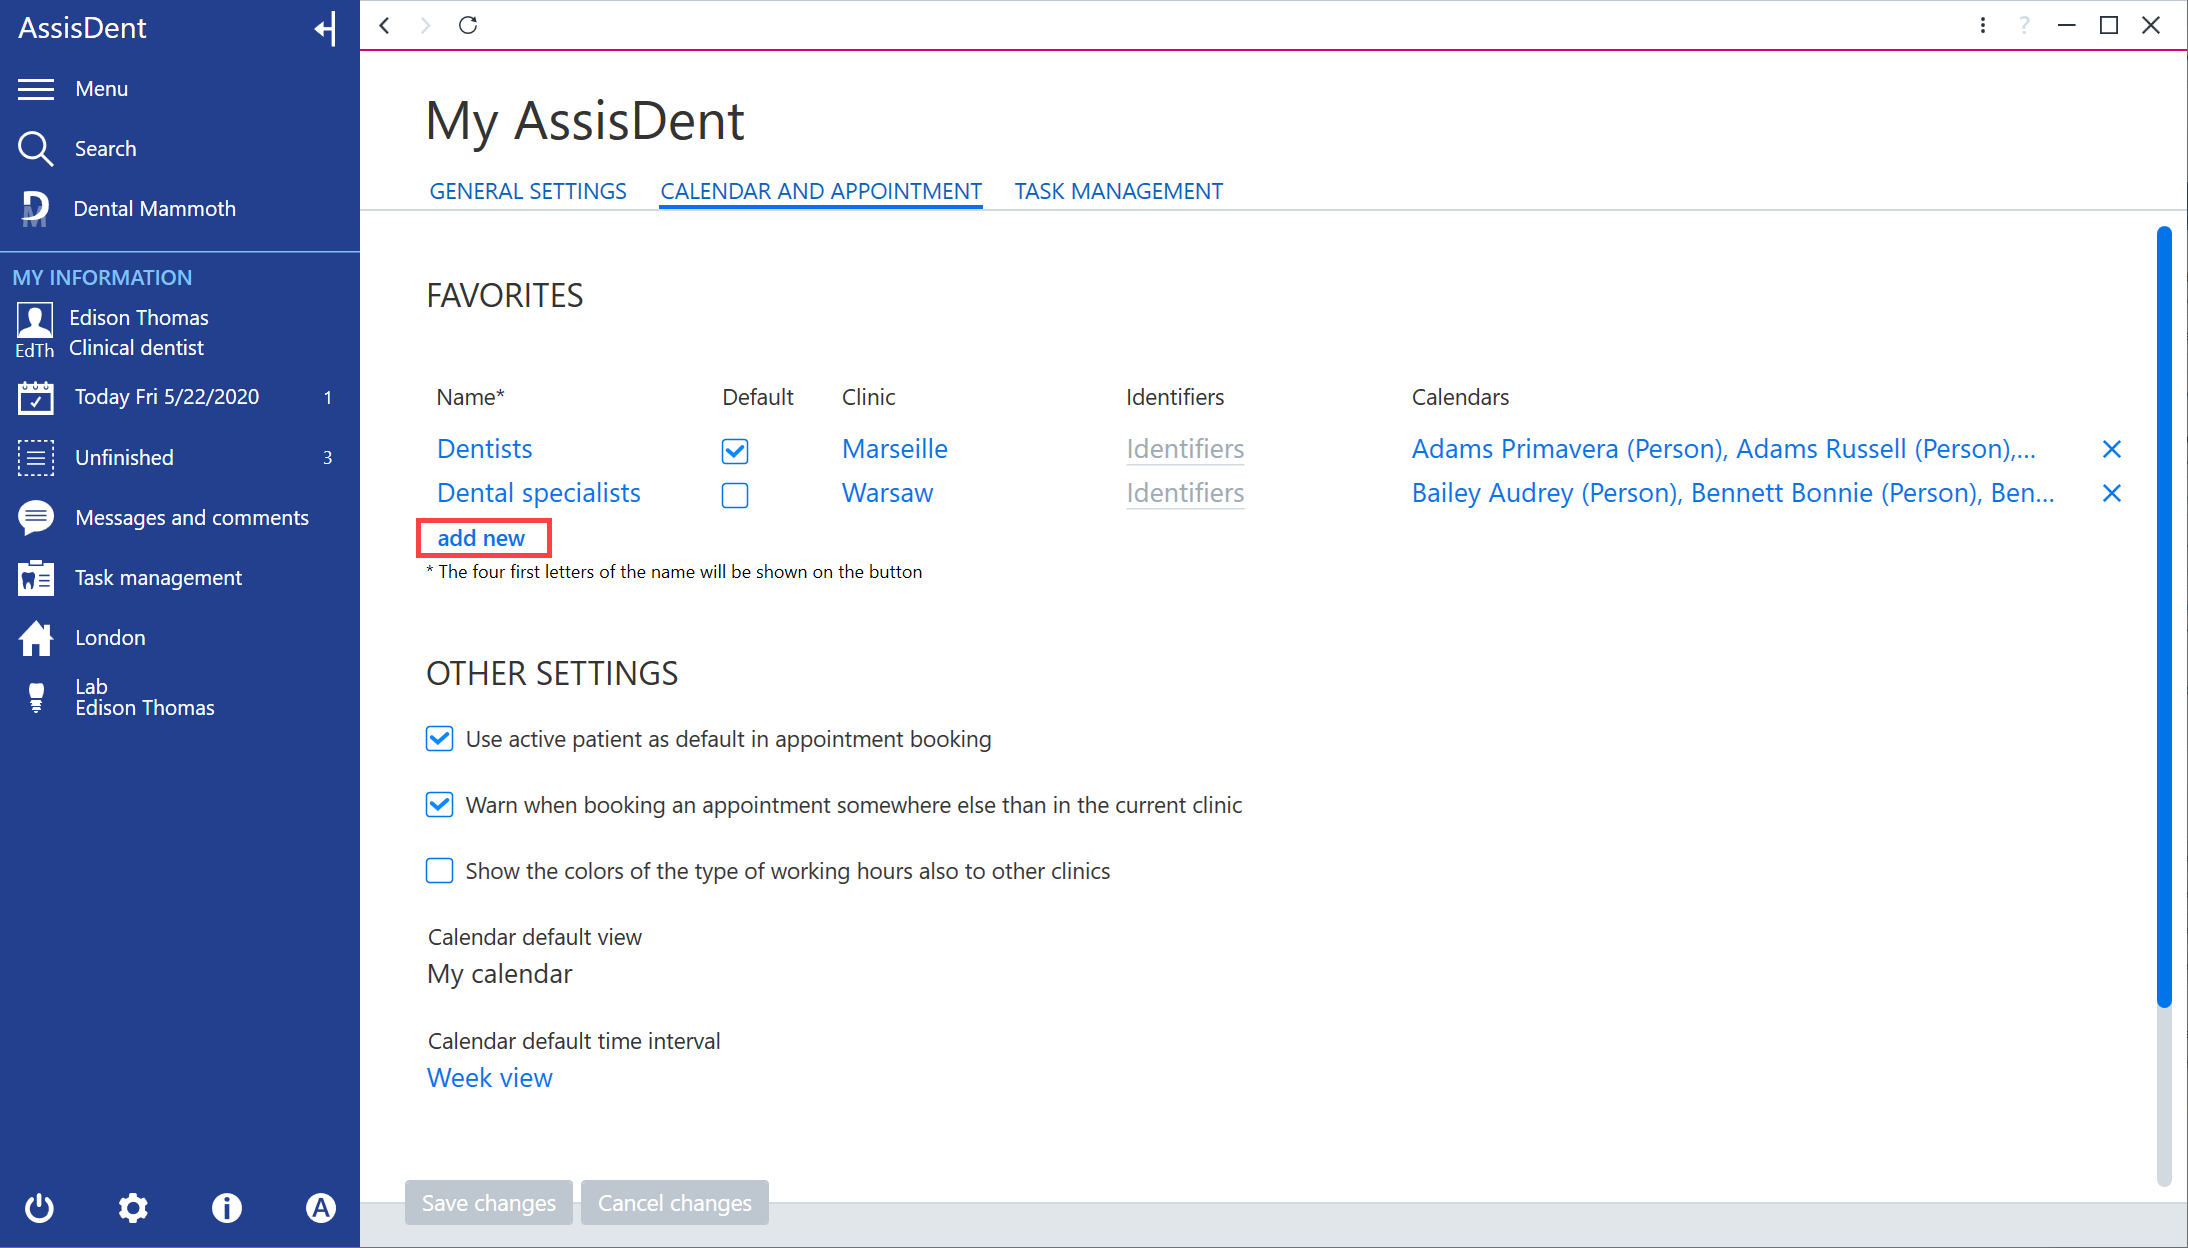
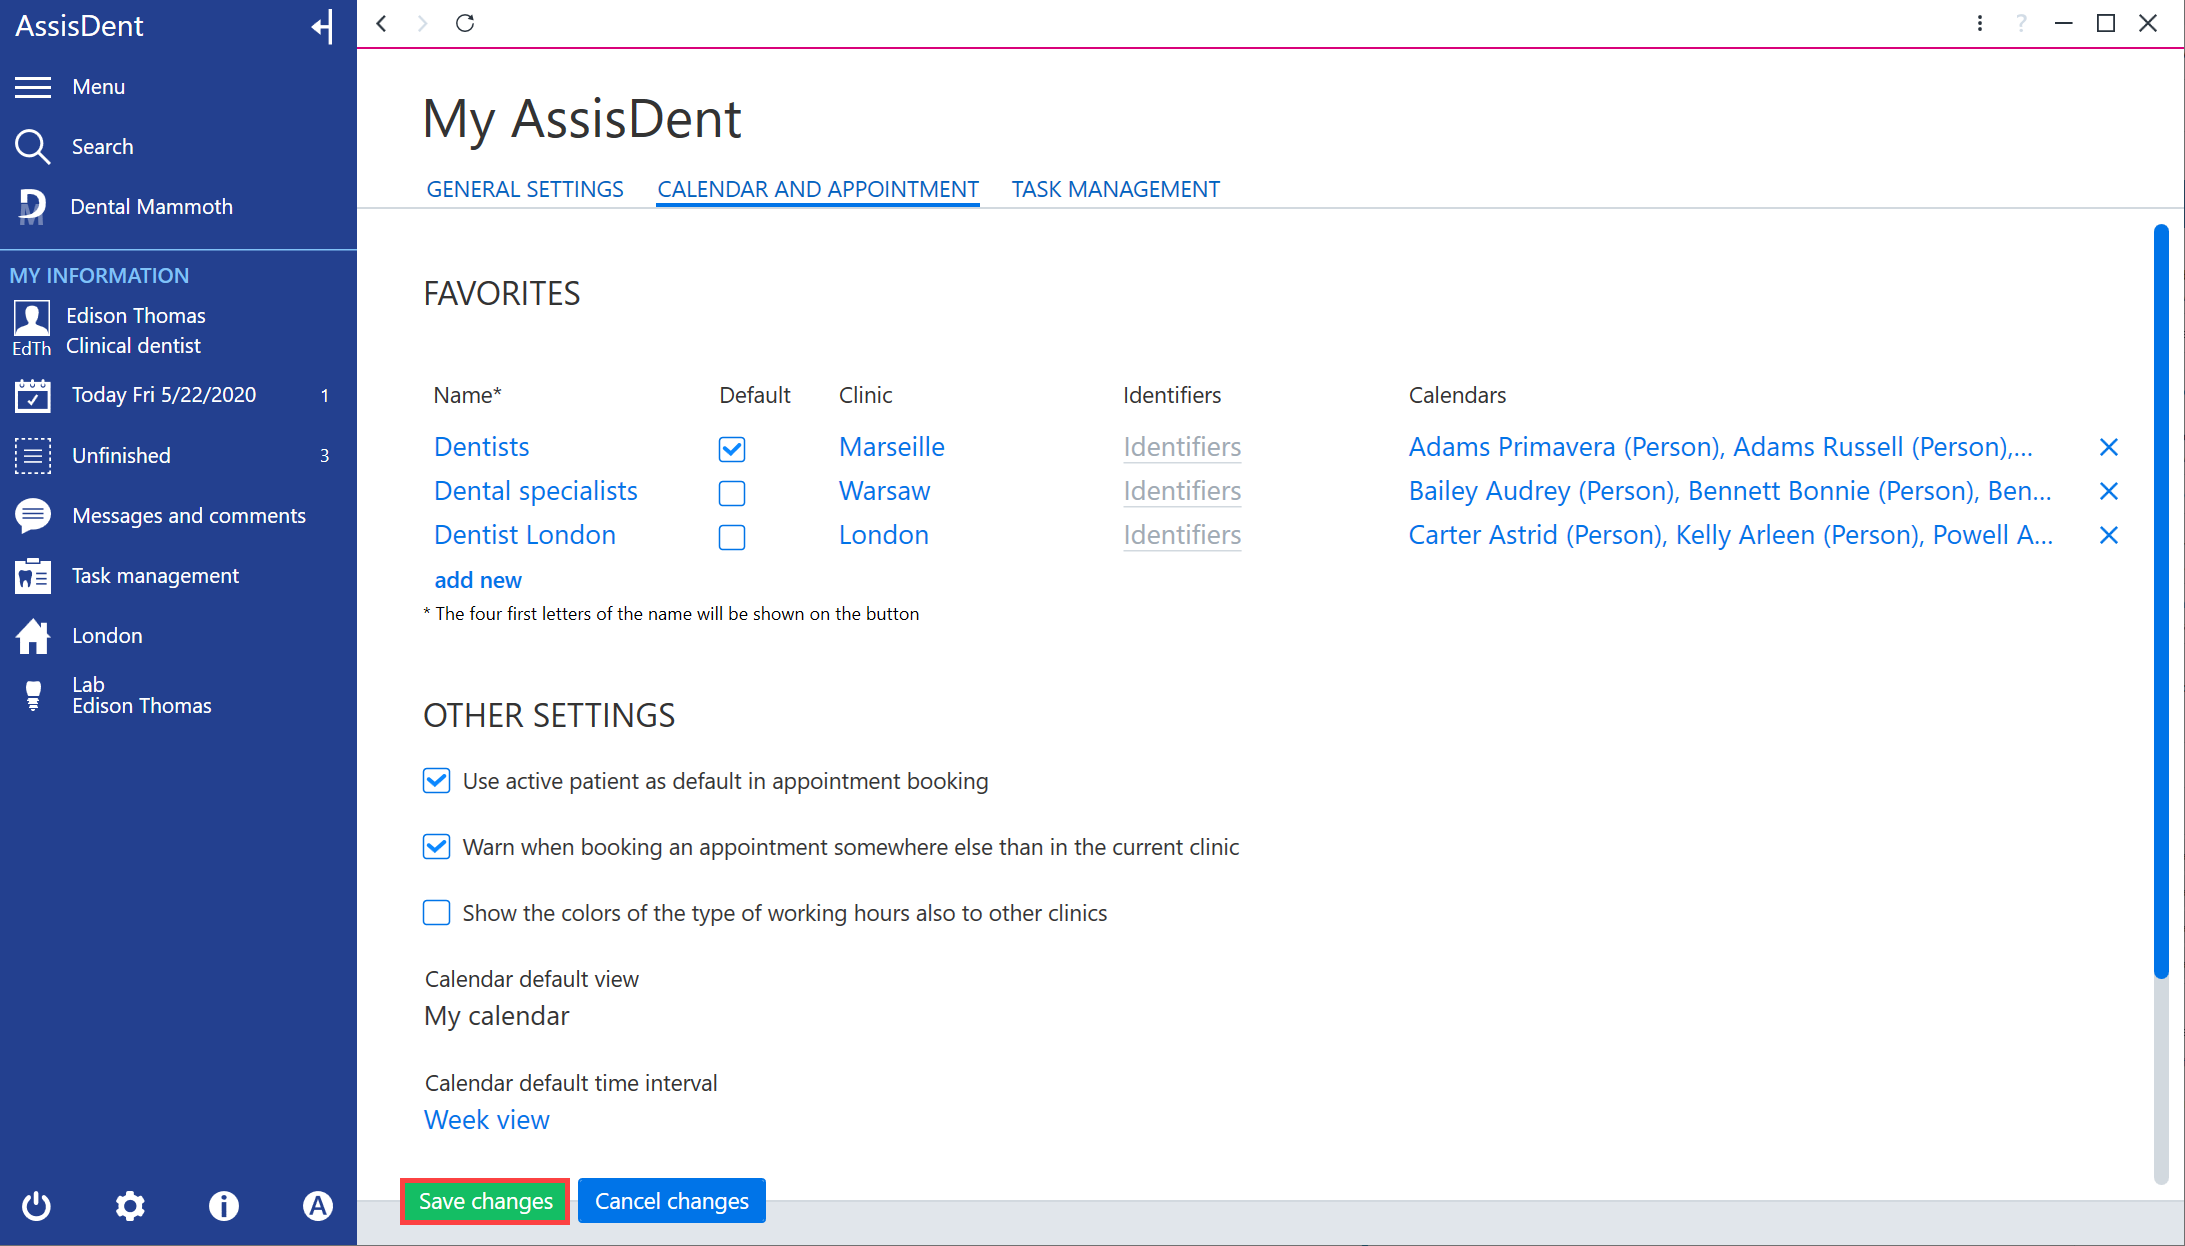
On the Calendar and appointment tab, you can add a new quick filter by selecting Add new below Favorites.
Then, fill out the information for the favorite.
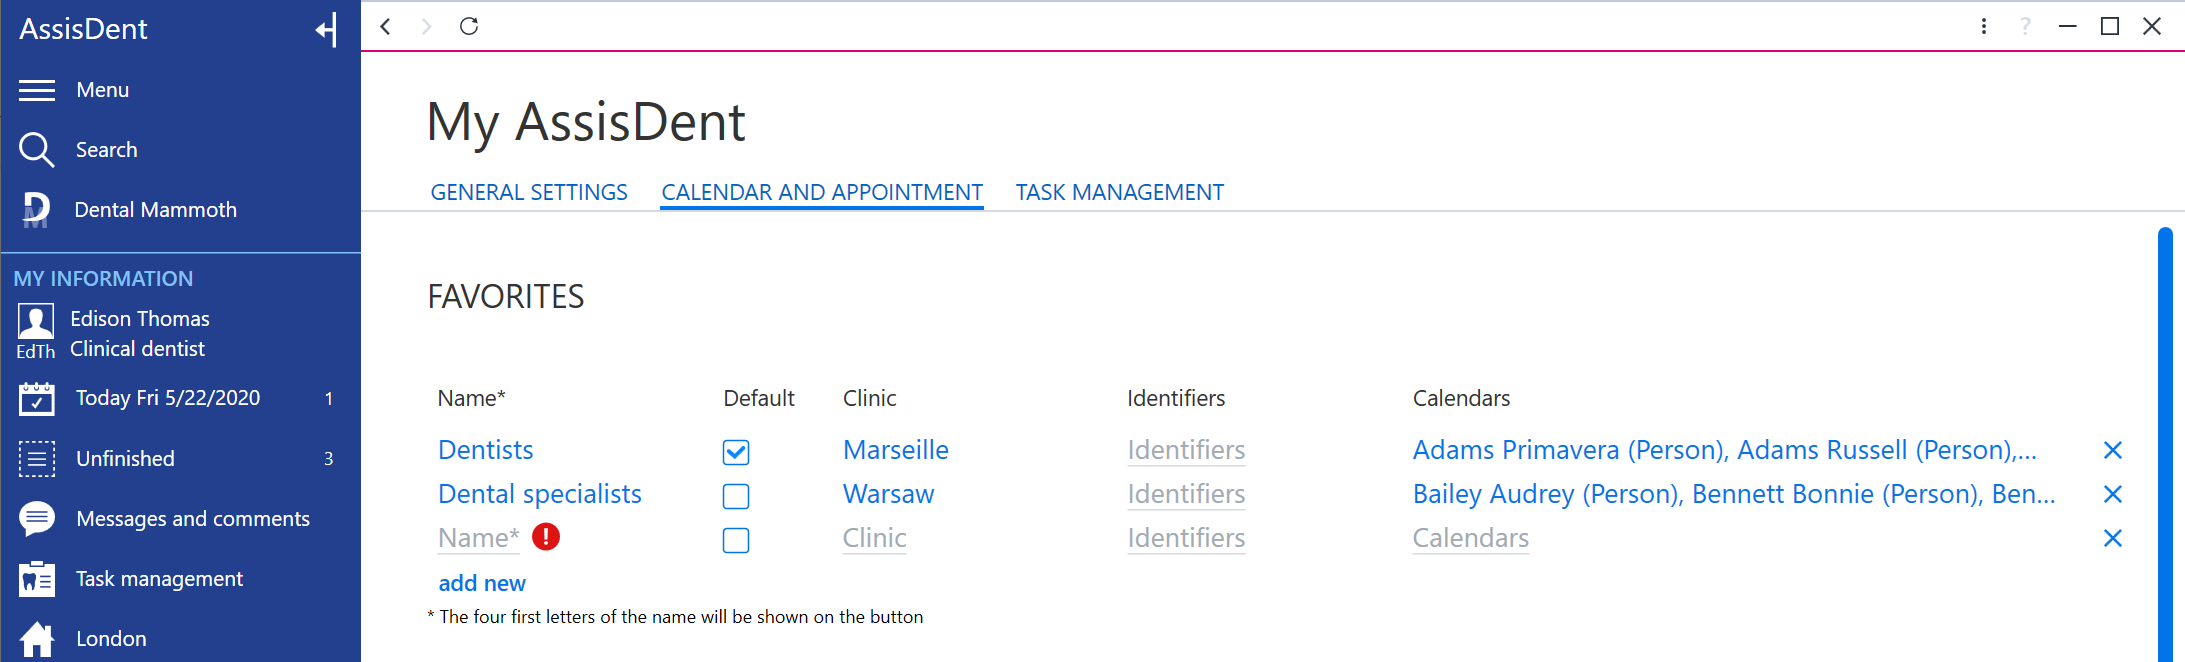
- Name is mandatory information.
- Default makes the filter a default calendar view whenever the calendar is opened. For example, a dental nurse can create a quick filter of the calendar of a dentist and set the filter as default. This way, whenever the dental nurse opens the calendar, the calendar view will feature both the nurse’s calendar and the calendar of the dentist.
- You can display the appointment calendars of one or more clinics with the Clinic
- You can view appointment resources with the Calendars This setting can be used for, for example, selecting the calendar of a specific employee or room.
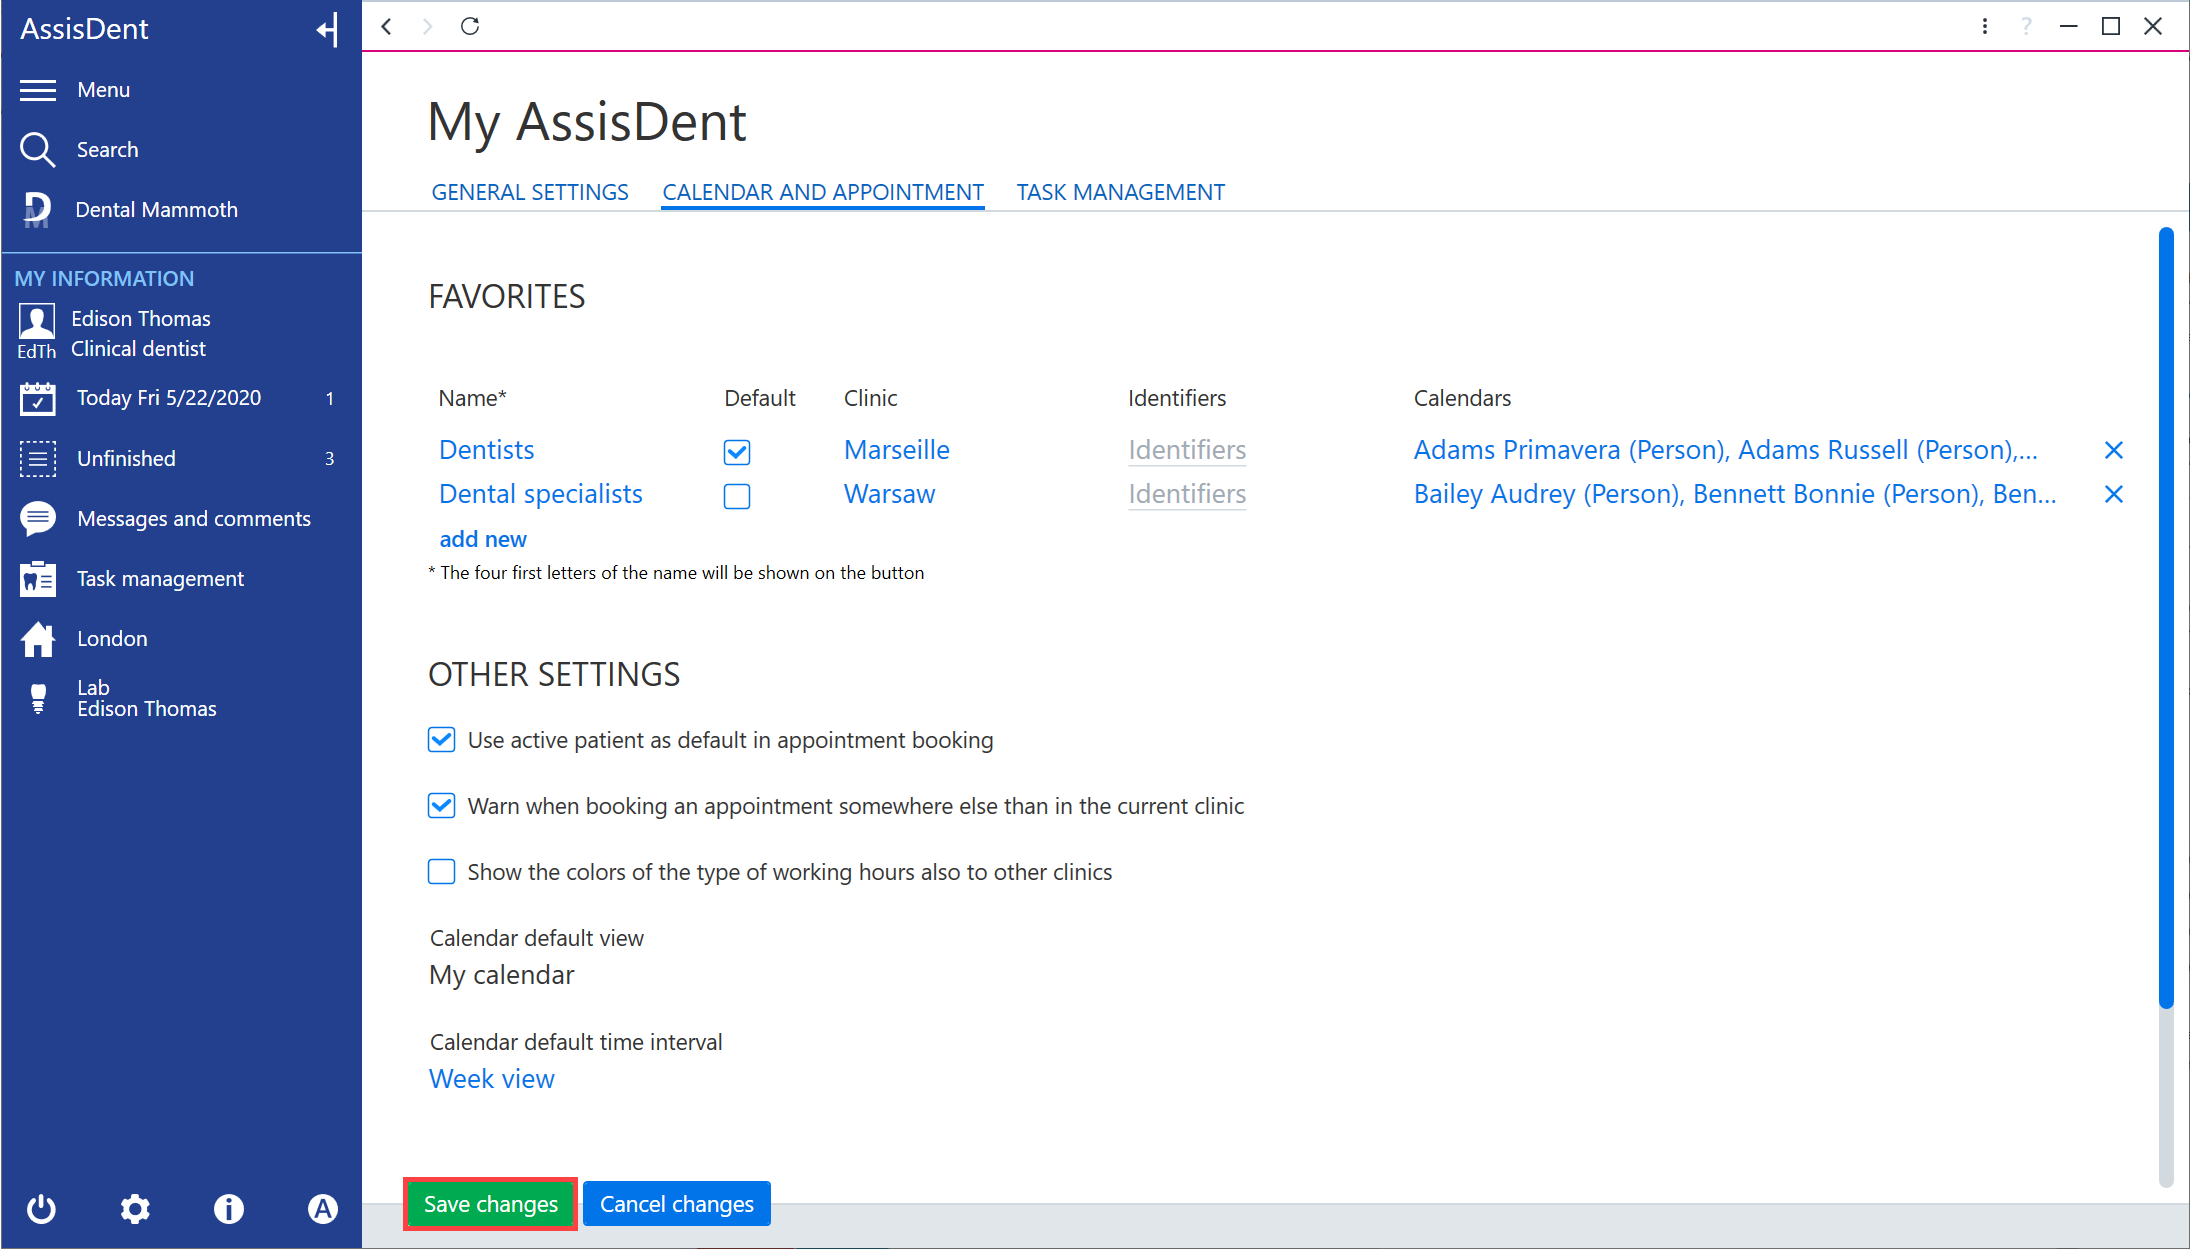
Once you have made the necessary changes, click Save changes.
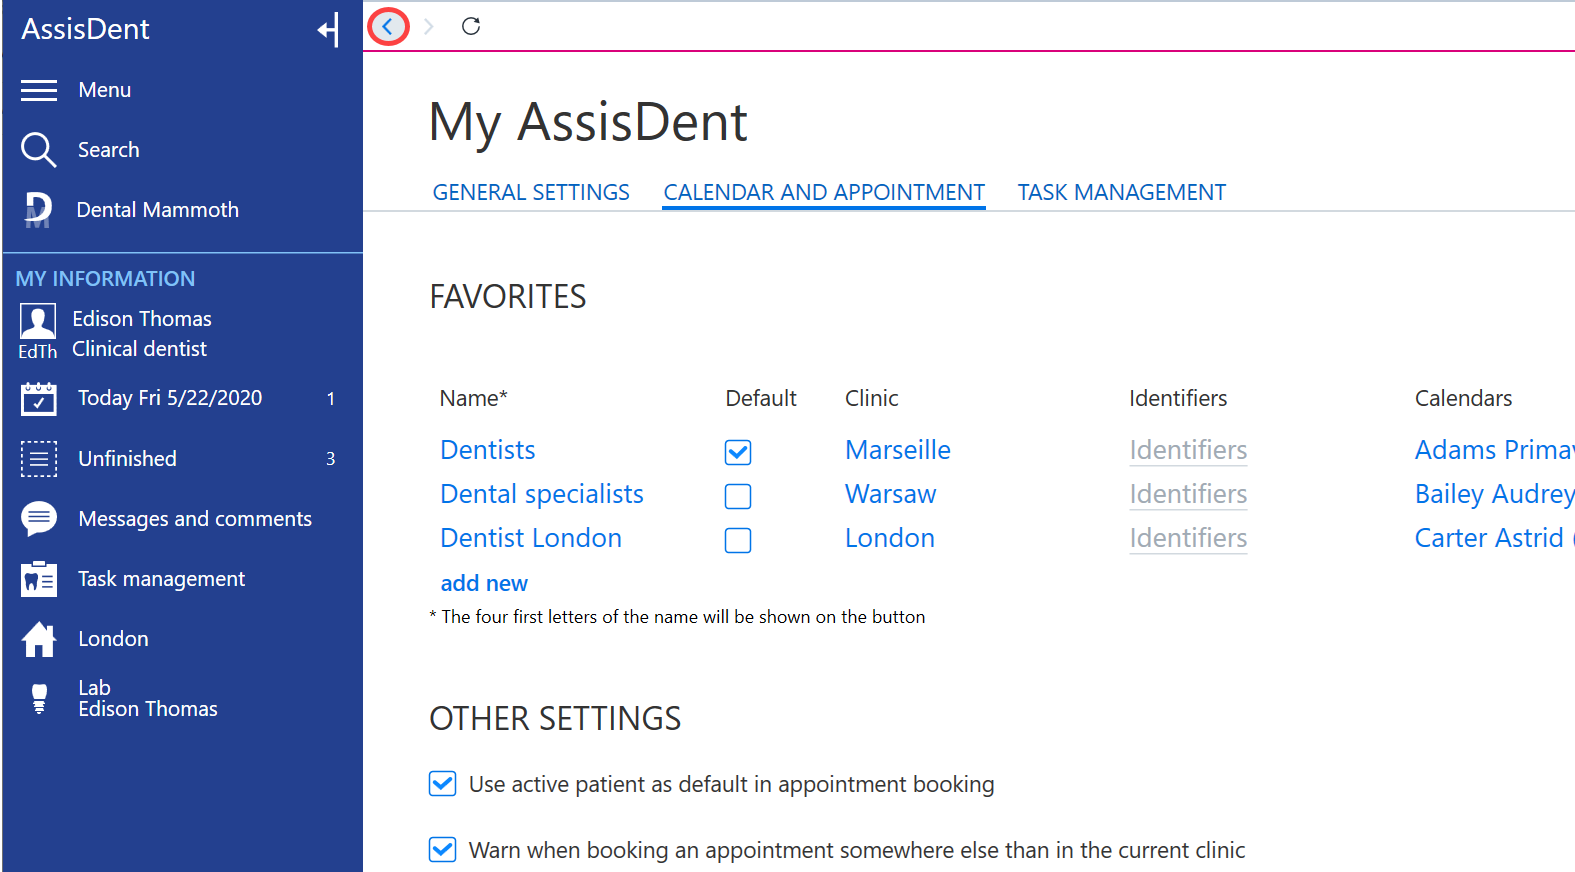
Return to the calendar by clicking the arrow.
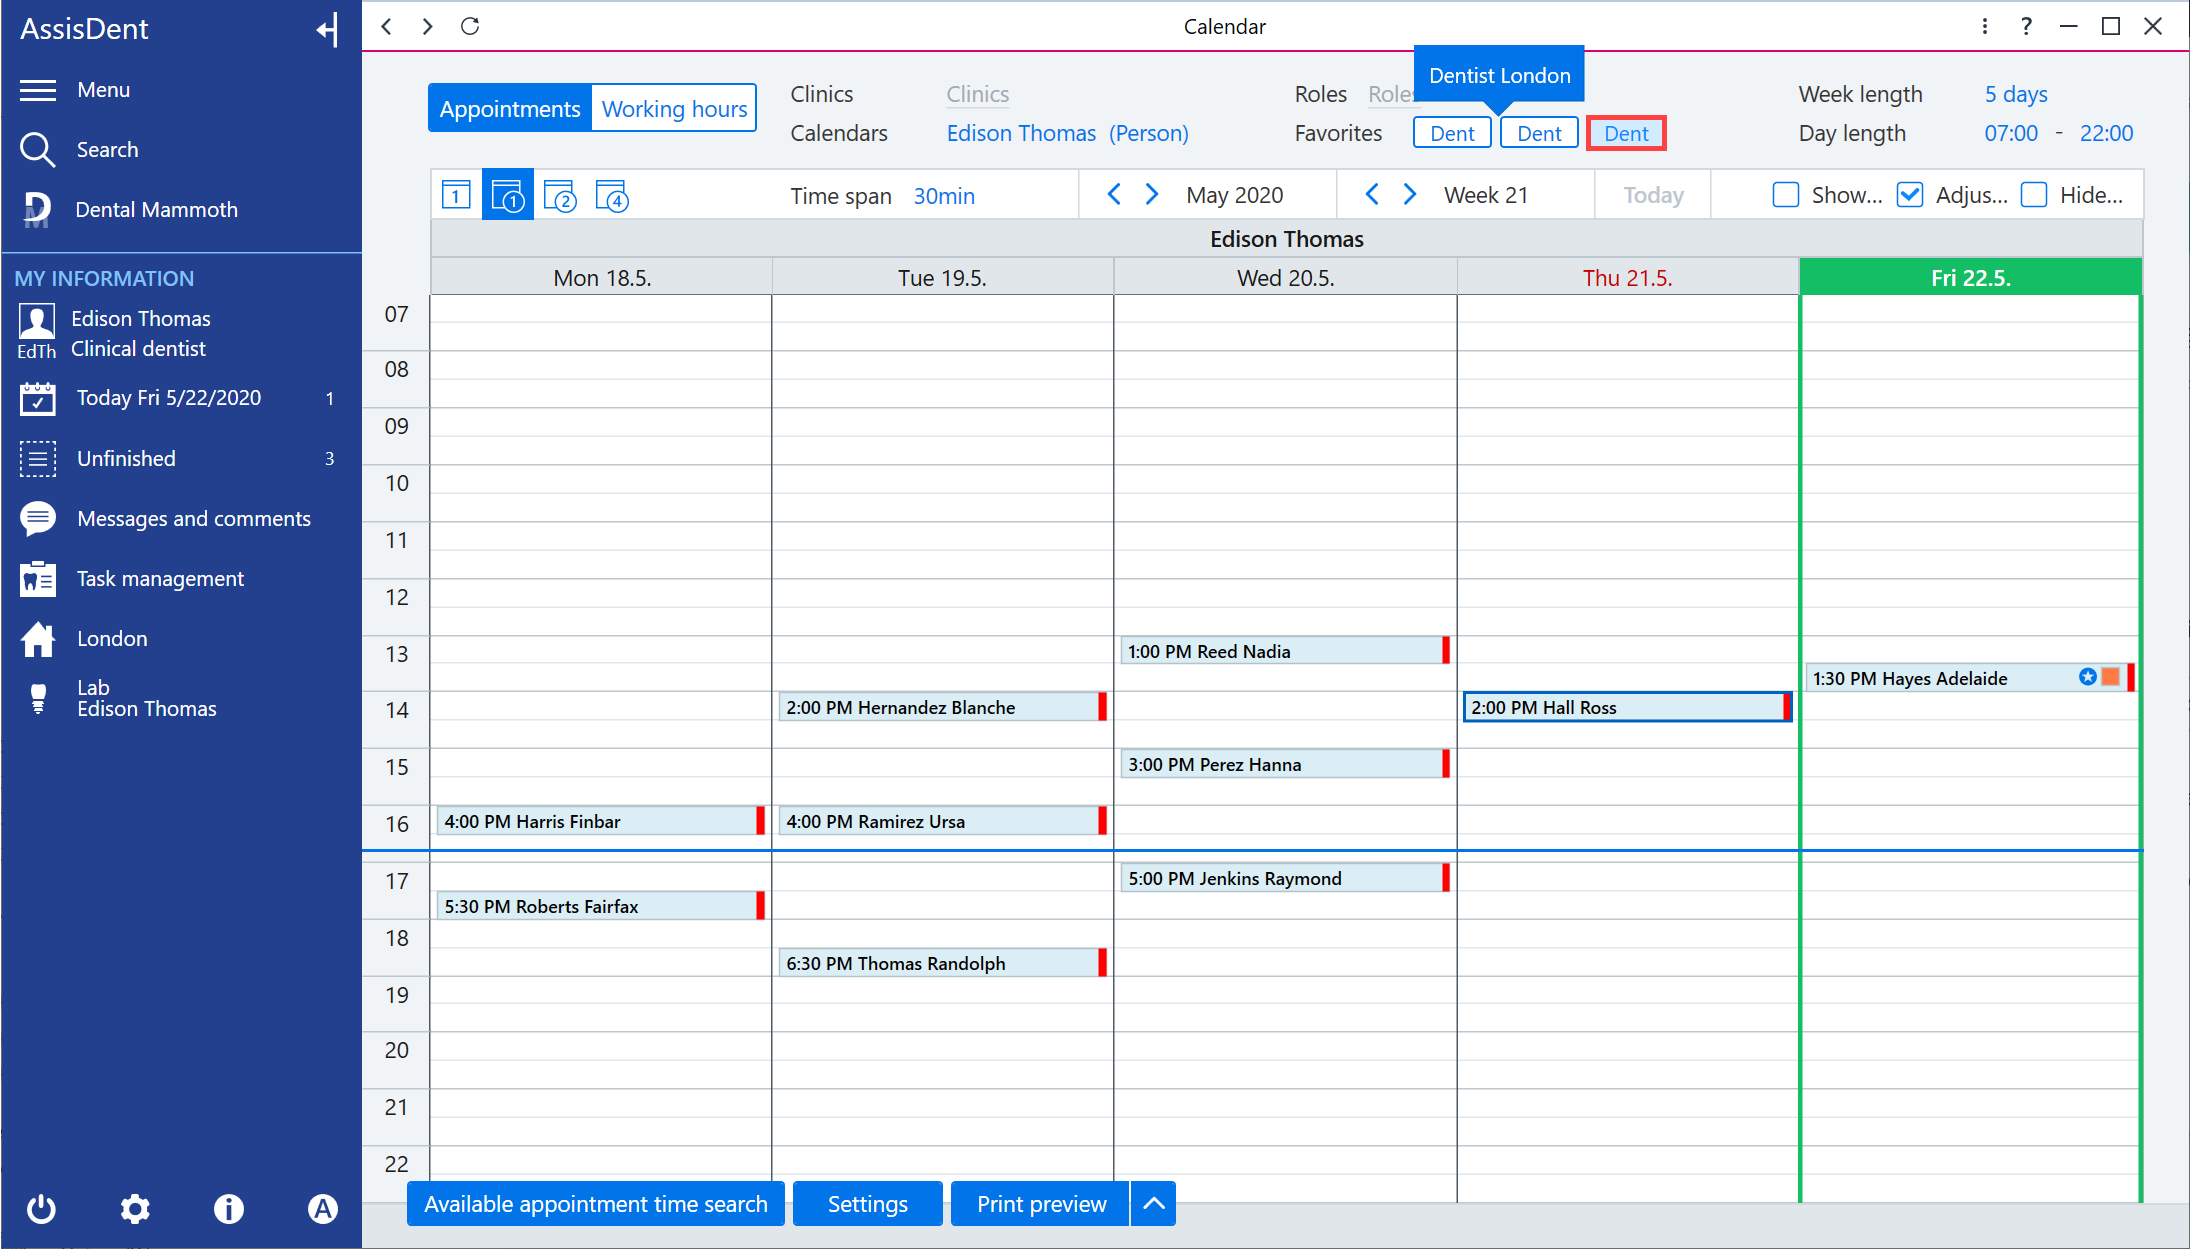
The created quick filter is now available in Favorites.
Removing quick filters
You can remove quick filters by selecting Settings in the appointment calendar and by clicking the X behind the quick filter.
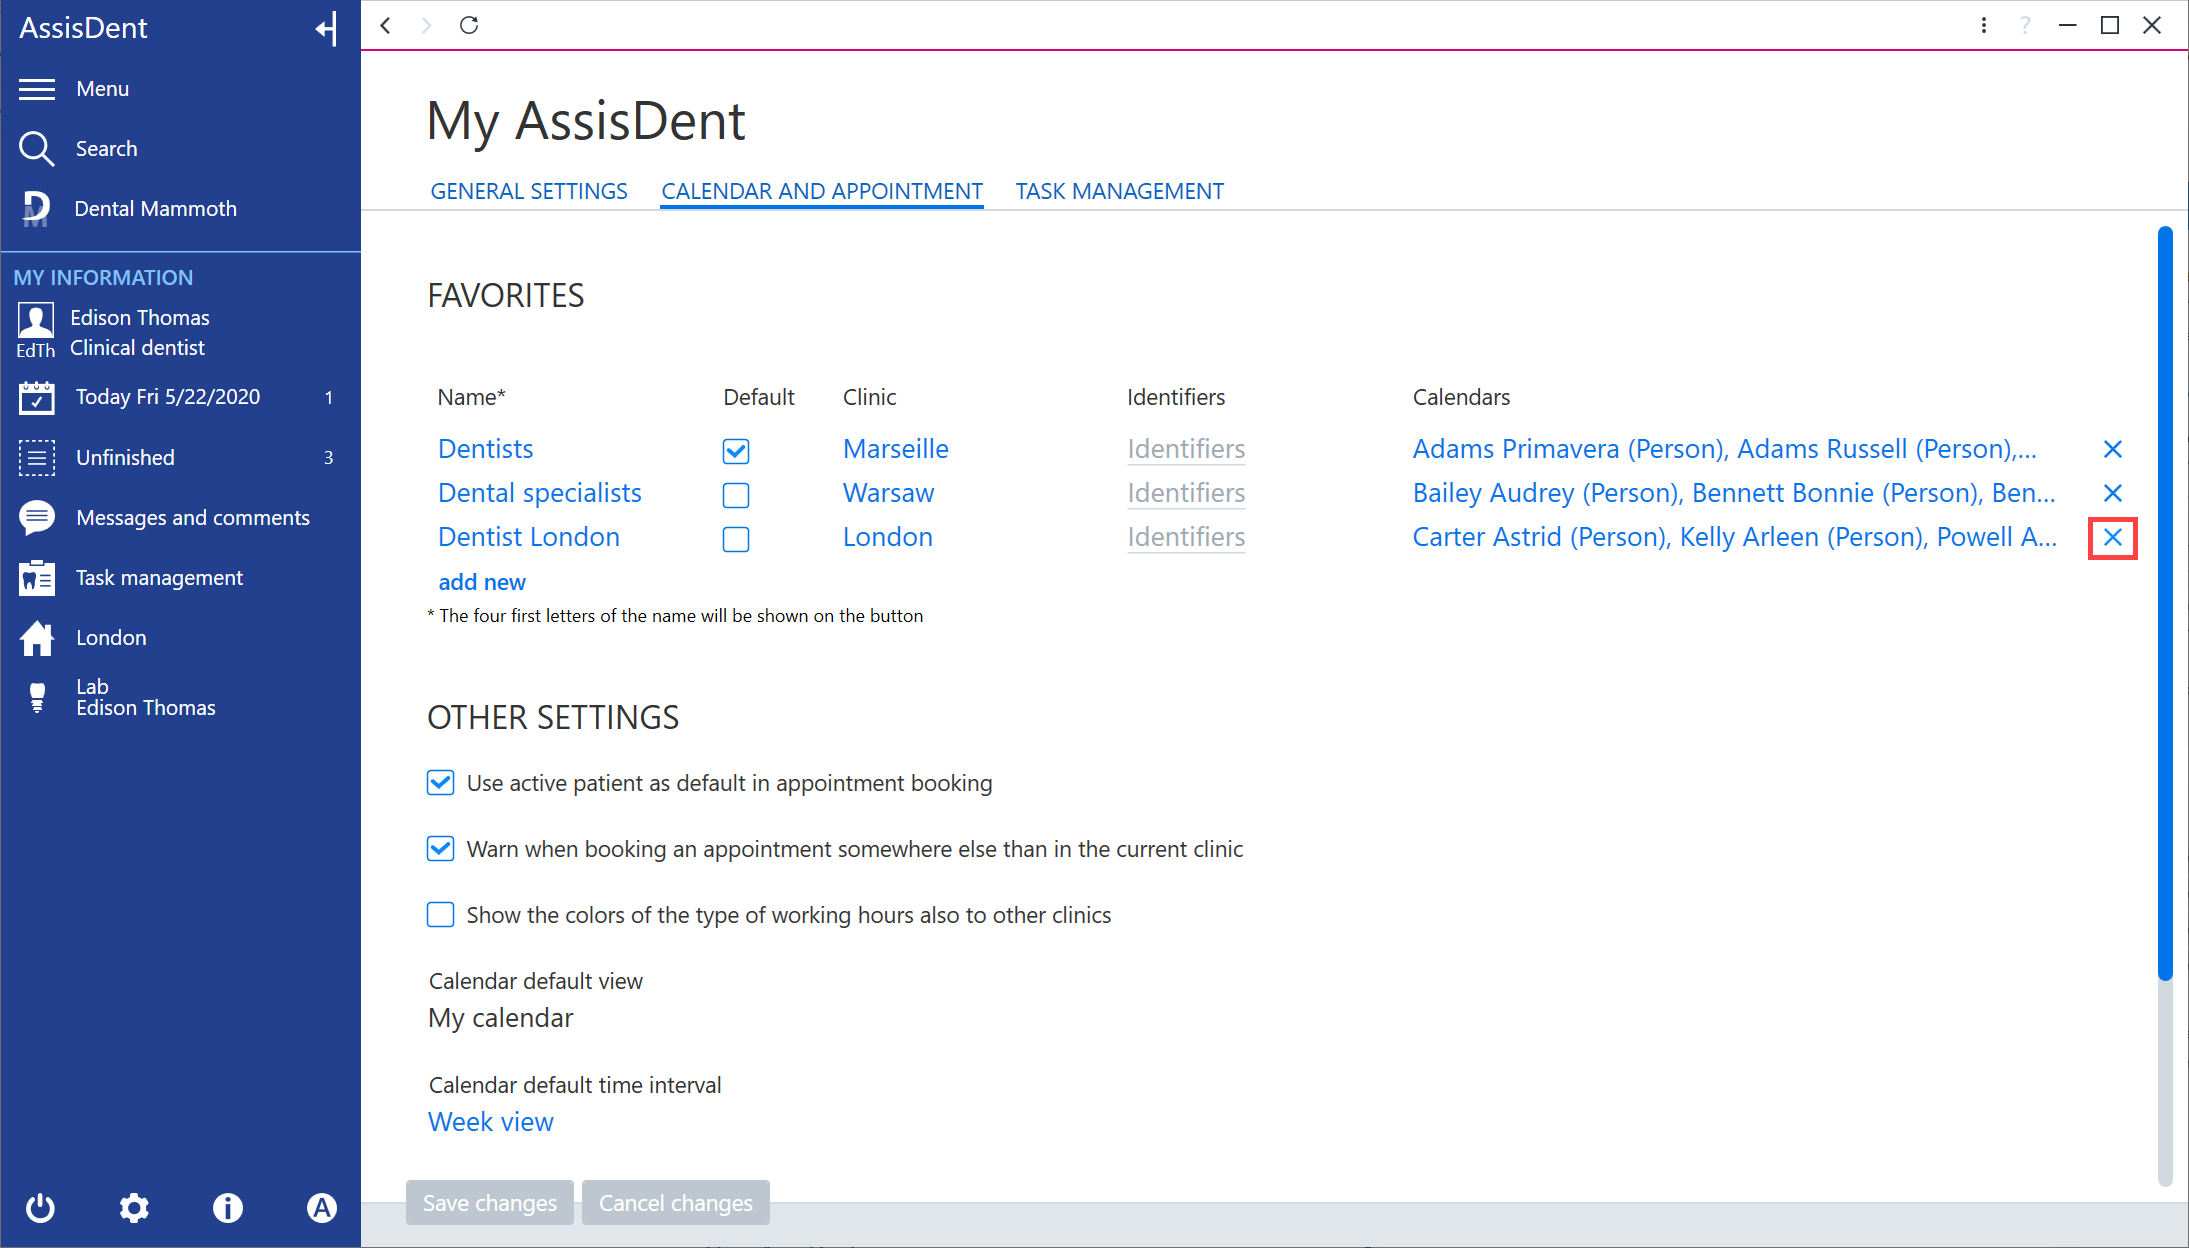
Confirm the deletion by selecting Save changes.