Note! There have been changes in the processing of recalls since the instruction video was created.
If you want to attach an appointment to the recall via AssisDent, the appointment must be added to the recall before the recalls are processed/sent. Instructions for adding an appointment to a recall can be found here.
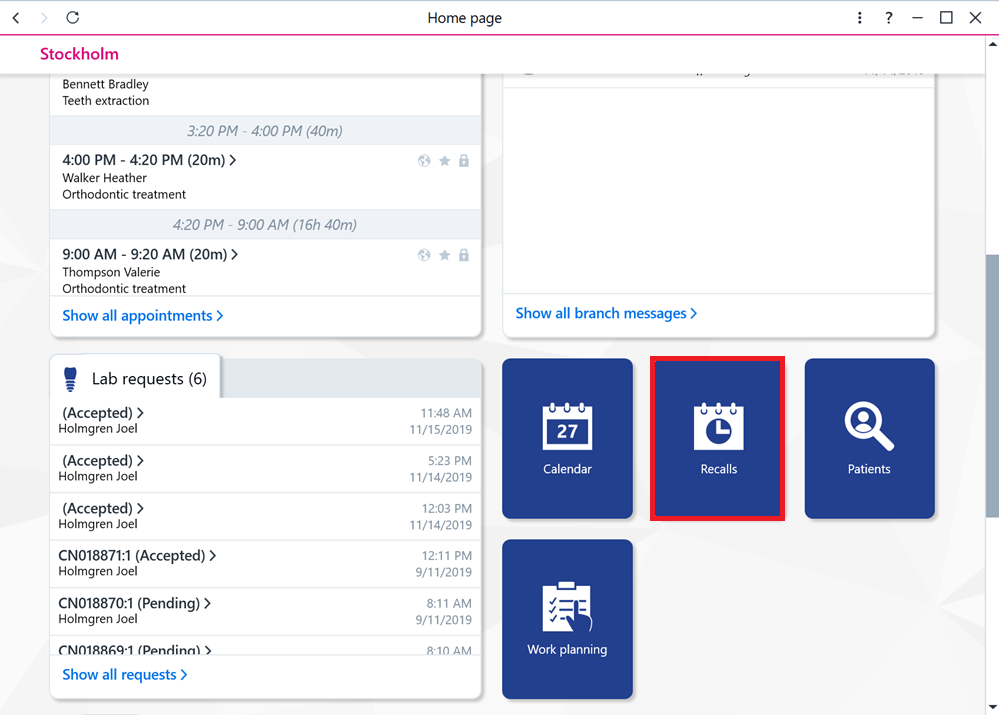
You can access your recalls from the homepage.
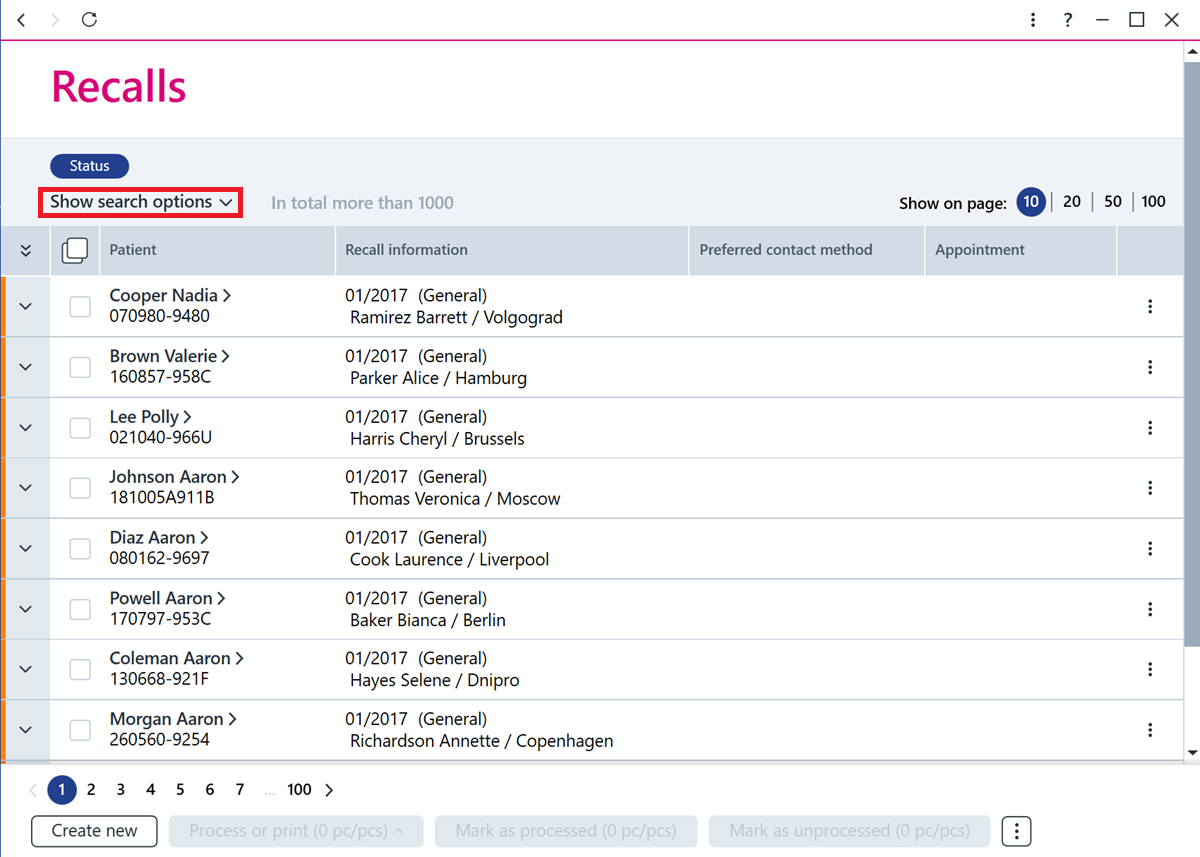
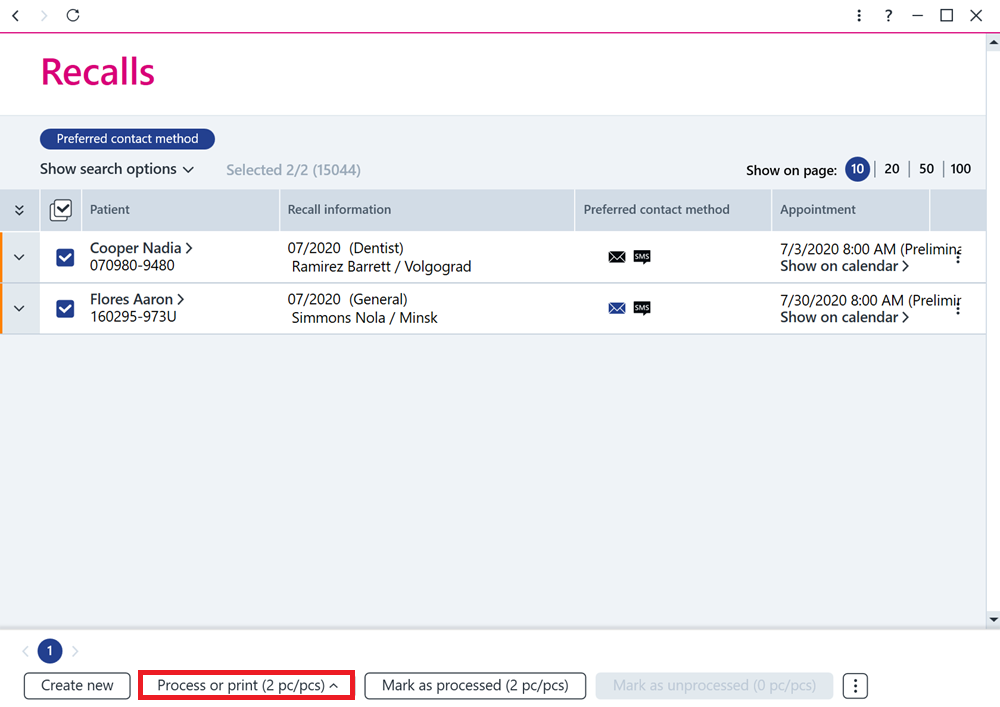
Search for and select the recalls to be processed.
You can search for the recalls that need processing using different filters and search criteria. For example, recalls can be filtered by clinician, recall status and time.
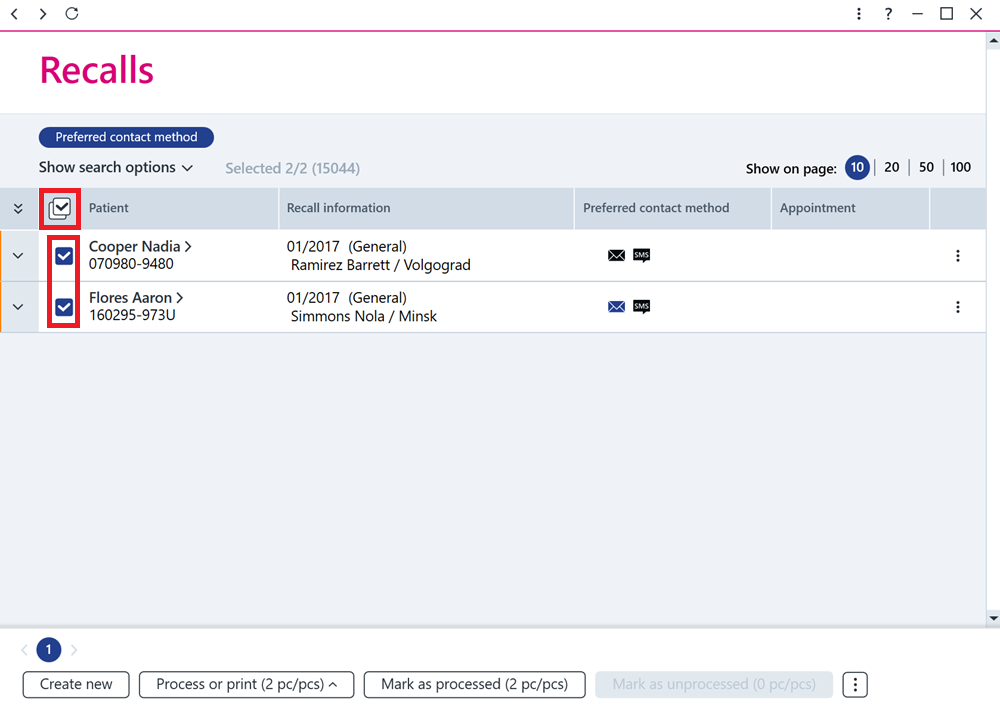
The rows can be selected individually or you can use the button at the top to select them all.
Next, click the Process or print button at the bottom.
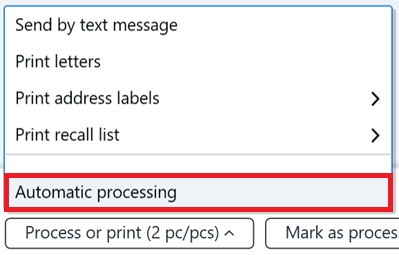
Select the processing method for the recalls . Note! Emails cannot be sent from AssisDent.
If you want to send the recalls according to the recall method marked for then, select Automatic processing.
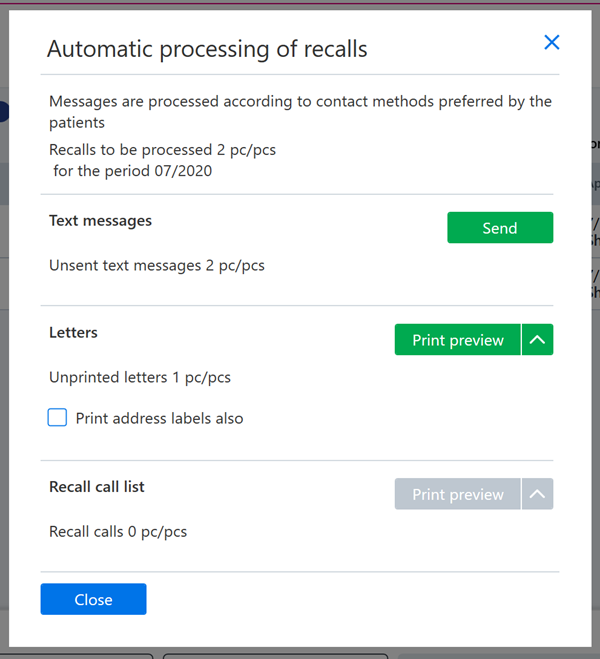
From the dialog box, you can select the recall classes that will be sent or printed. Recalls that currently have To be clarified status cannot be processed using automatic processing, but must first be changed to Waits for processing. It is also not possible, for example, to send recall text messages a second time using this method.
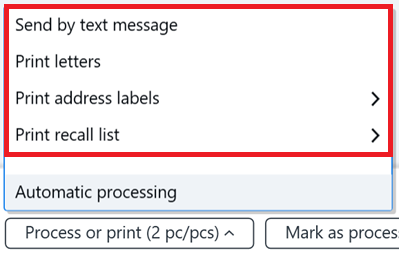
If you want to process the recalls using a specific recall method (or, for example, a recall method that is not marked for the recall), you can select the processing method from the menu. Recalls can be printed as either a letter or recall list or alternatively can be sent as a text message. There is also the option of printing address labels.
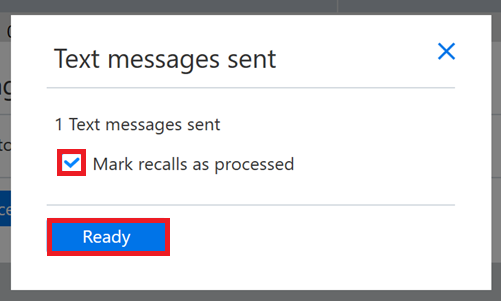
After the recall has been sent, a window opens where you can select whether to mark the sent or printed recalls as processed in AssisDent.
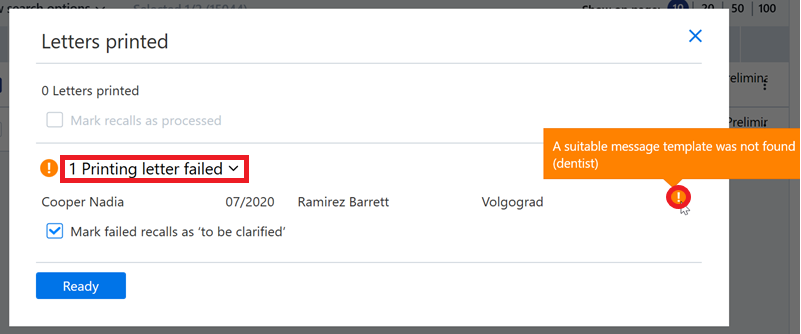
If, for some reason, the sending or printing is not successful, a message will appear. Hover over the exclamation mark icon to see why the recall has not been sent or printed successfully.
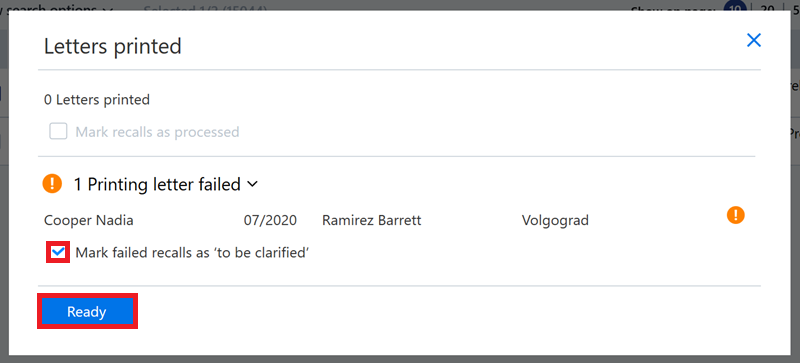
If necessary, unsent recalls can be marked as To be clarified.
Marking recalls as processed
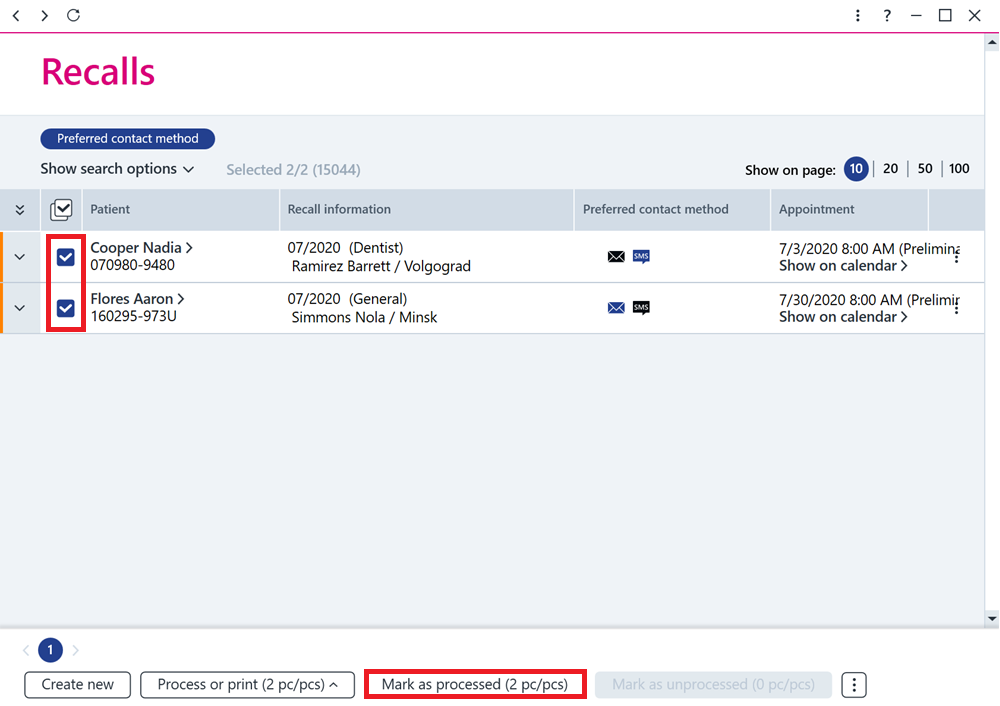
If you only want to mark the recalls as processed, select the recalls and click the Mark as processed button at the bottom of the recall register.
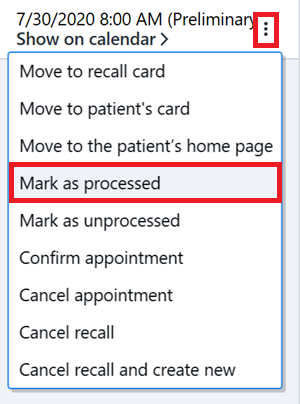
Alternatively, the recall can be marked as processed by clicking the Additional functions button at the end of the recall bar and selecting Mark as processed from the drop-down menu.