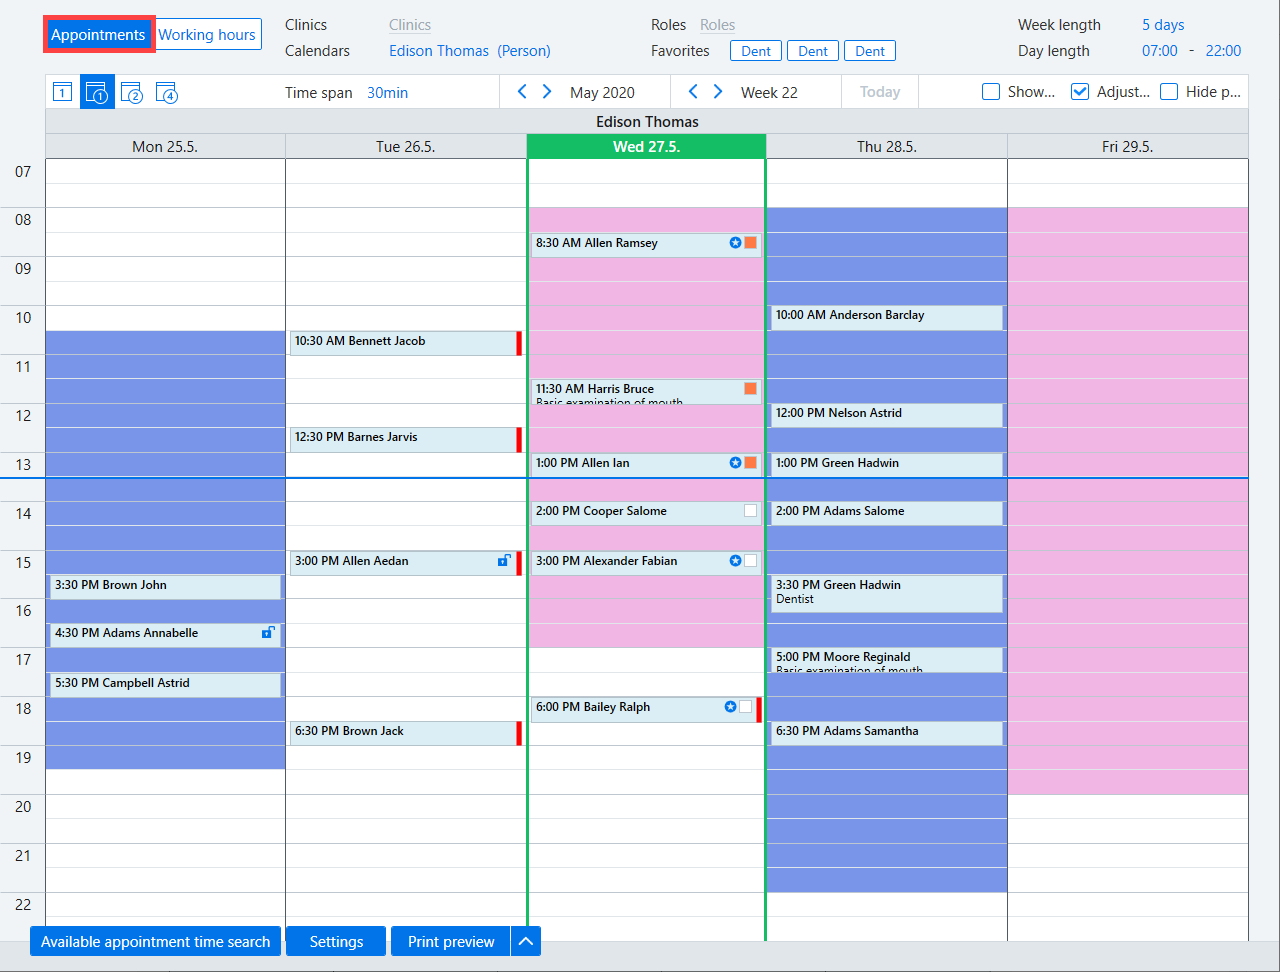
Open the booking calendar (Today → Calendar) and navigate to the desired available time.
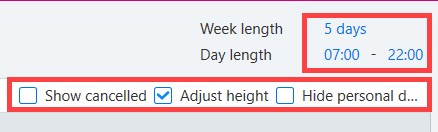
Use the filter controls at the top to change the calendar view settings as desired. You can adjust settings such as the number of days displayed in the calendar and the precision of the times displayed in the calendar.

Filters can be used to select the calendar for the desired clinic and clinician. The calendar can also be filtered for a particular role. The week and month settings can be used to display the calendar for the desired week. The filter options also include saved favorites, which are user-specific.

Additional functions are accessible on the top right of the Calendar. These include showing canceled appointments and hiding personal details (e.g. when showing available times to the patient). Selecting Hide personal details also hides the patient's personal information on the control panel. On the calendar view, you can also edit the week length and day length.
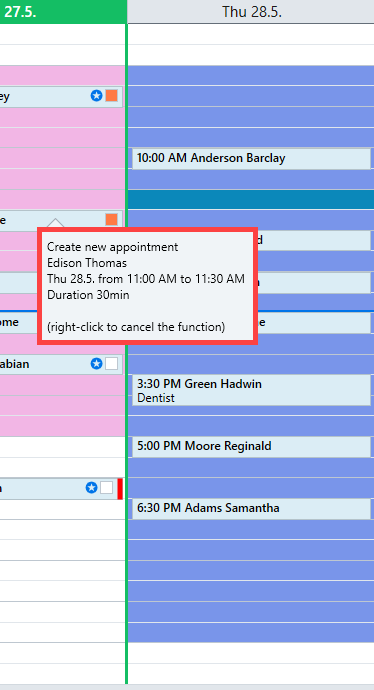
Click and drag the mouse at the desired location to create the appointment. Note! There is also a dialog box which follows the mouse on the screen. This box gives details of the date, time and duration of the appointment and the person it is being booked for.
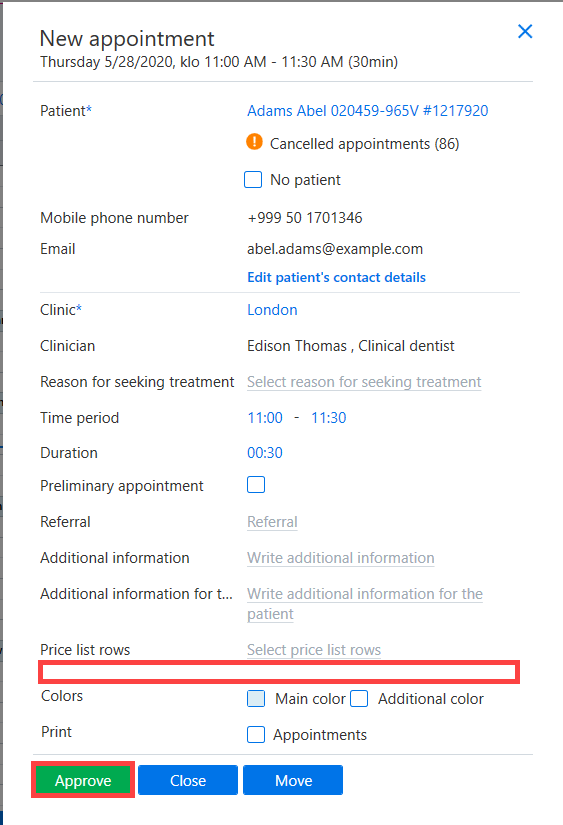
After the appointment time has been selected, a window opens in which you can enter the appointment information. Once all the details have been entered, select Approve. The appointment has now been created.
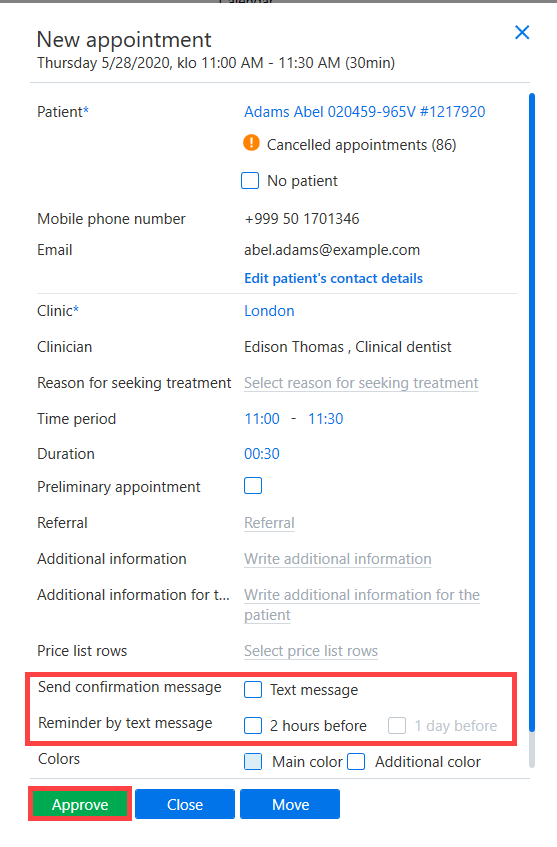
Note! If the organization does not have text messages enabled, the text message option will not appear in the appointment dialog box.