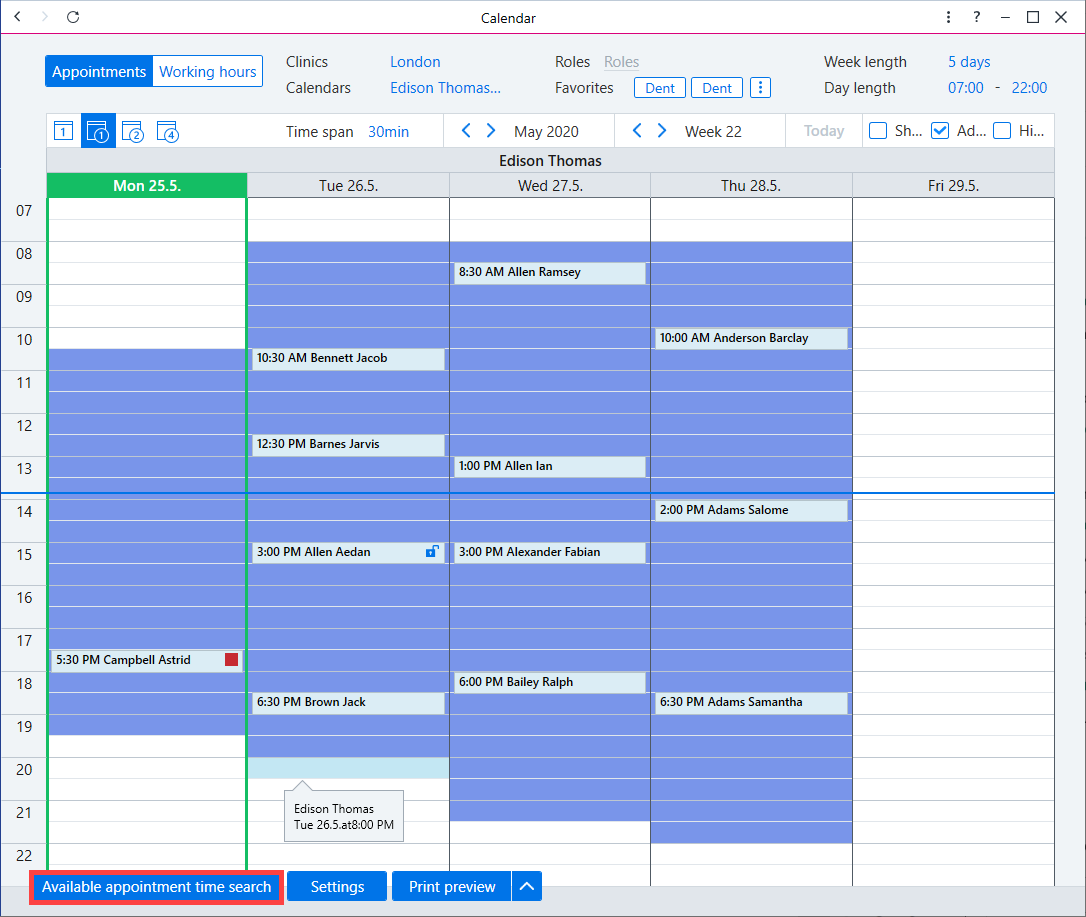
You can also search for available times using the Available appointment time search button on the bottom left of the calendar.
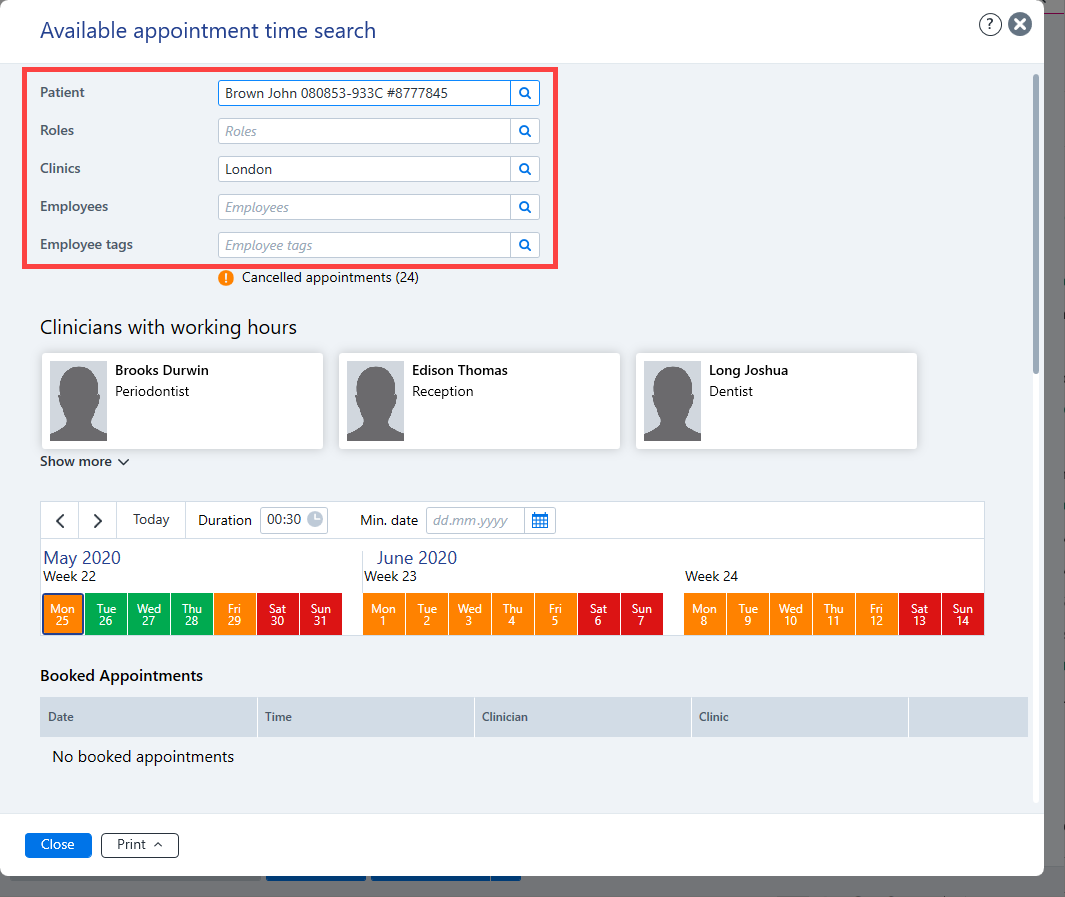
Search for the patient using the Patient text box, or if needed create a new patient.

Once the patient has been selected, other search filters can be used to specify in more detail the times the search for and where to search from.
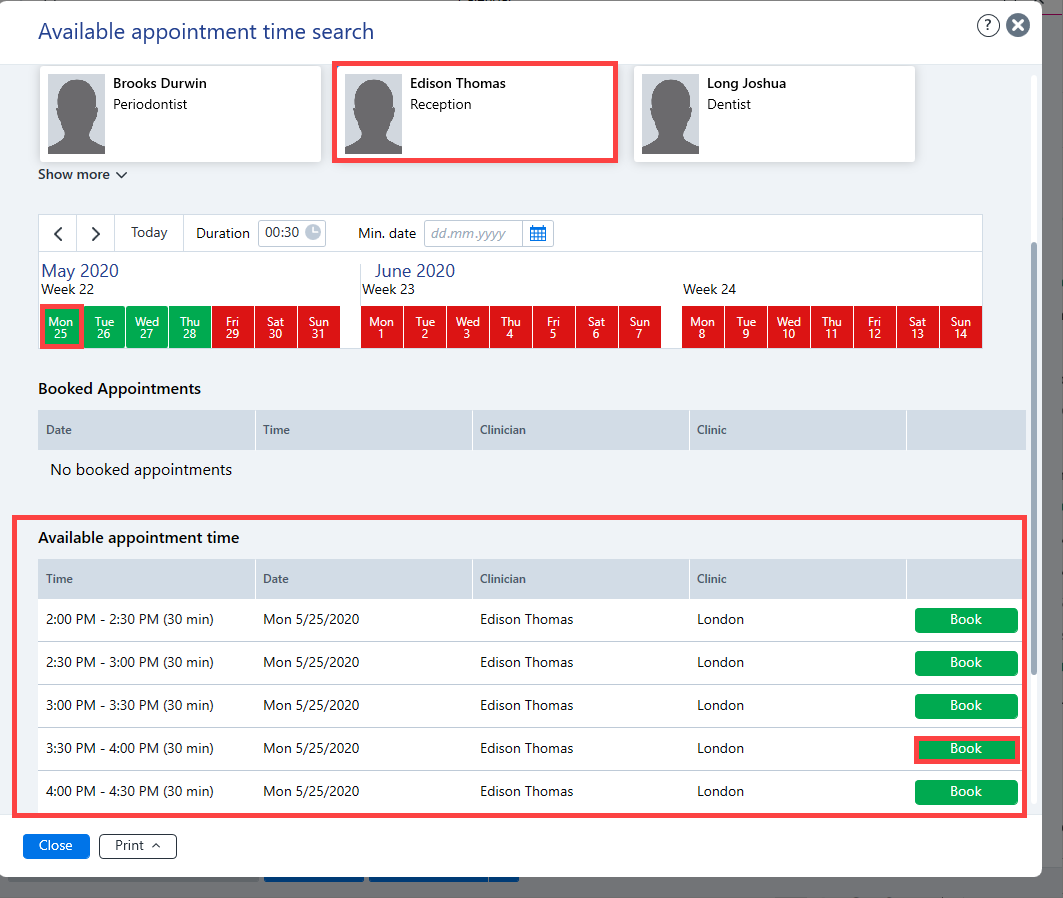
The clinicians that can be selected are displayed under the heading Clinicians with working hours. You can select from the list by clicking on one or two of the clinicians, for example, or alternatively you can look for available times for all of those listed.
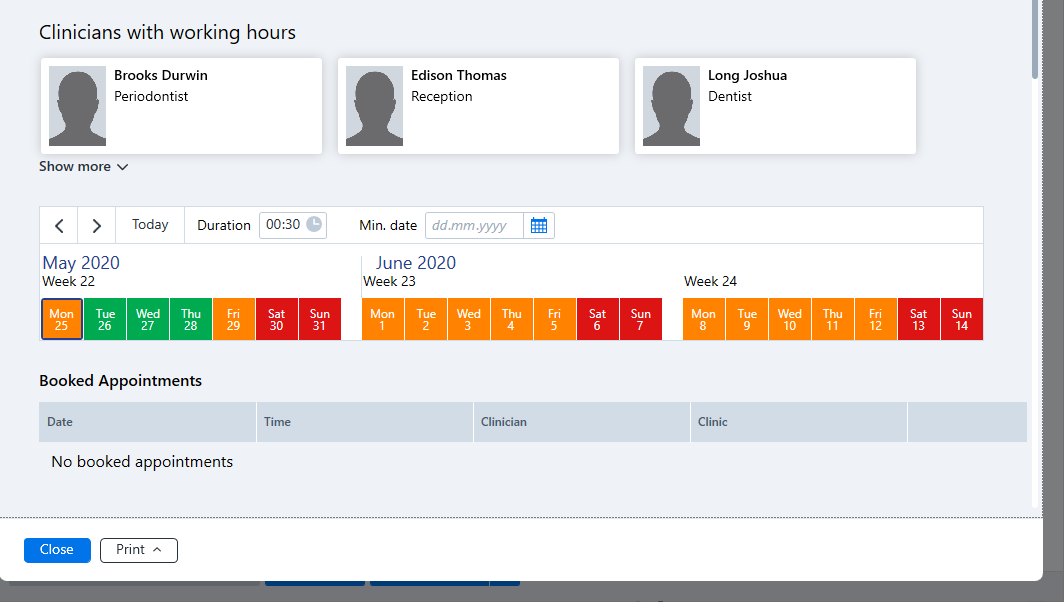
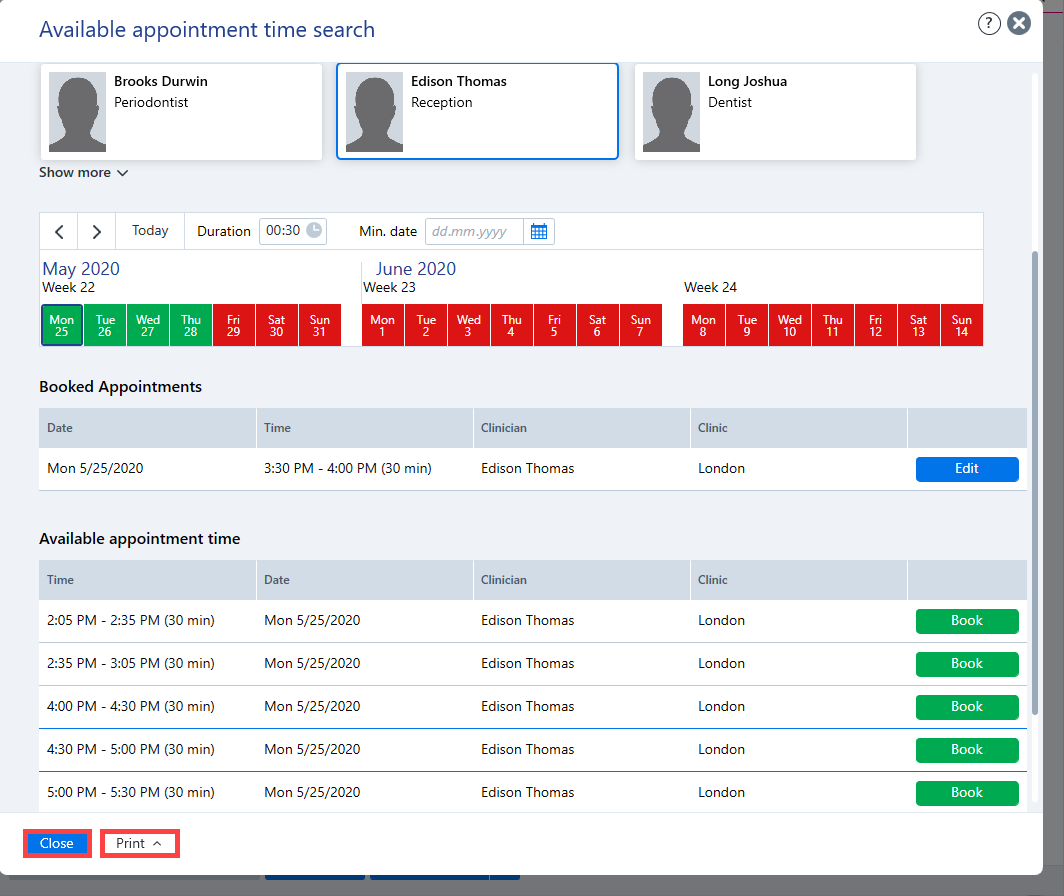
A horizontal calendar appears below the search filters showing the different dates: green and orange days have available times while red days do not. If you select a particular day, the available times are listed in the Available appointment time field at the bottom. Select a suitable appointment time by clicking the Book button at the end of the appointment row.
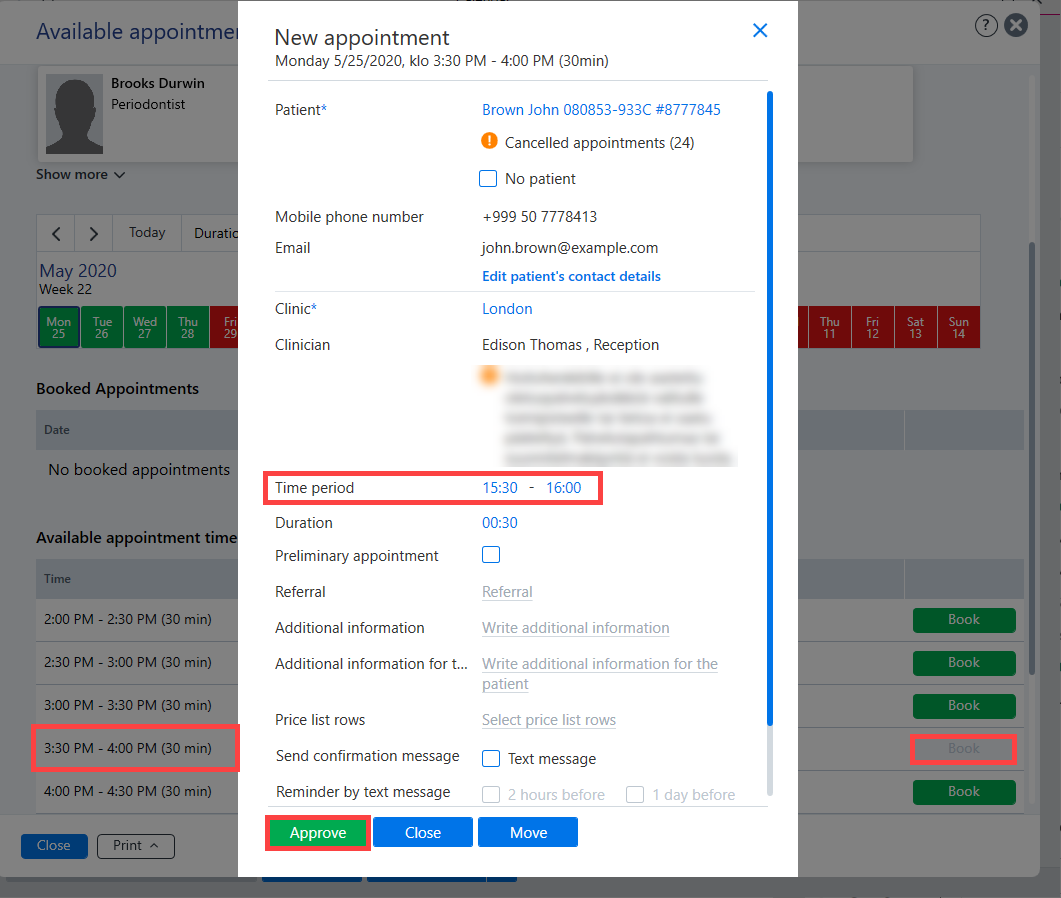
Next, fill in the details of the appointment in the dialog box that opens up. Finally, save an appointment by clicking Approve.
Once the appointment has been approved, the program returns you to the available appointment time search. Now you can, for example, make a new appointment for the same patient in connection with their treatment period.
Once the appointment(s) have been made, they can be printed, if needed, by clicking the Print button, and the appointments view can then be closed by clicking Close.