In the checkout view, you can invoice the invoice rows (the procedures/products) that have been exported for invoicing.
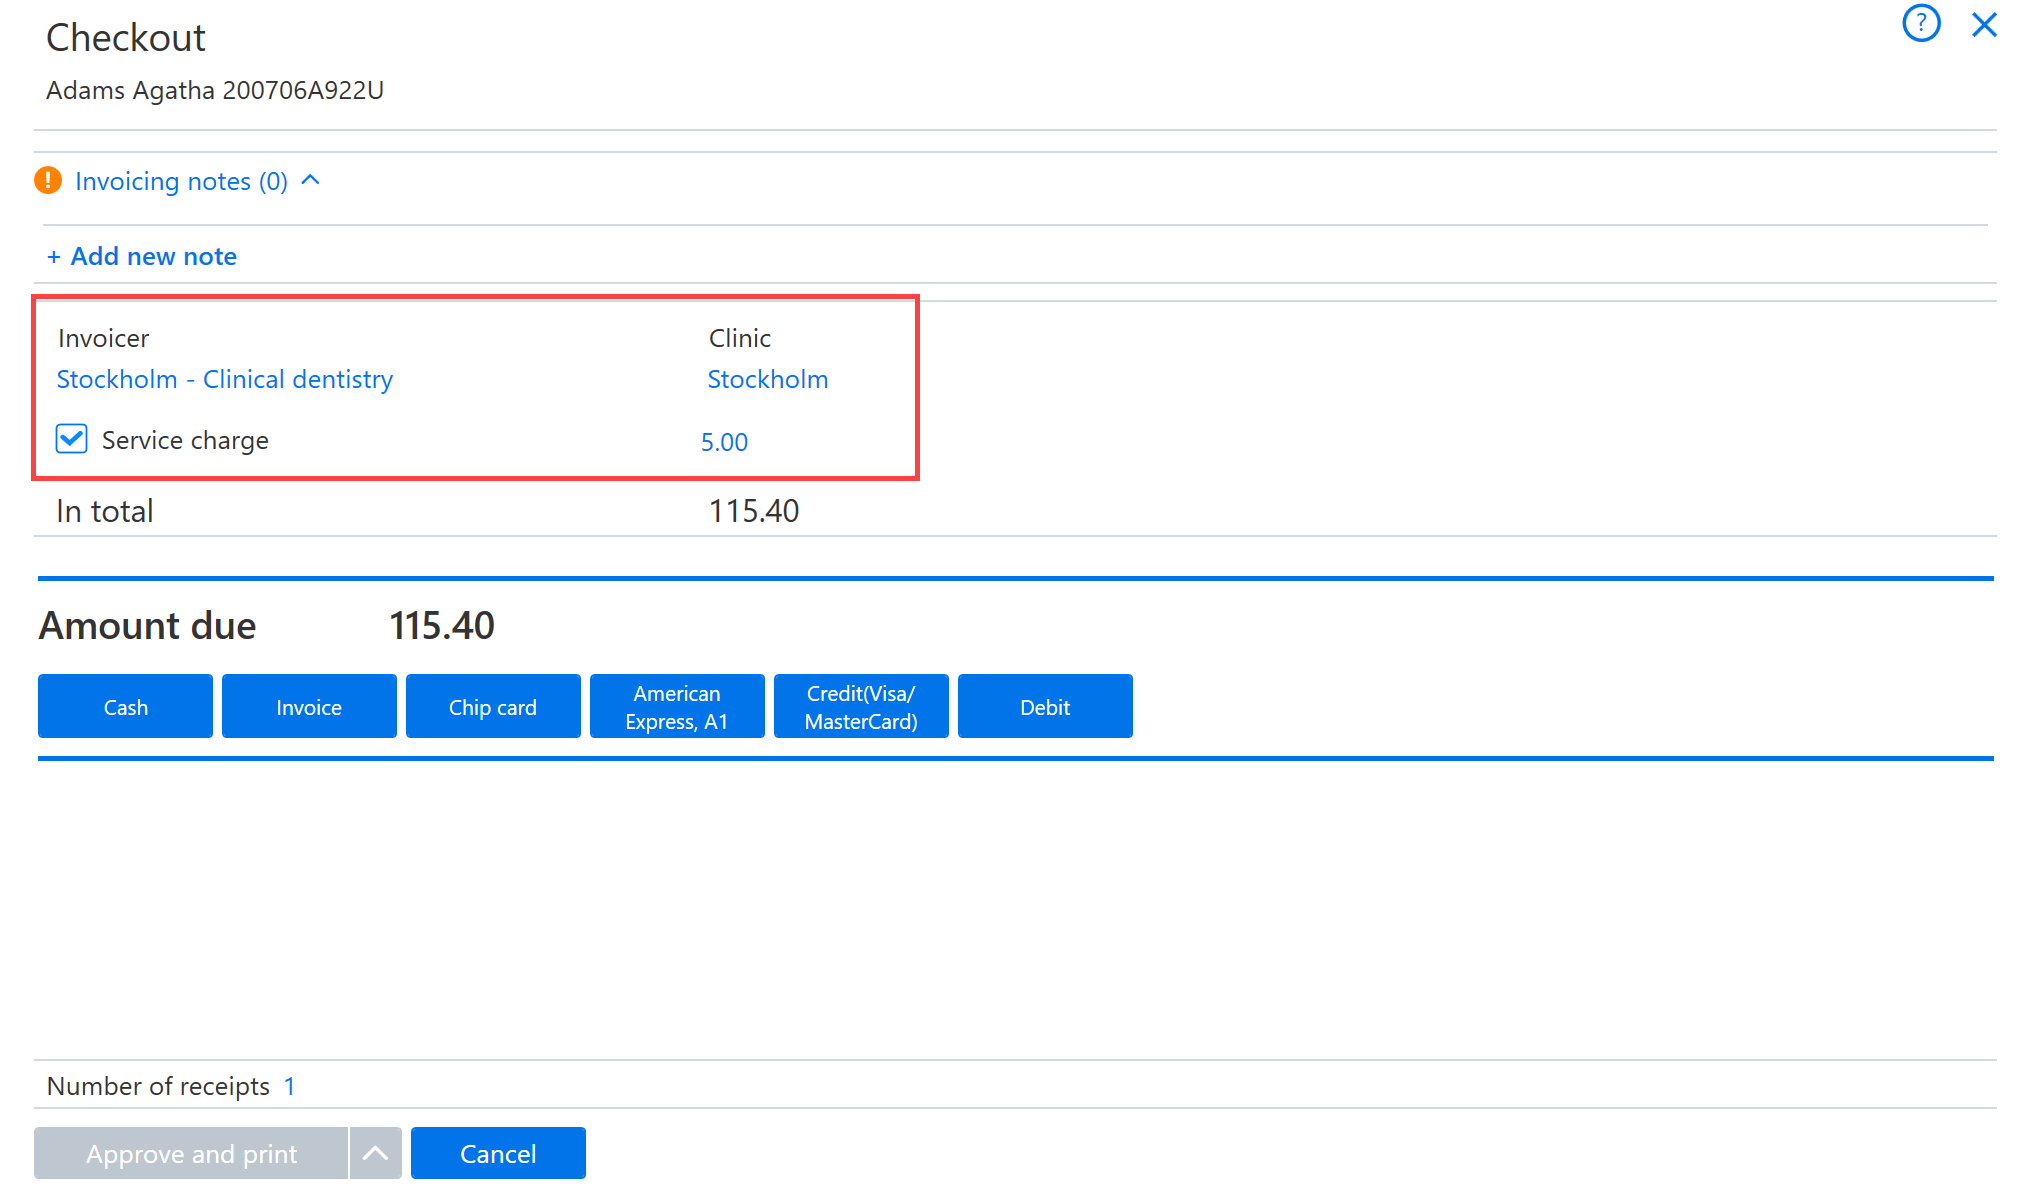
First, check that the unit settings and the Kela direct compensation settings are correct, and correct them if needed in the invoicing view.
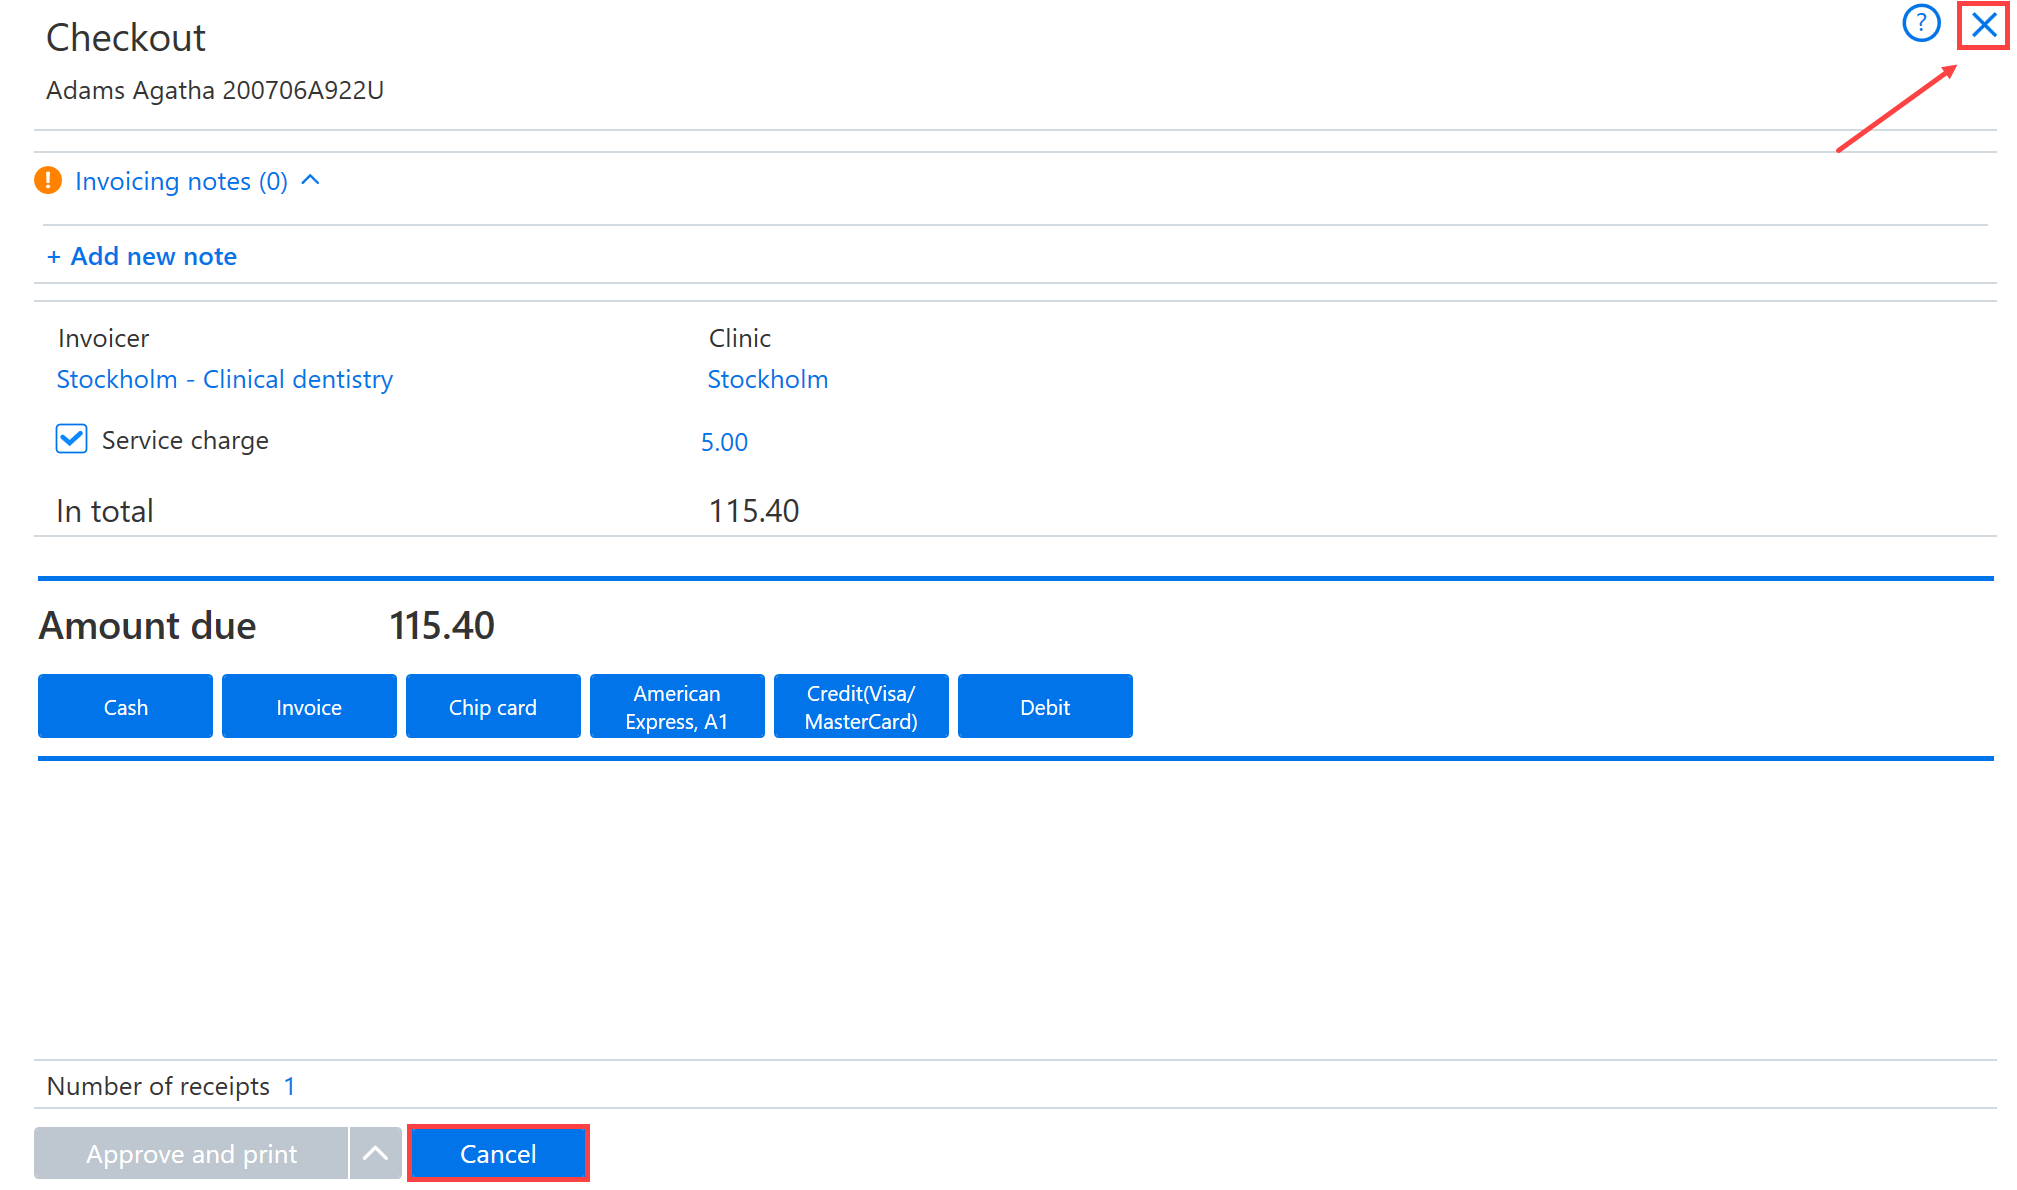
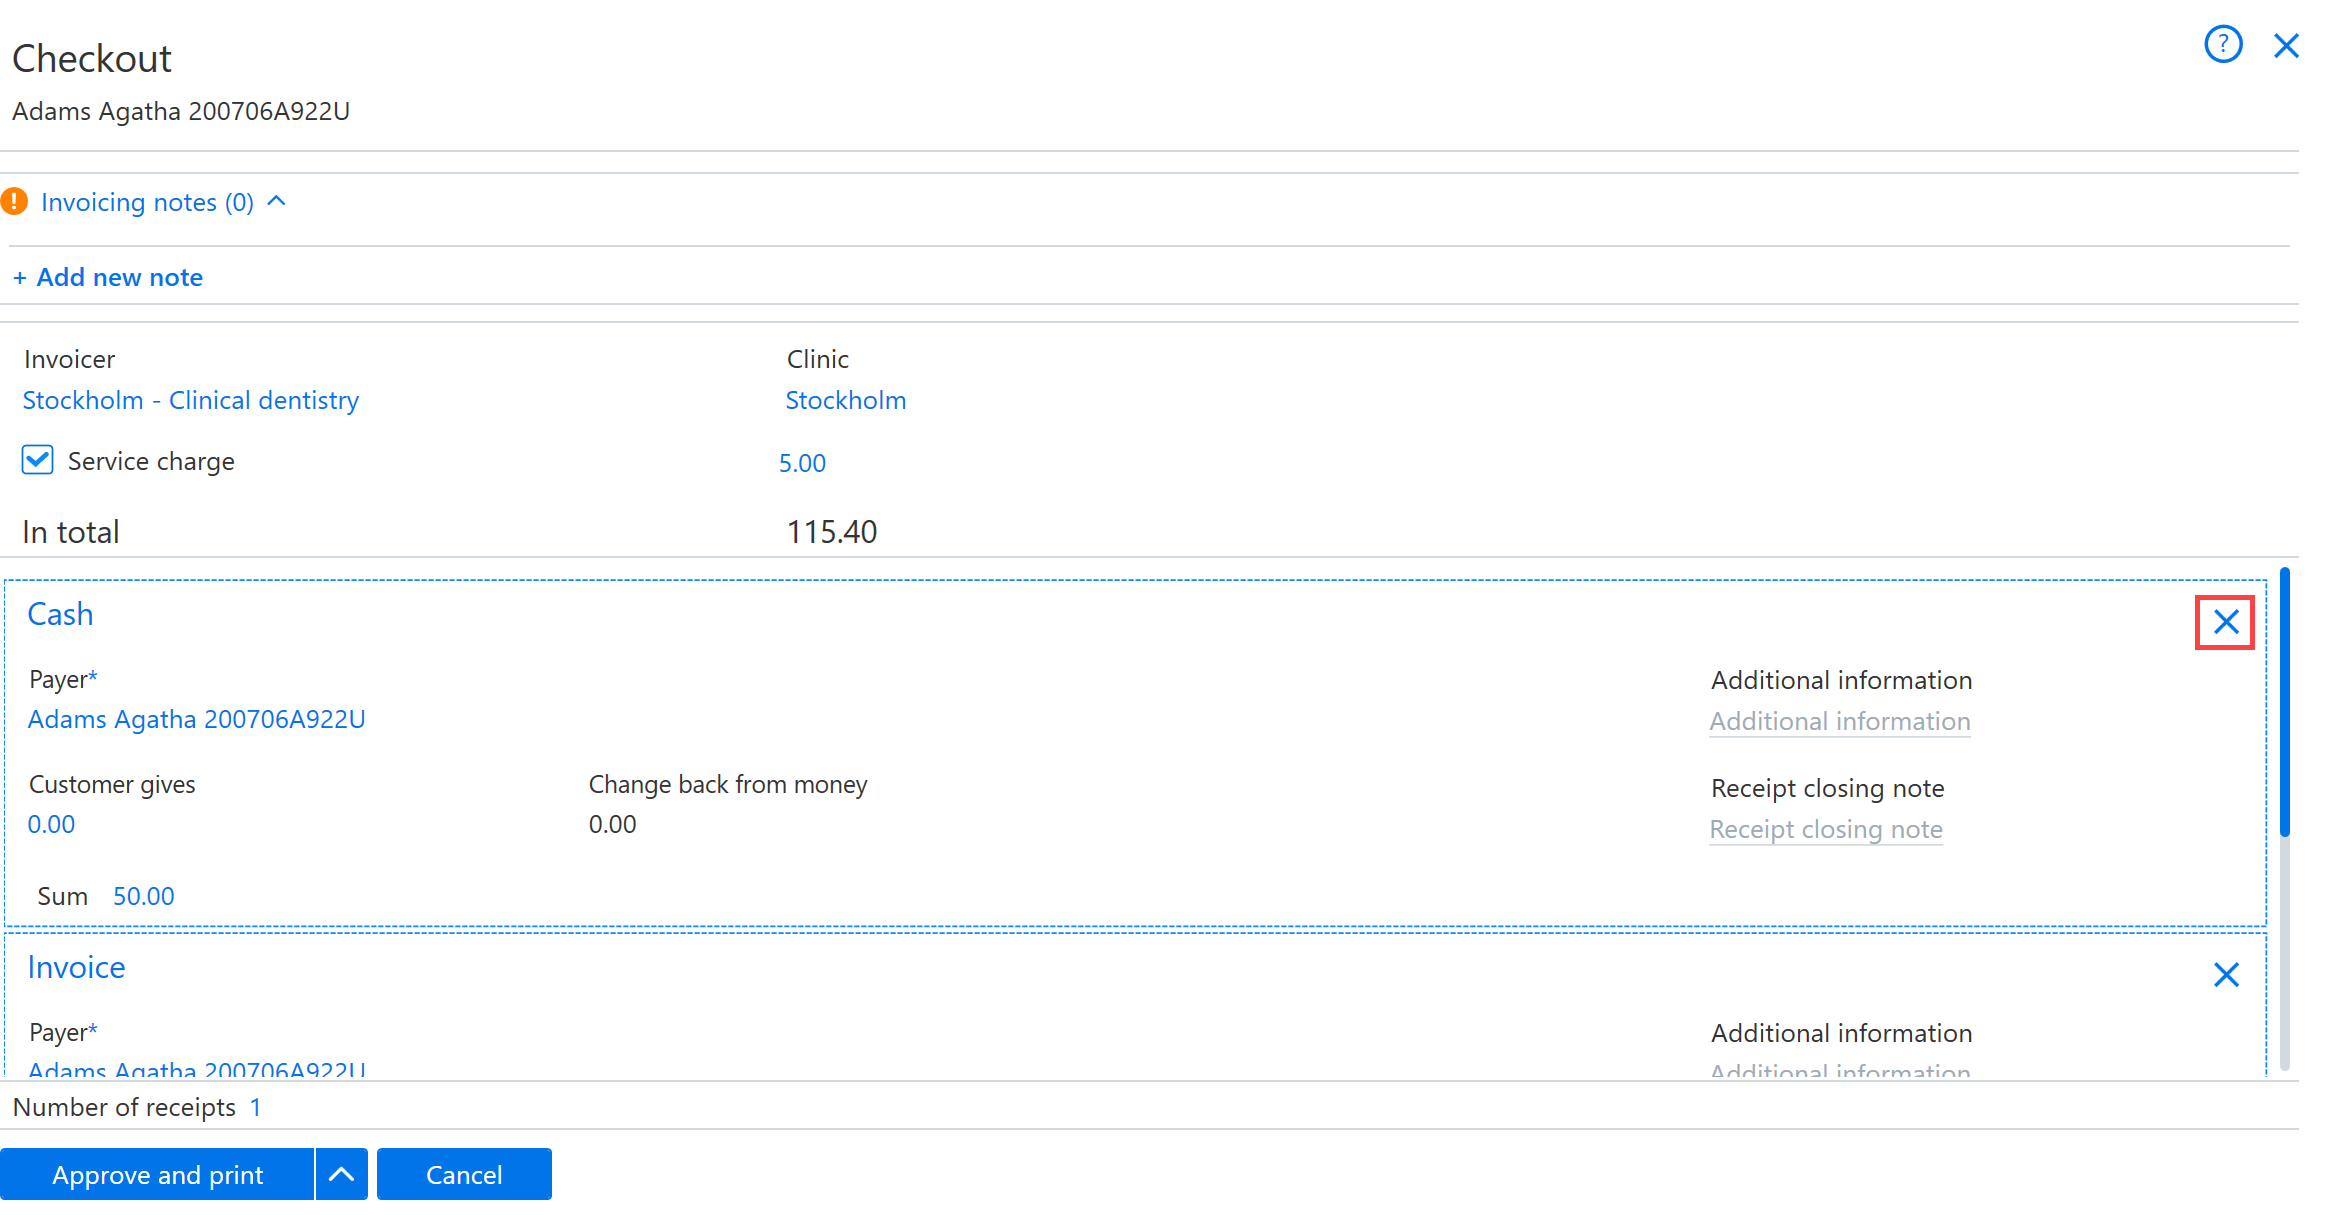
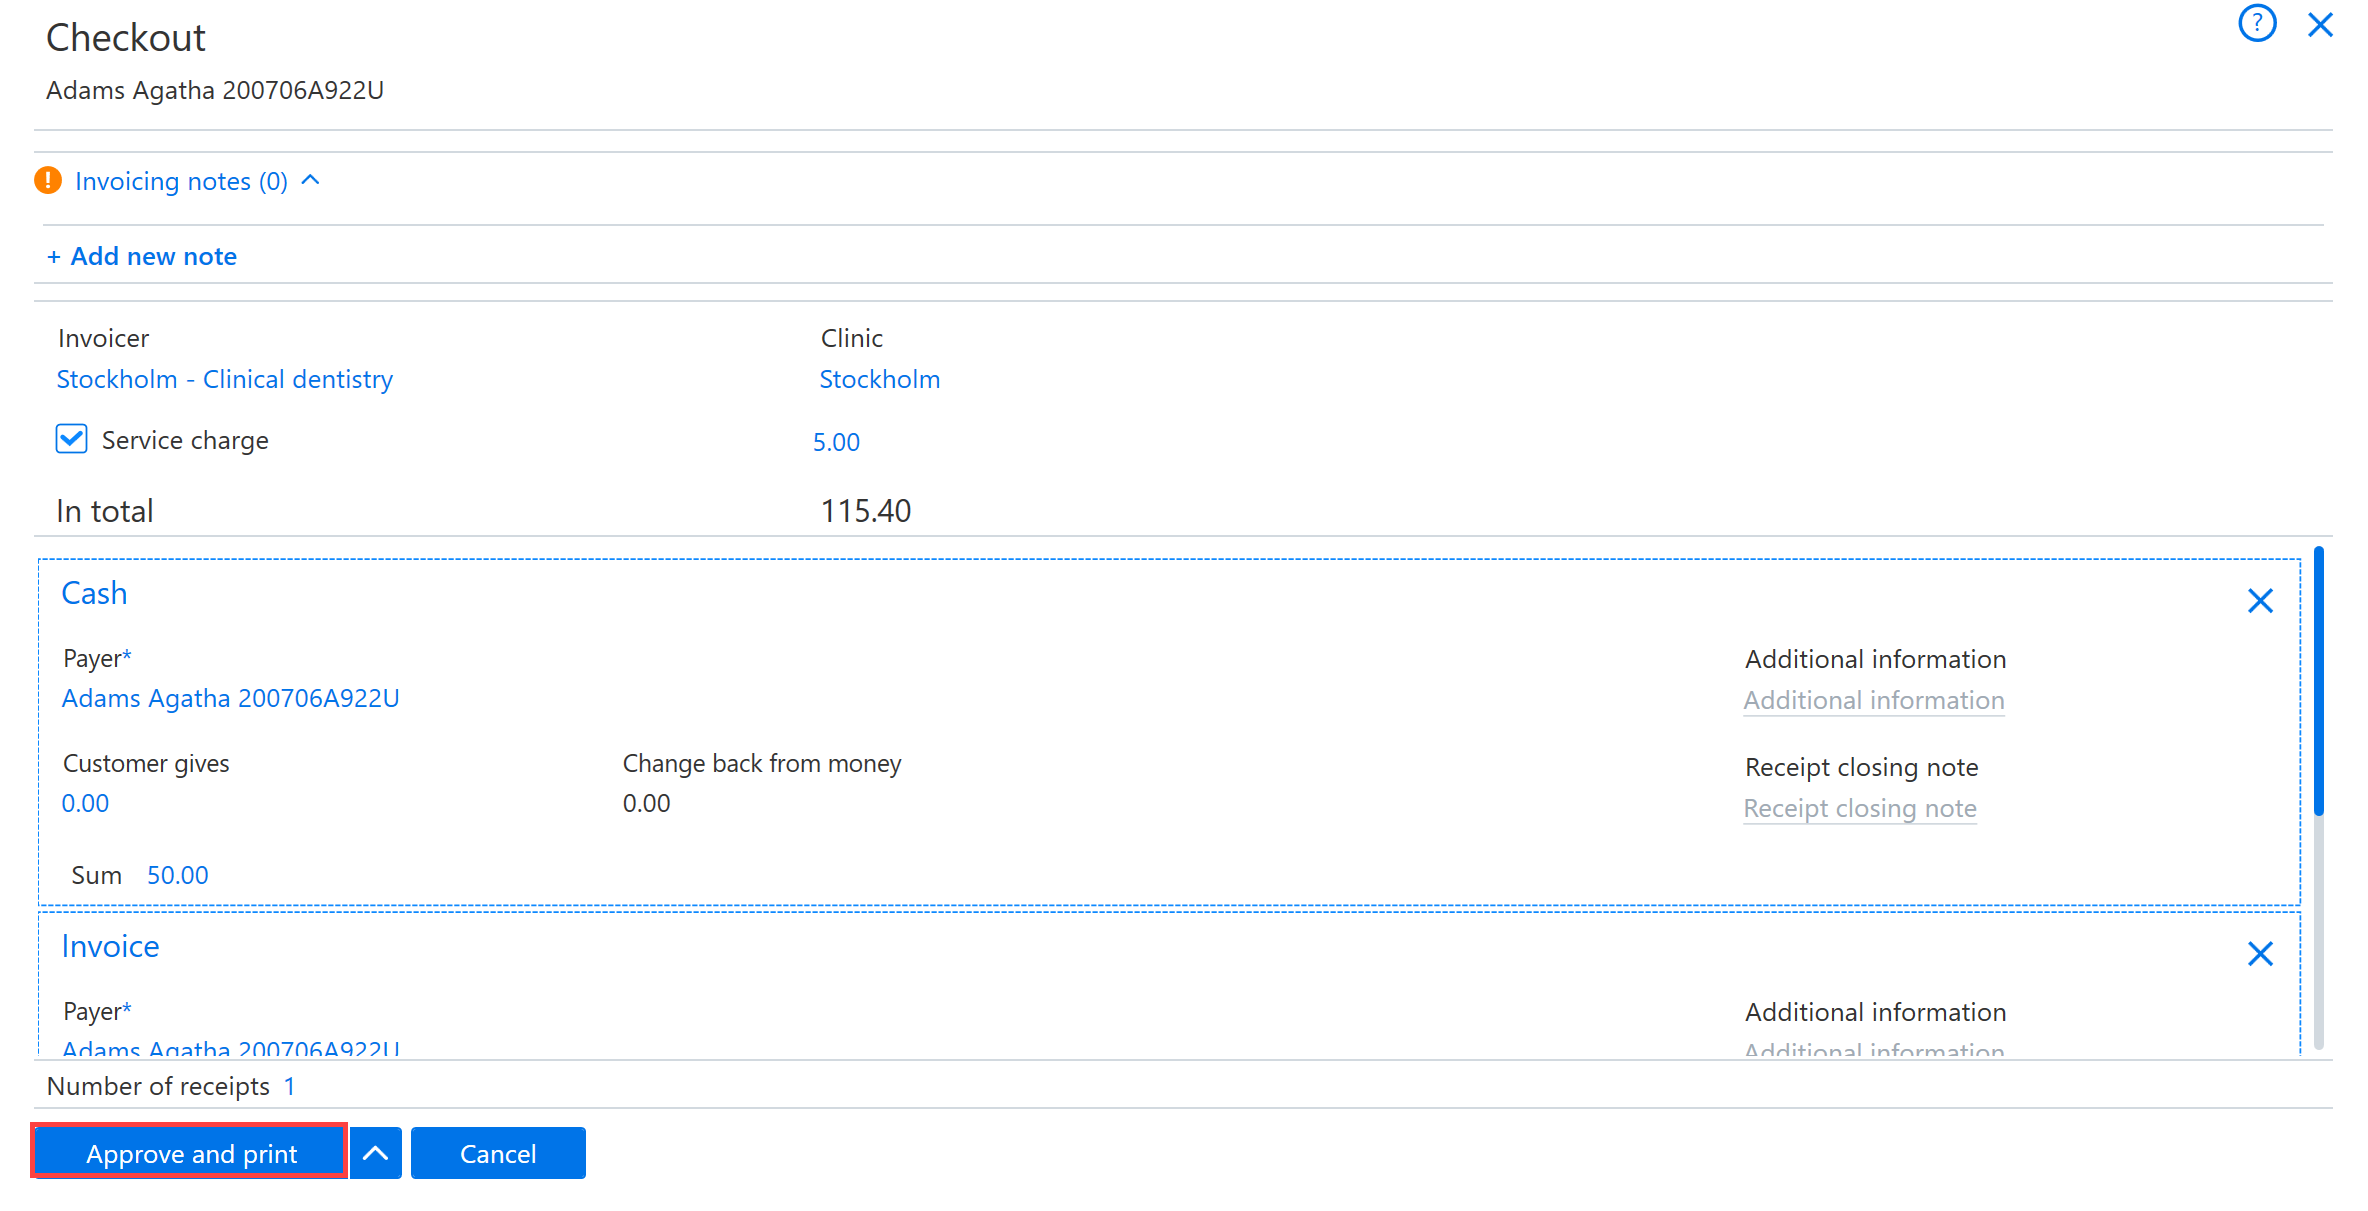
If you do not want to invoice the invoice rows yet or want to make changes to them before invoicing, you can return to the shopping cart by clicking Cancel or by clicking on the X button shown in the screenshot.
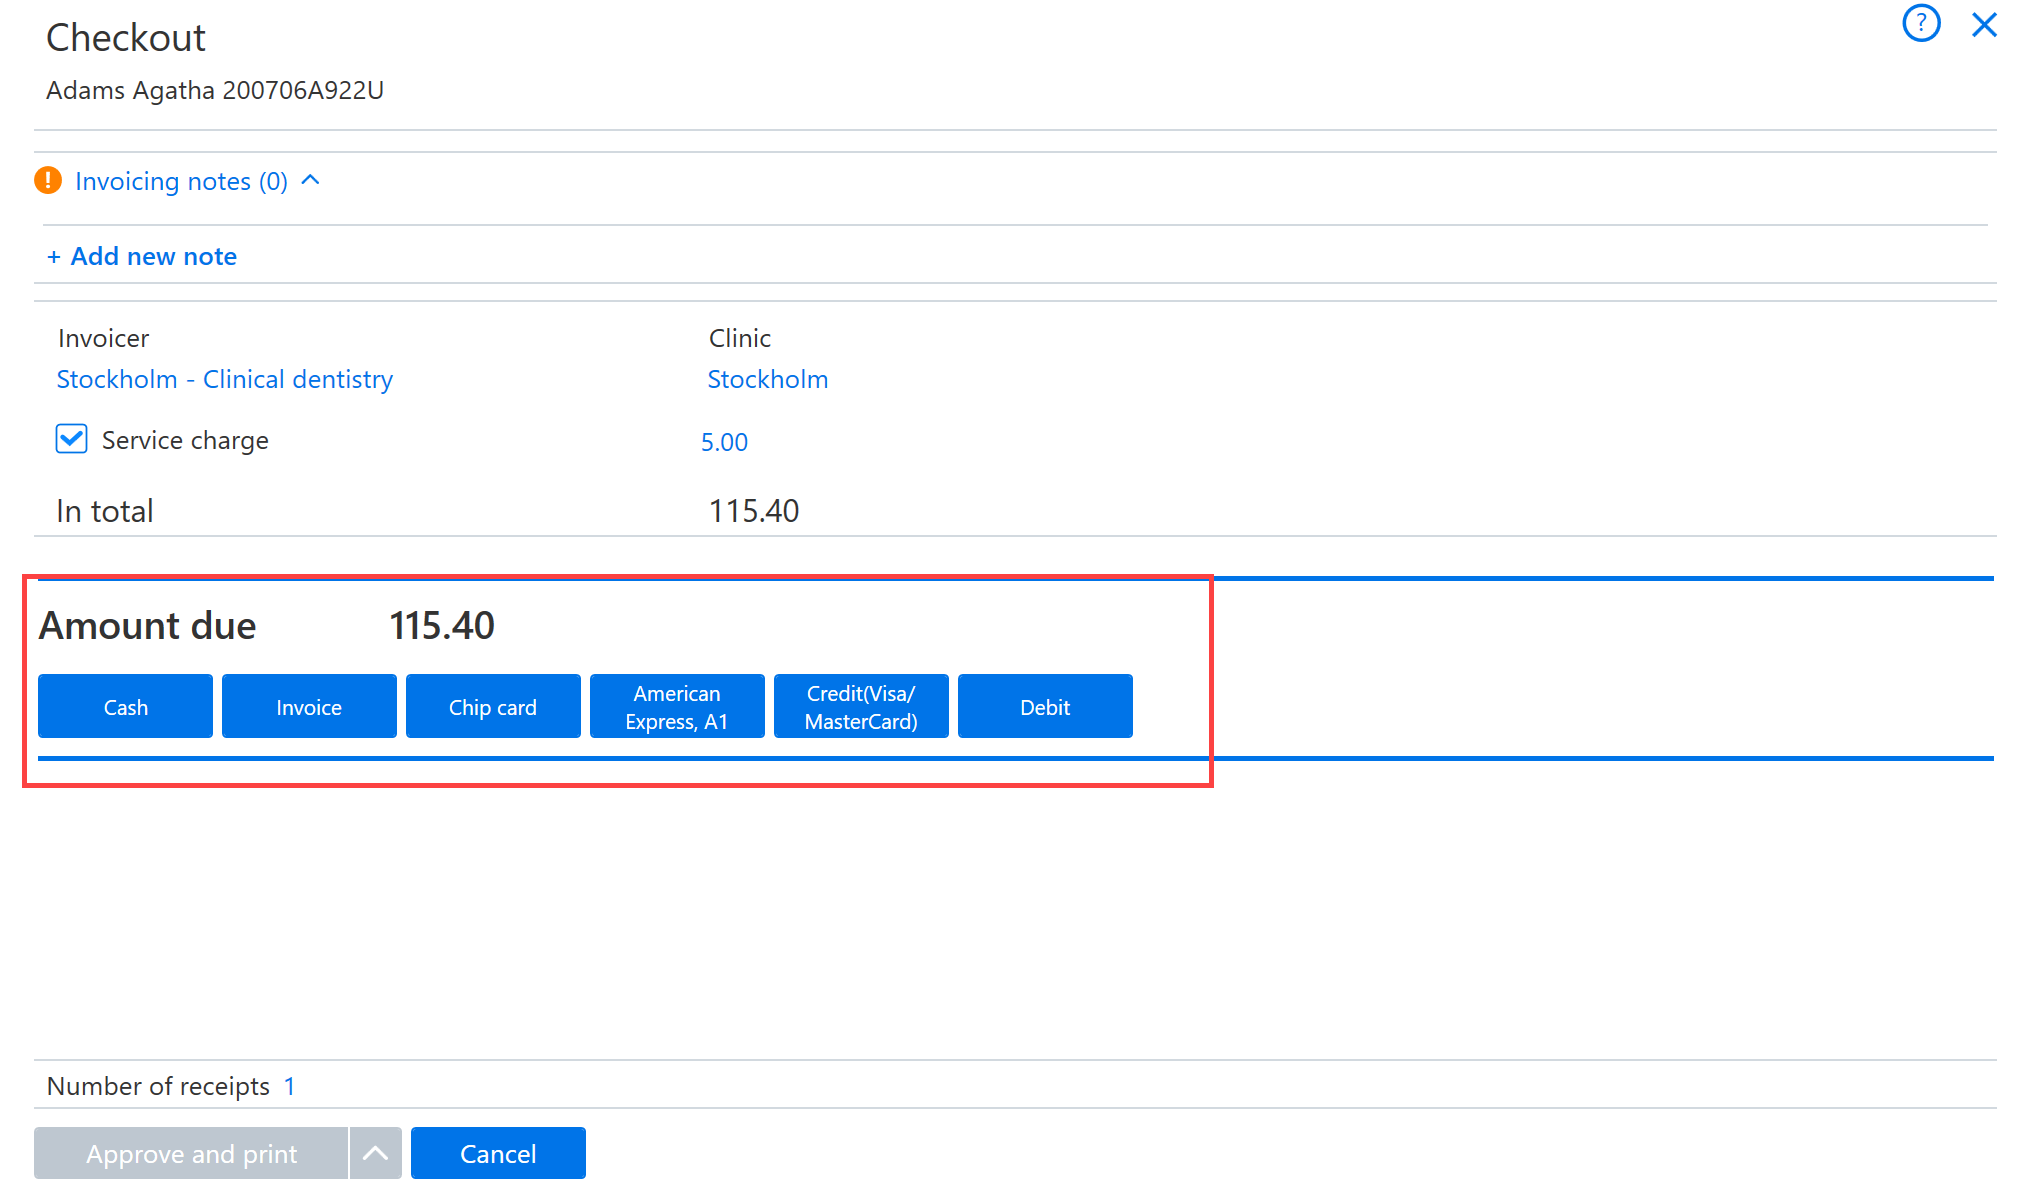
Next, the payment method is selected from among the different options displayed.
If needed, information specific to the payment method is then entered.
Other information can also be added to the invoice, including references, recipient, amount, due date, and closing note. For invoices, you can also edit the additional invoice options.
At the checkout, you can also decide whether to use a service charge when invoicing.
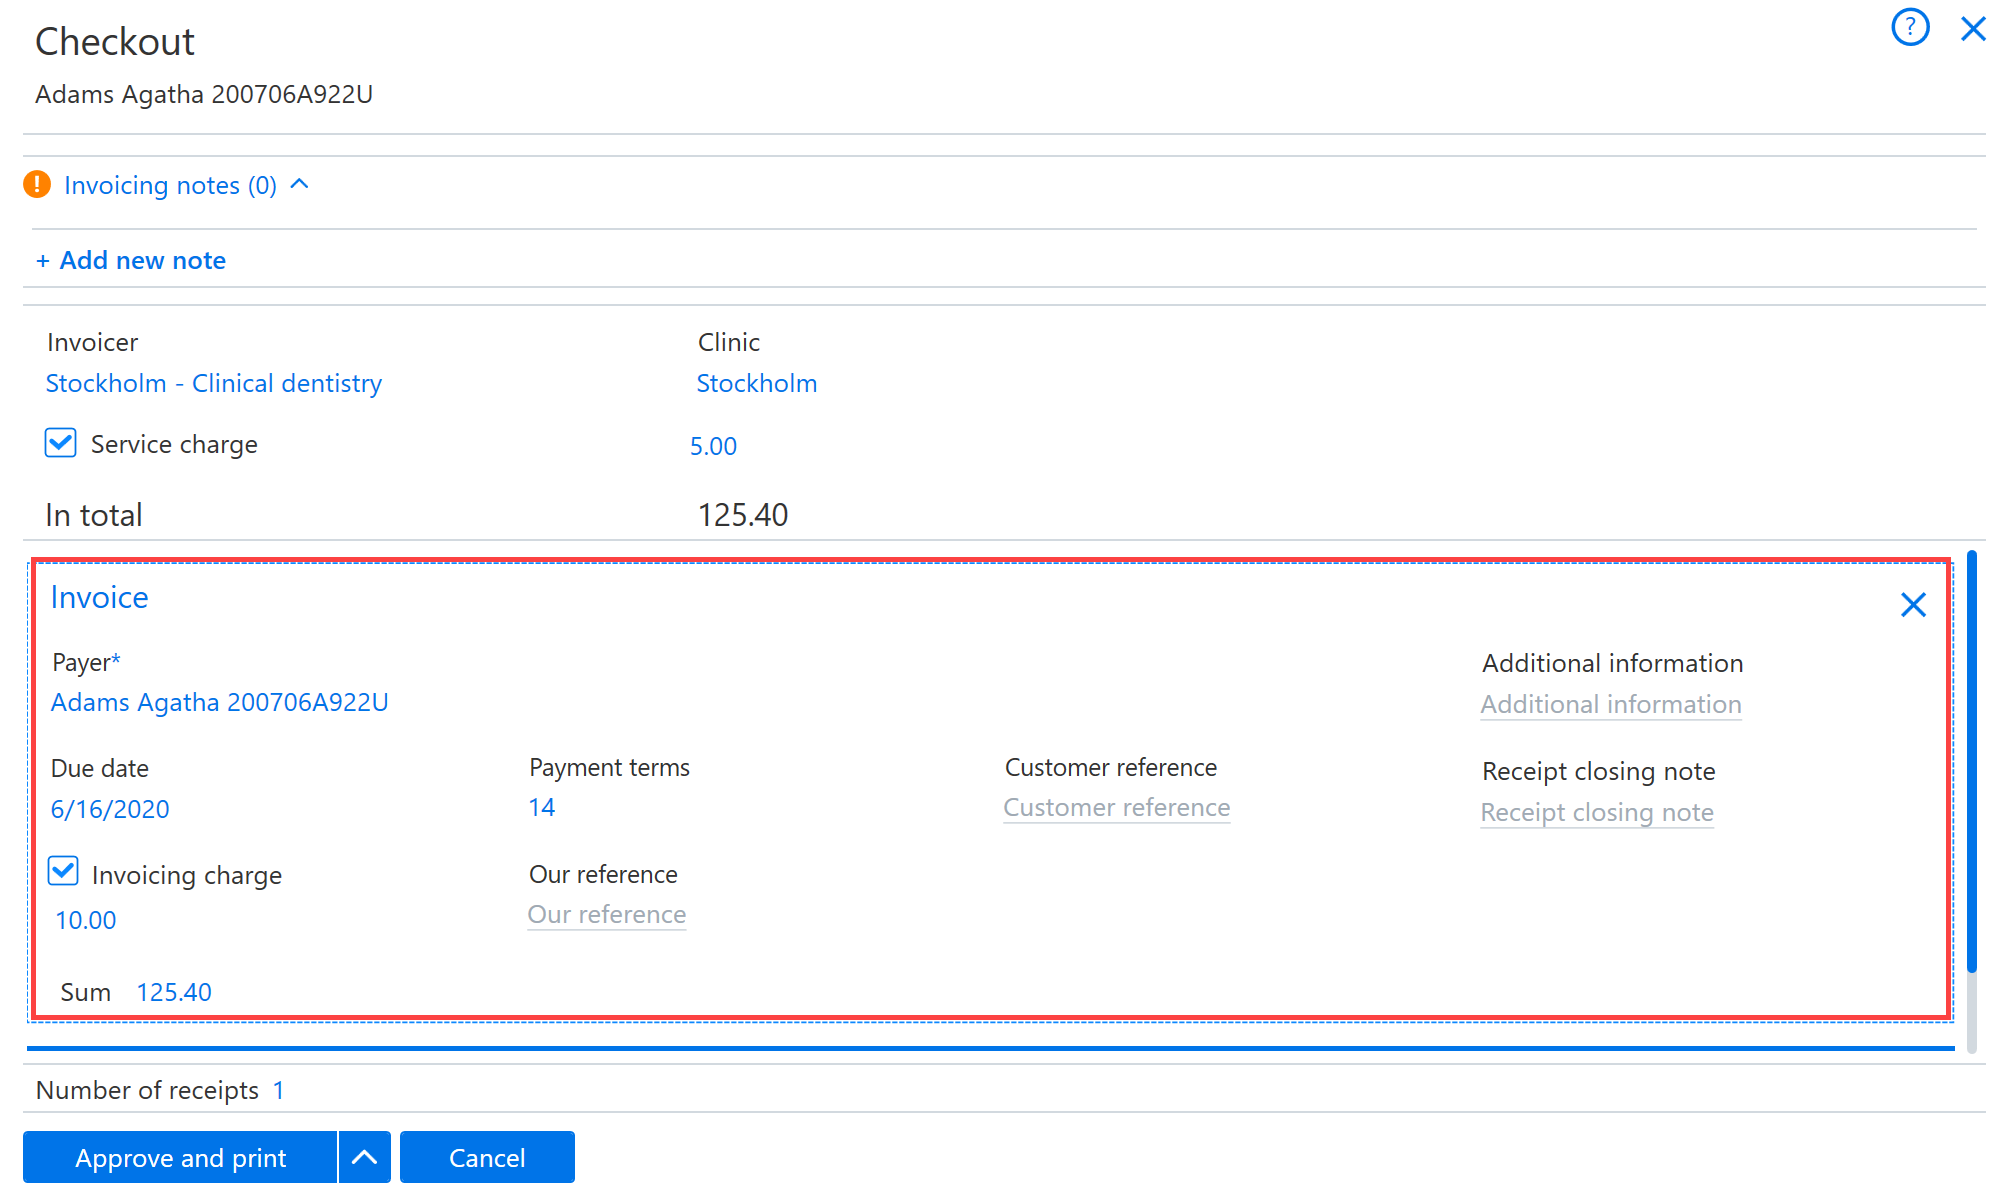
If desired, the invoice can be divided into several different payment methods or into several payment installments.
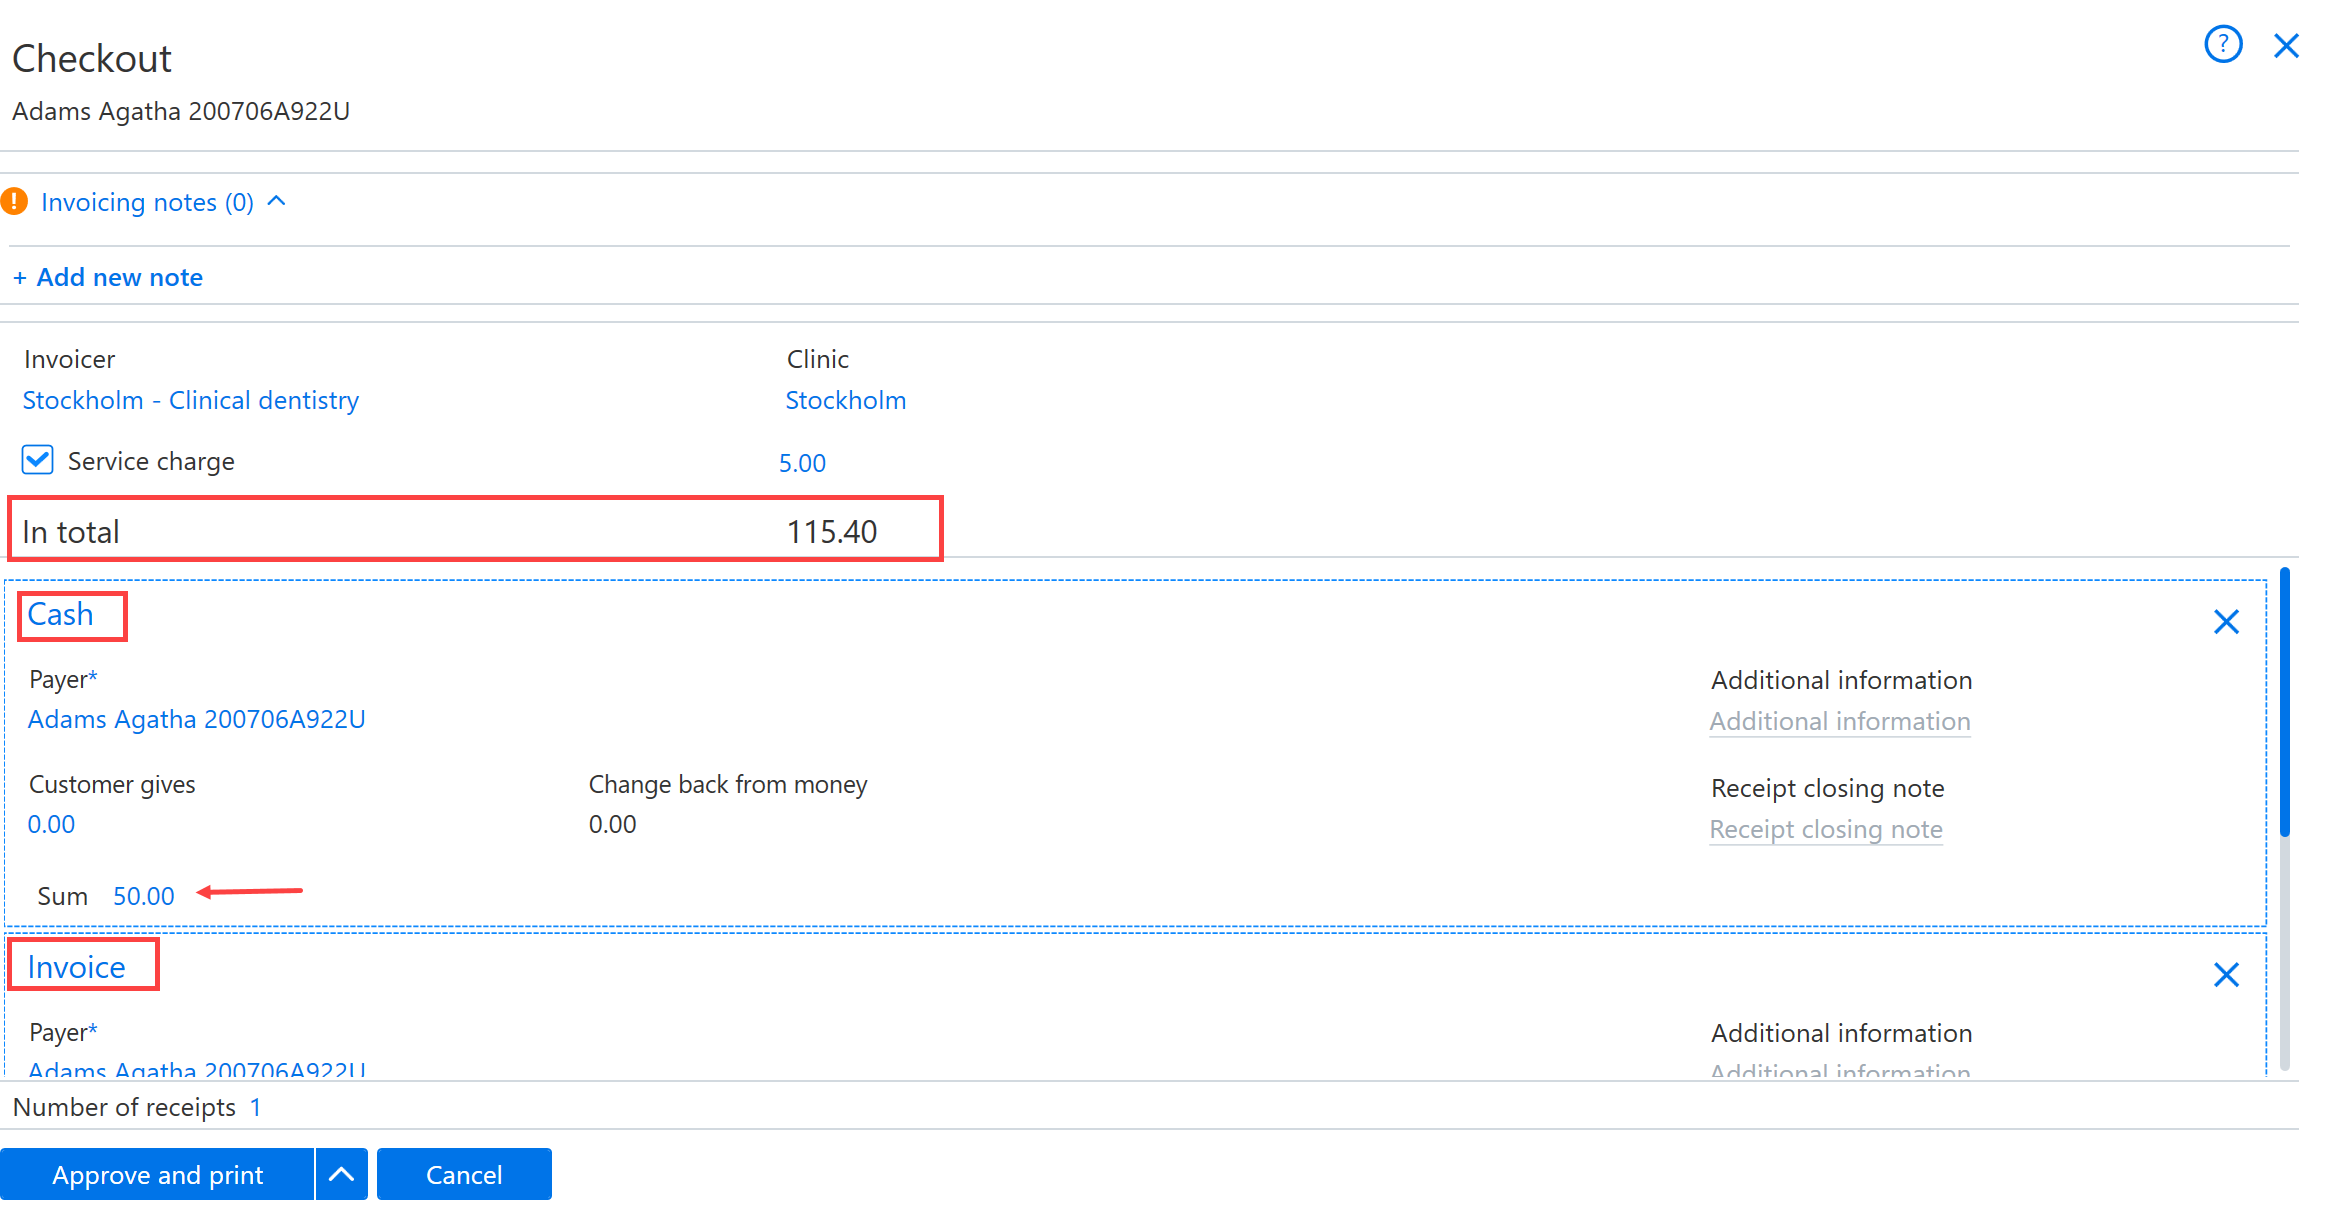
For example, the patient may want to pay part of the sum in cash and the rest by invoice. First, add the cash component and enter the amount of the cash payment. Next, add invoicing as a new payment method for the total amount.
By changing the amounts for the payment methods, you can adjust how the invoicing is divided between the different methods. The total amounts to be invoiced is displayed at the top of the invoicing view under In total.
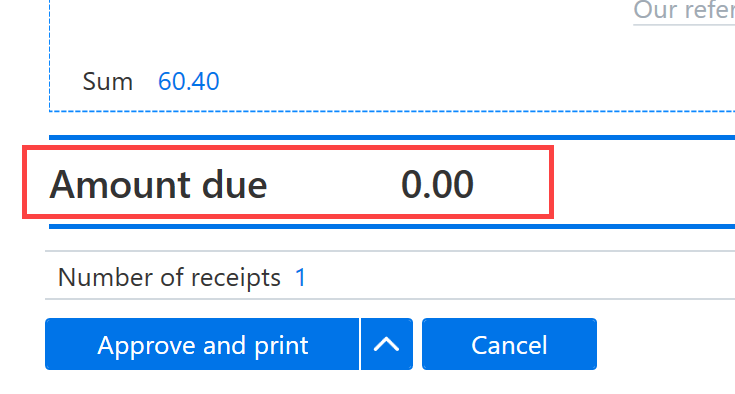
At the bottom of the invoicing view, under Amount due, you can see how much the patient still has to pay.
An invalid payment option can be removed by clicking the X button.
When there is €0 left to pay, the approve button turns blue.
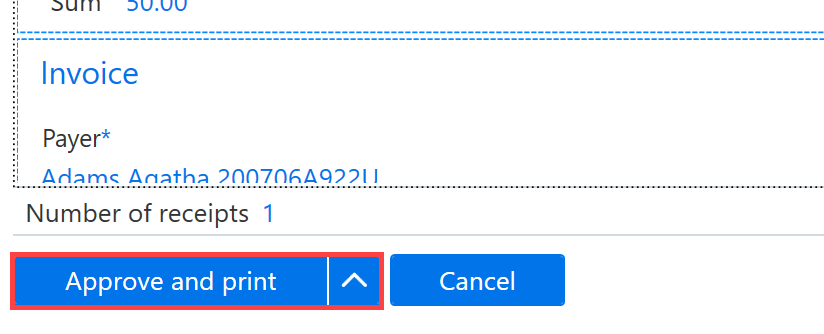
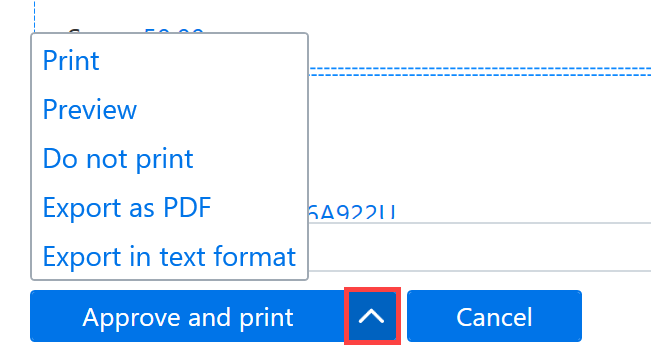
Click the arrow button to change the function of the button.
If the information is correct, the invoicing can be completed by clicking Approve and print.
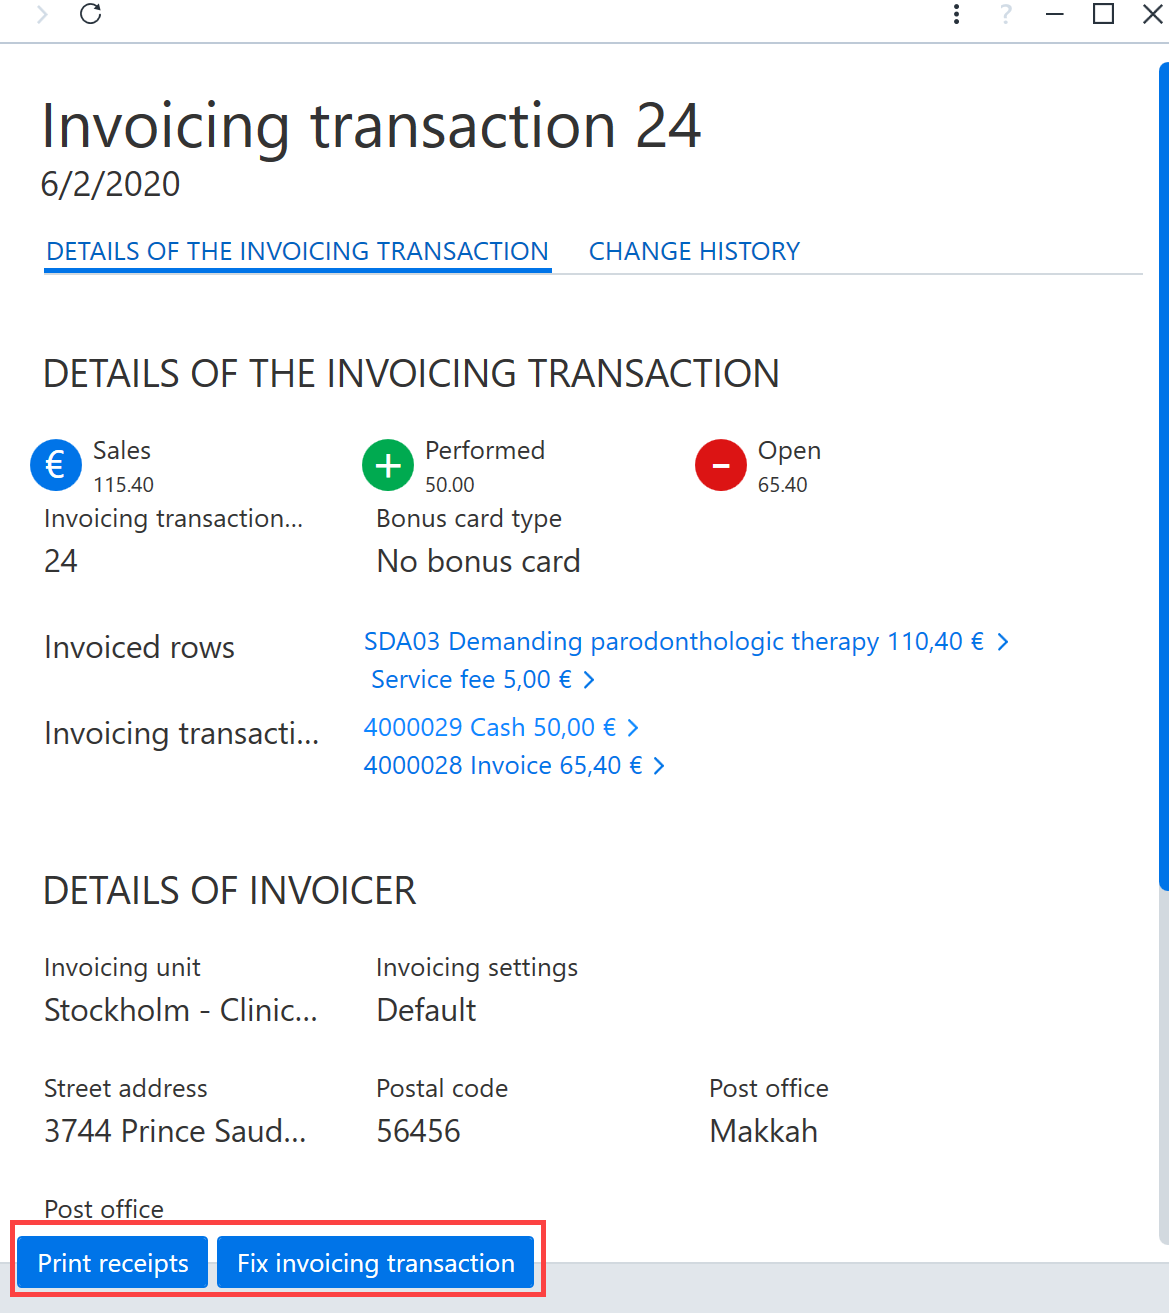
Once the invoicing has been successfully completed, an invoicing transaction is created. This invoicing transaction card can be used to print receipts or to correct the invoicing transaction.