You can create a new patient in the following ways either from the control panel or when making an appointment:
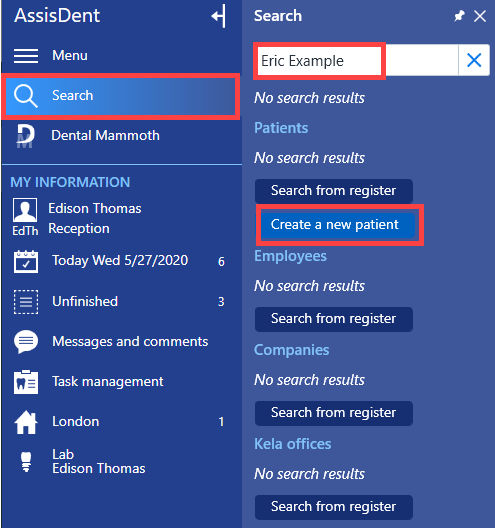
- From the control panel: Search → search for the patient using the search field → click Create a new patient.
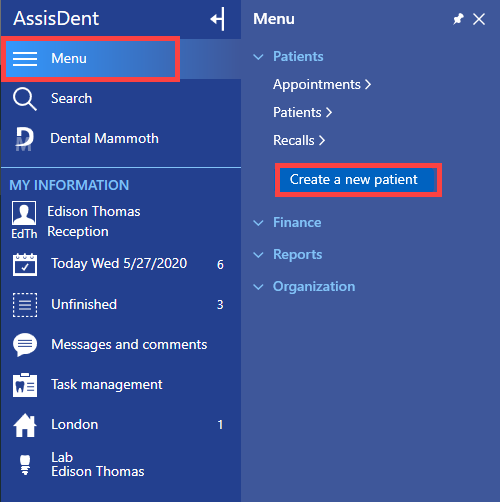
- From the control panel: Menu → Patients → Create a new patient.
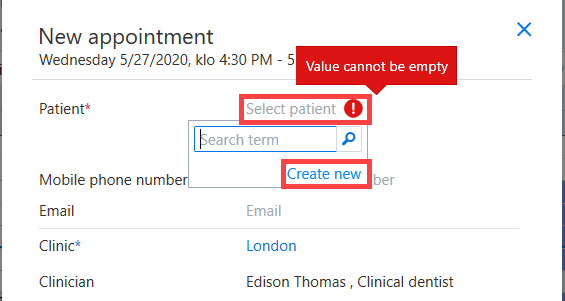
- When booking an appointment: Select the appointment time in the calendar by dragging the mouse → enter the patient's name in the Select patient field → click Create new.
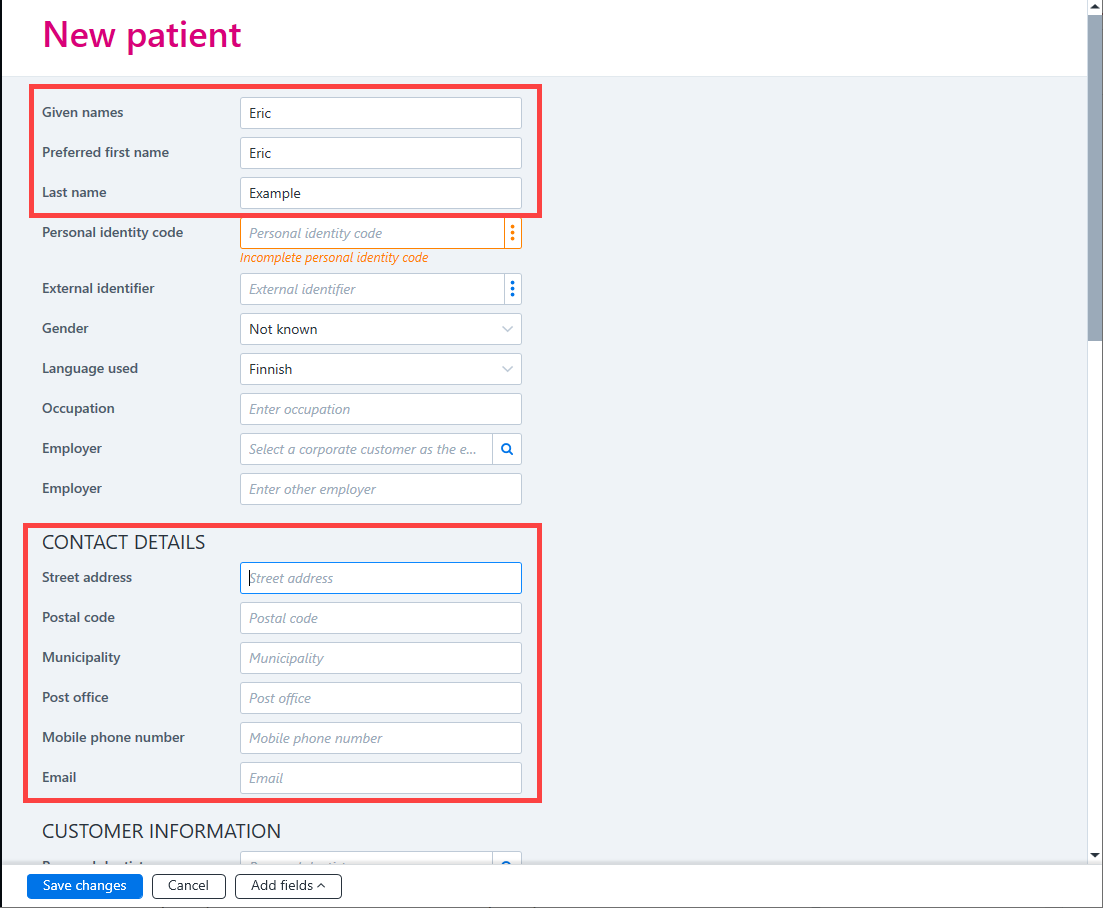
Enter the patient’s basic details into the blank patient card which opens up. The mandatory details are the patient’s given name, preferred first name, and last name. You should also enter an address if you want to invoice the patient.
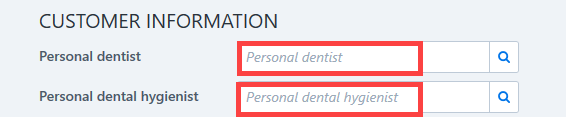
The patient can be assigned their own personal dentist and oral hygienist in their customer information.
You can also set the recall permission setting as either recalls permitted, recalls denied, or not known.
By default, Internet appointments are allowed for new patients.

The desired contact methods for the patient can also be set.

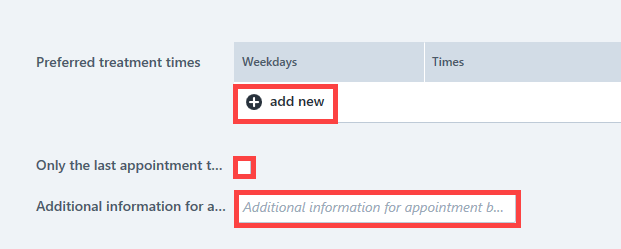
Under Preferred treatment times, you can specify the most suitable times for the patient to visit, or alternatively select that only the last appointment time of the day is suitable. The patient's preferences for treatment times influence the results obtained when using the batch appointment creation function in the recall register.
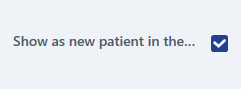
The Show as new patient in the... setting is enabled by default. This means that an asterisk appears next to the patient’s name at the top of the patient's home page, in the reception view and in the patient register. The asterisk is also displayed in the appointment calendar for the current day next to the appointments of any new patients. The asterisk disappears automatically once the first document is locked for the new patient in their patient record.
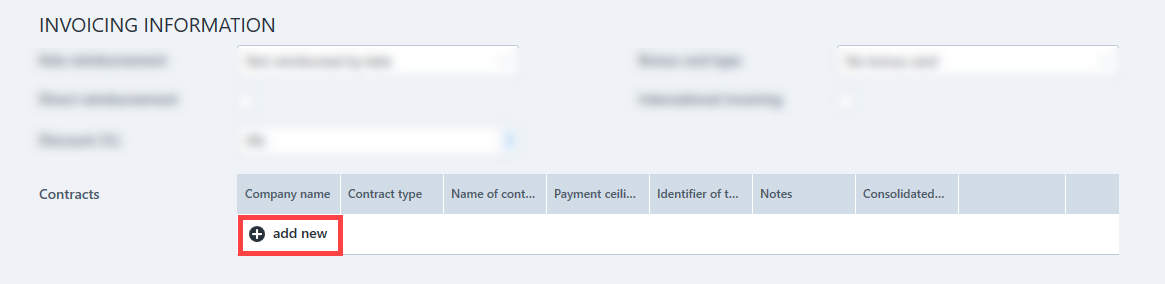
In a patient’s invoicing information, you can add, for example, an occupational health contract.
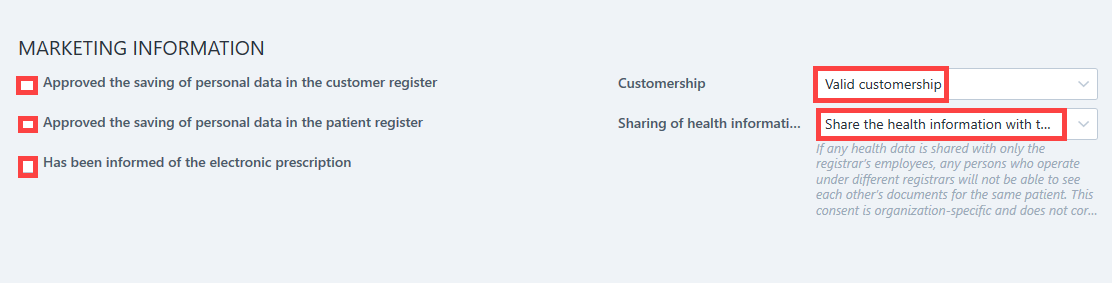
When creating a new patient, the patient's marketing authorizations and consent to the storage of personal data can also be recorded.
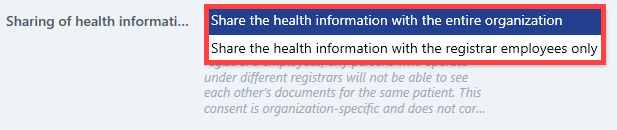
You can choose to make the patient’s health information visible only to the employees of the registrar. If the option Share the health information with the register employees only is enabled, only persons working for the same registrar (the service provider) can view patient visits using the AssisDent patient record. However, all employees can still see the most recent visits listed on the patient's home page. This data restriction setting should only be changed at the patient's request.
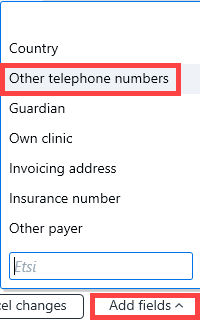
In addition to the default fields, you can also add other text fields for the patient, such as another telephone number. These are added by clicking the Add fields button at the bottom of the customer information and selecting the desired option from the list shown.
To save the new patient, click Save changes on the bottom row.

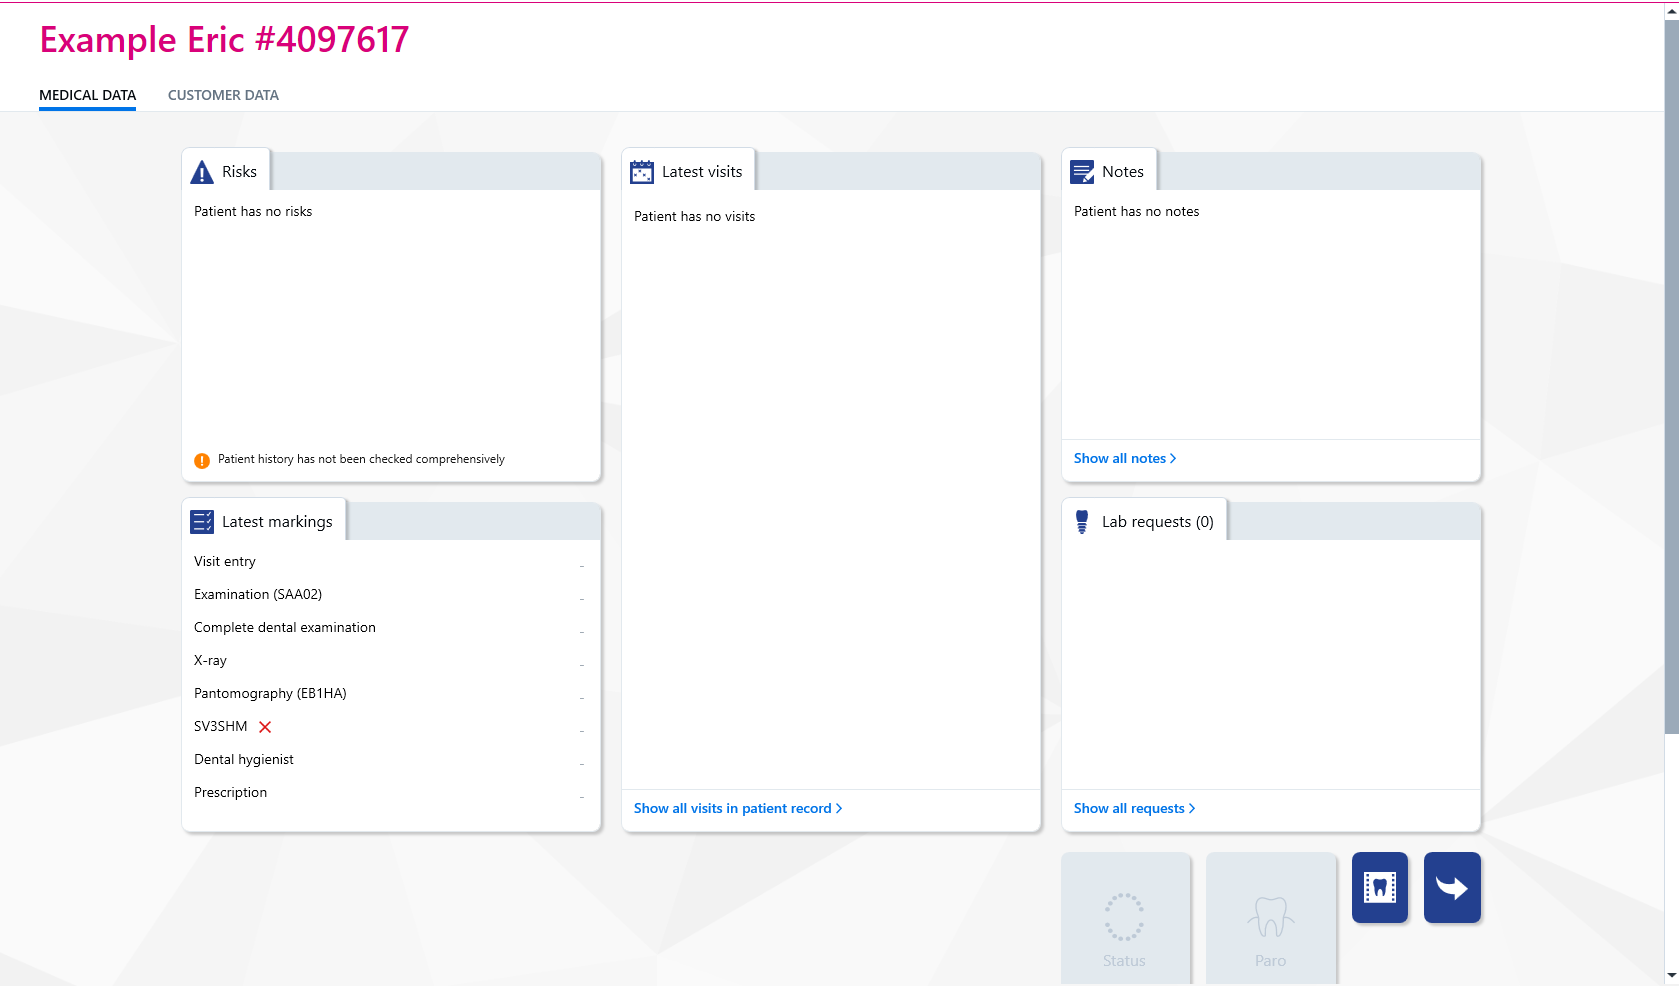
Once the new patient has been created, the programme opens the home page for them.