The patient documents contain information about the patient’s status and treatment. The patient documents (including visit documents and forms) can be found in the patient record.
Document creation
You can open a new document:
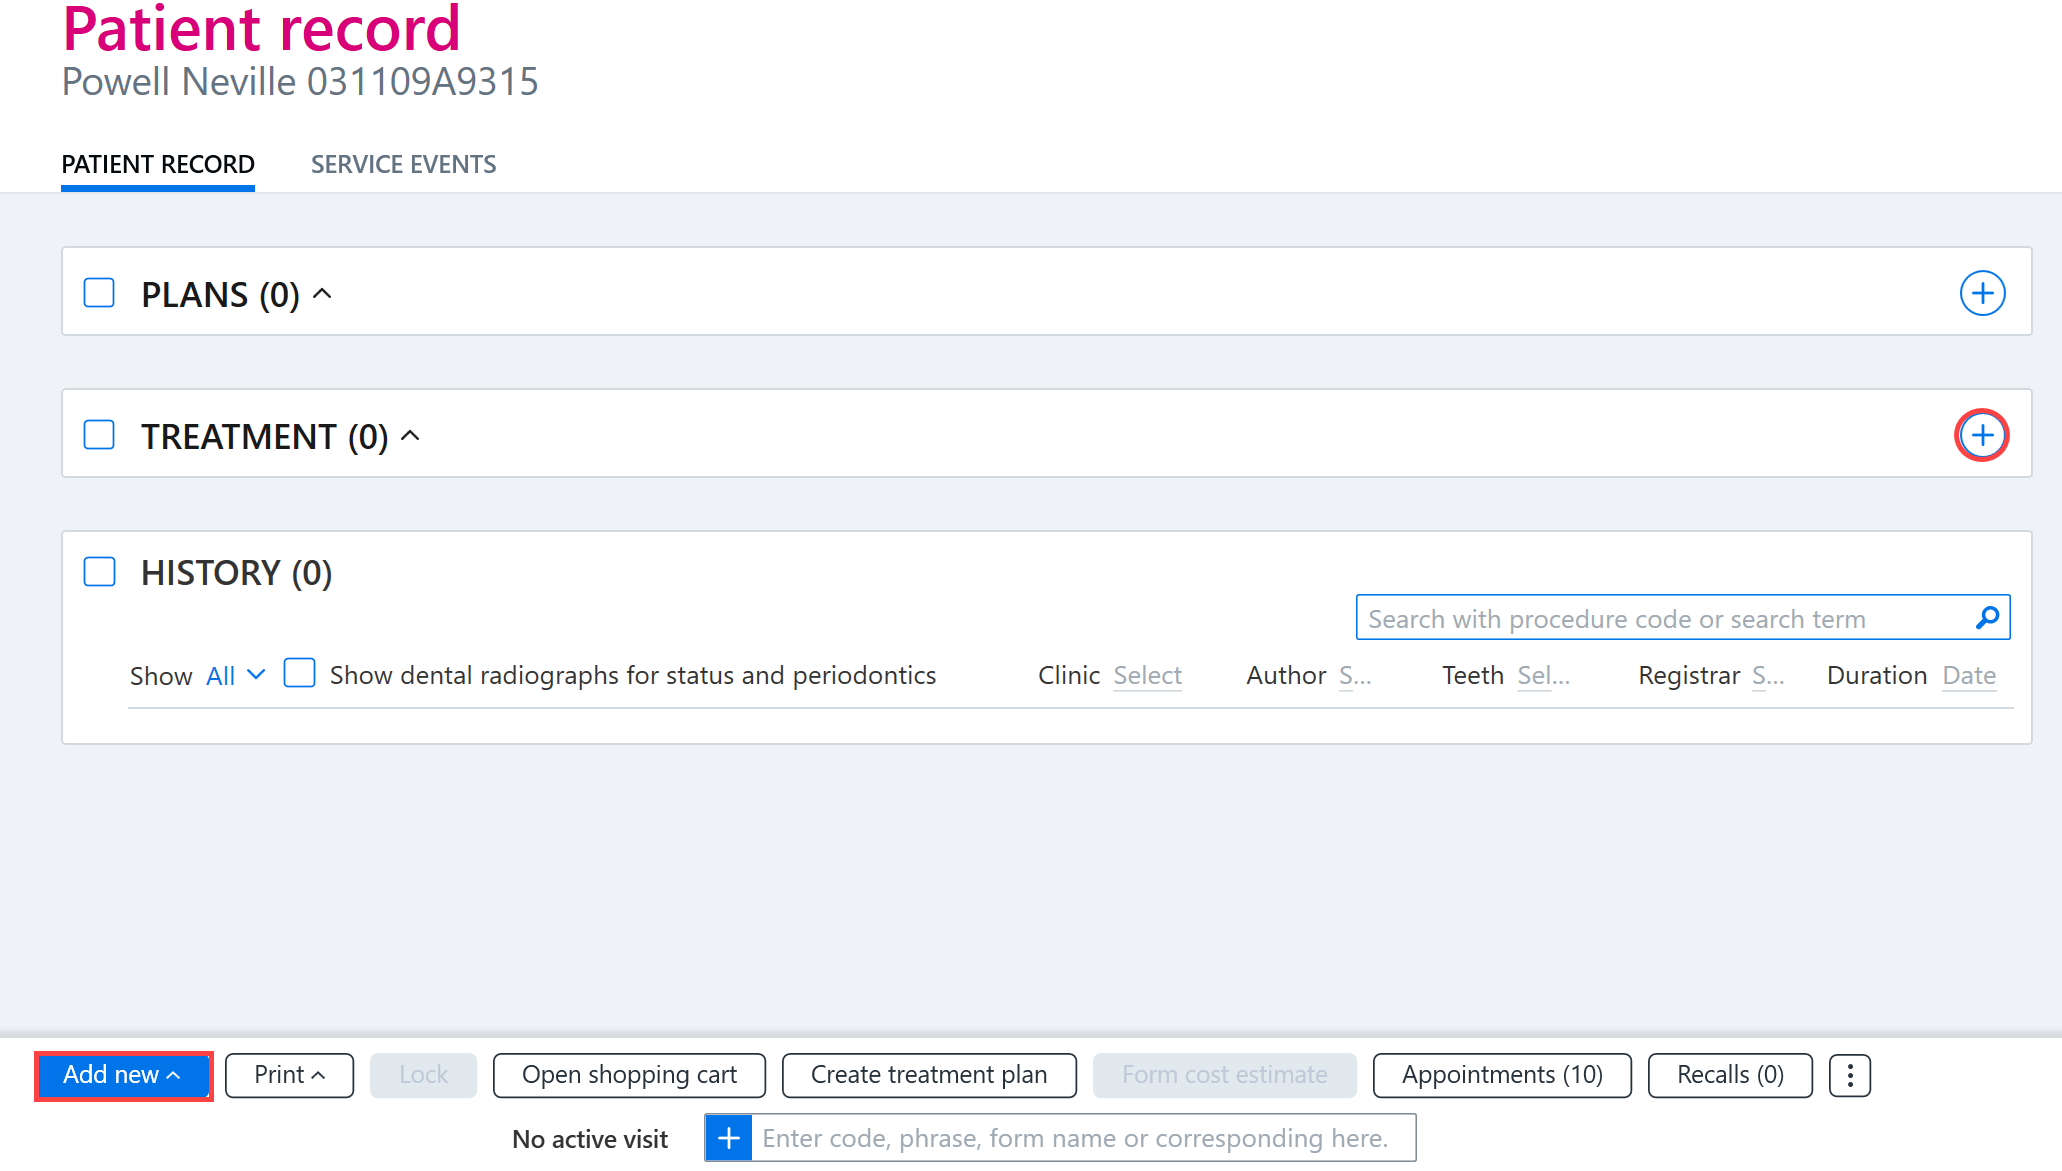
- a) using the + button next to the Treatment heading and selecting the desired document from the drop-down menu.
- b) from the bottom of the patient record by clicking the Add new button and selecting the desired document from the drop-down menu.
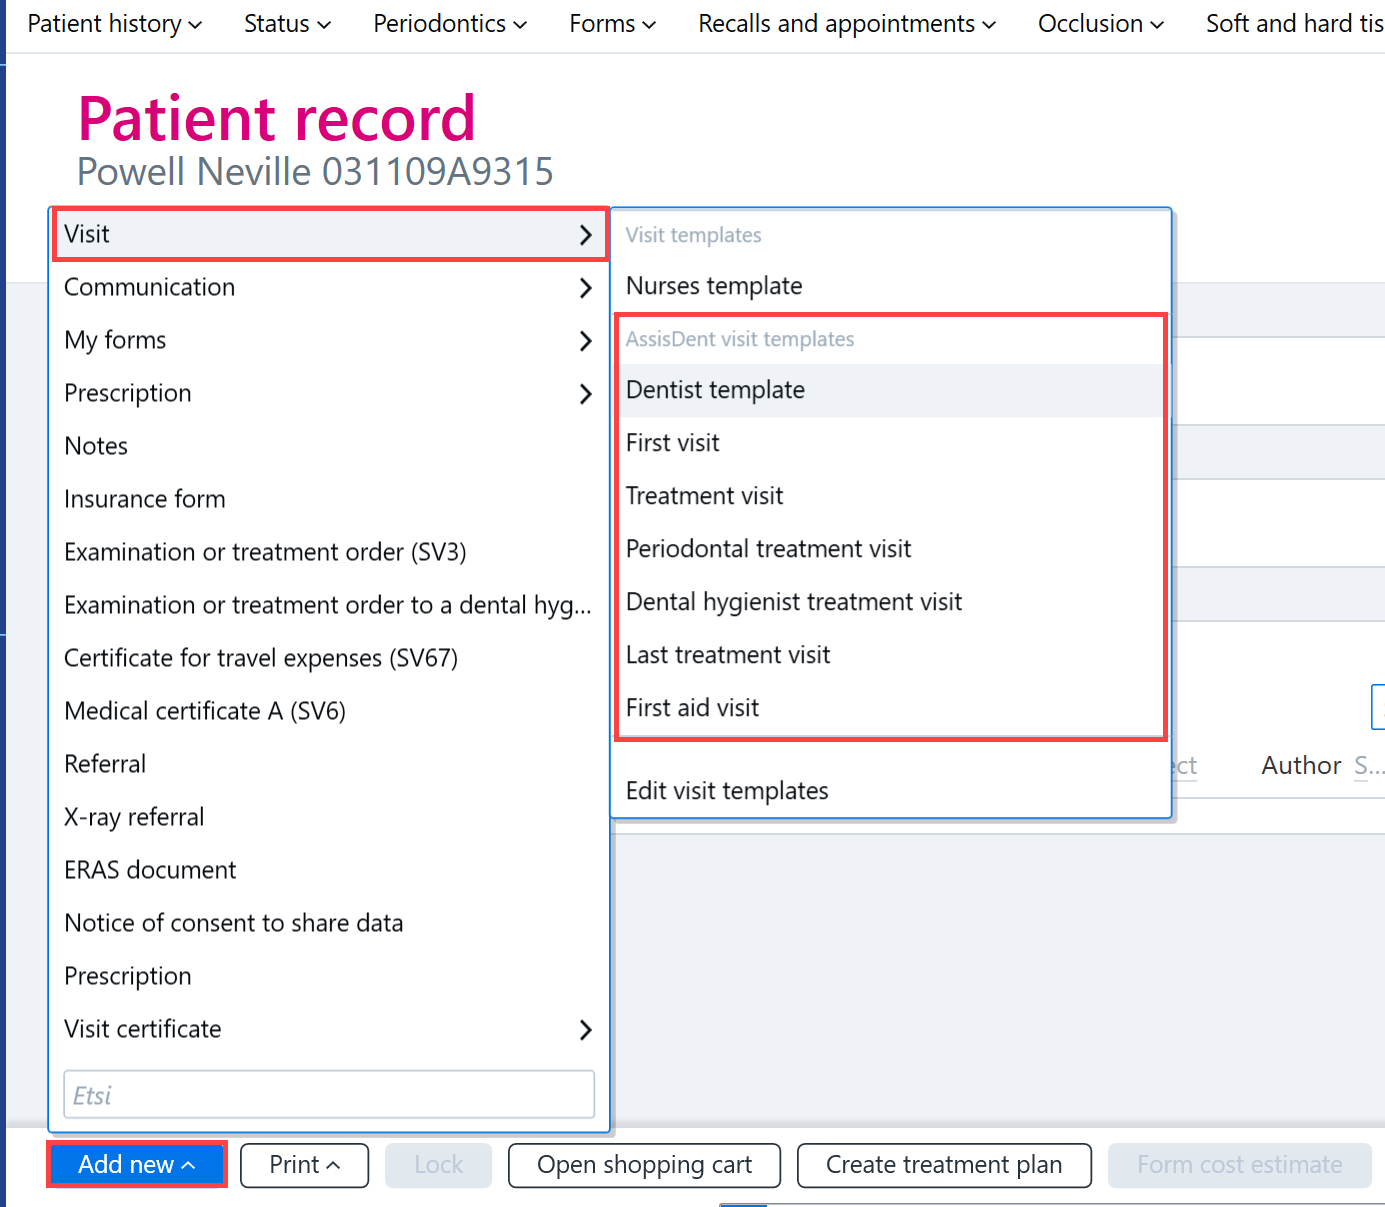
For example, to add a new visit for the patient, click the Add new button, hover the mouse over Visit and select the desired template for the visit.
Document approval
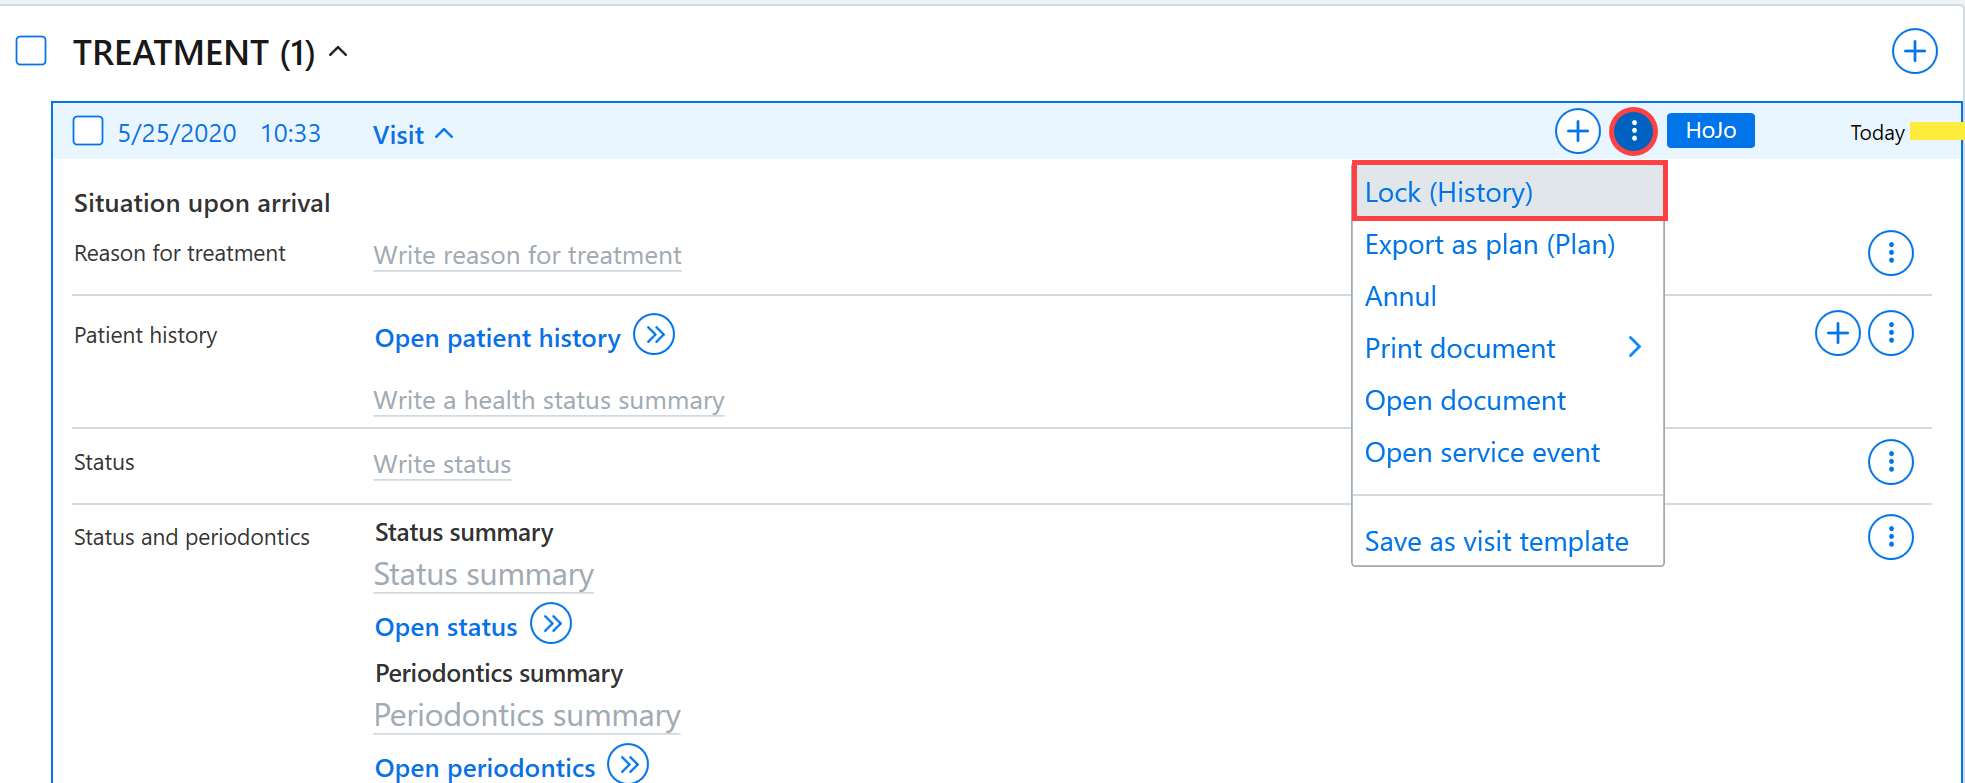
The document can be approved by clicking on the Additional functions button on the right side of the document row and selecting Lock (History).
The program then asked for confirmation that you want to lock the document. Locking removes blank fields and locks the document information into read-only mode. The document is locked when you click the Lock button.
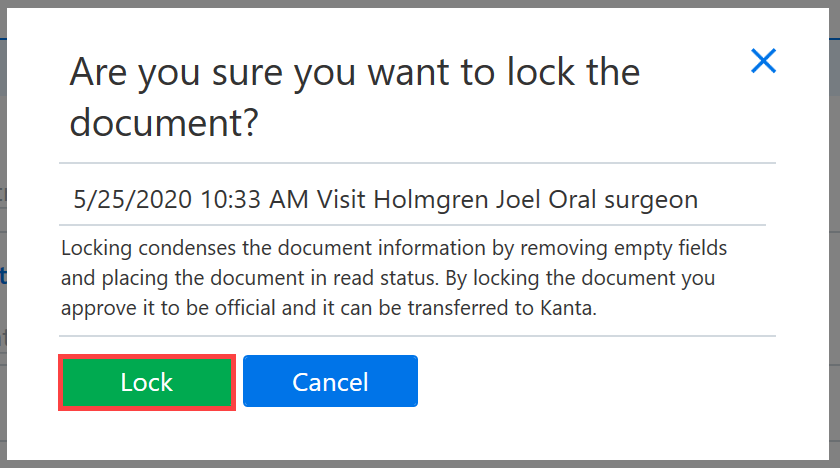
After locking, the document can be found under the History heading.
Document correction
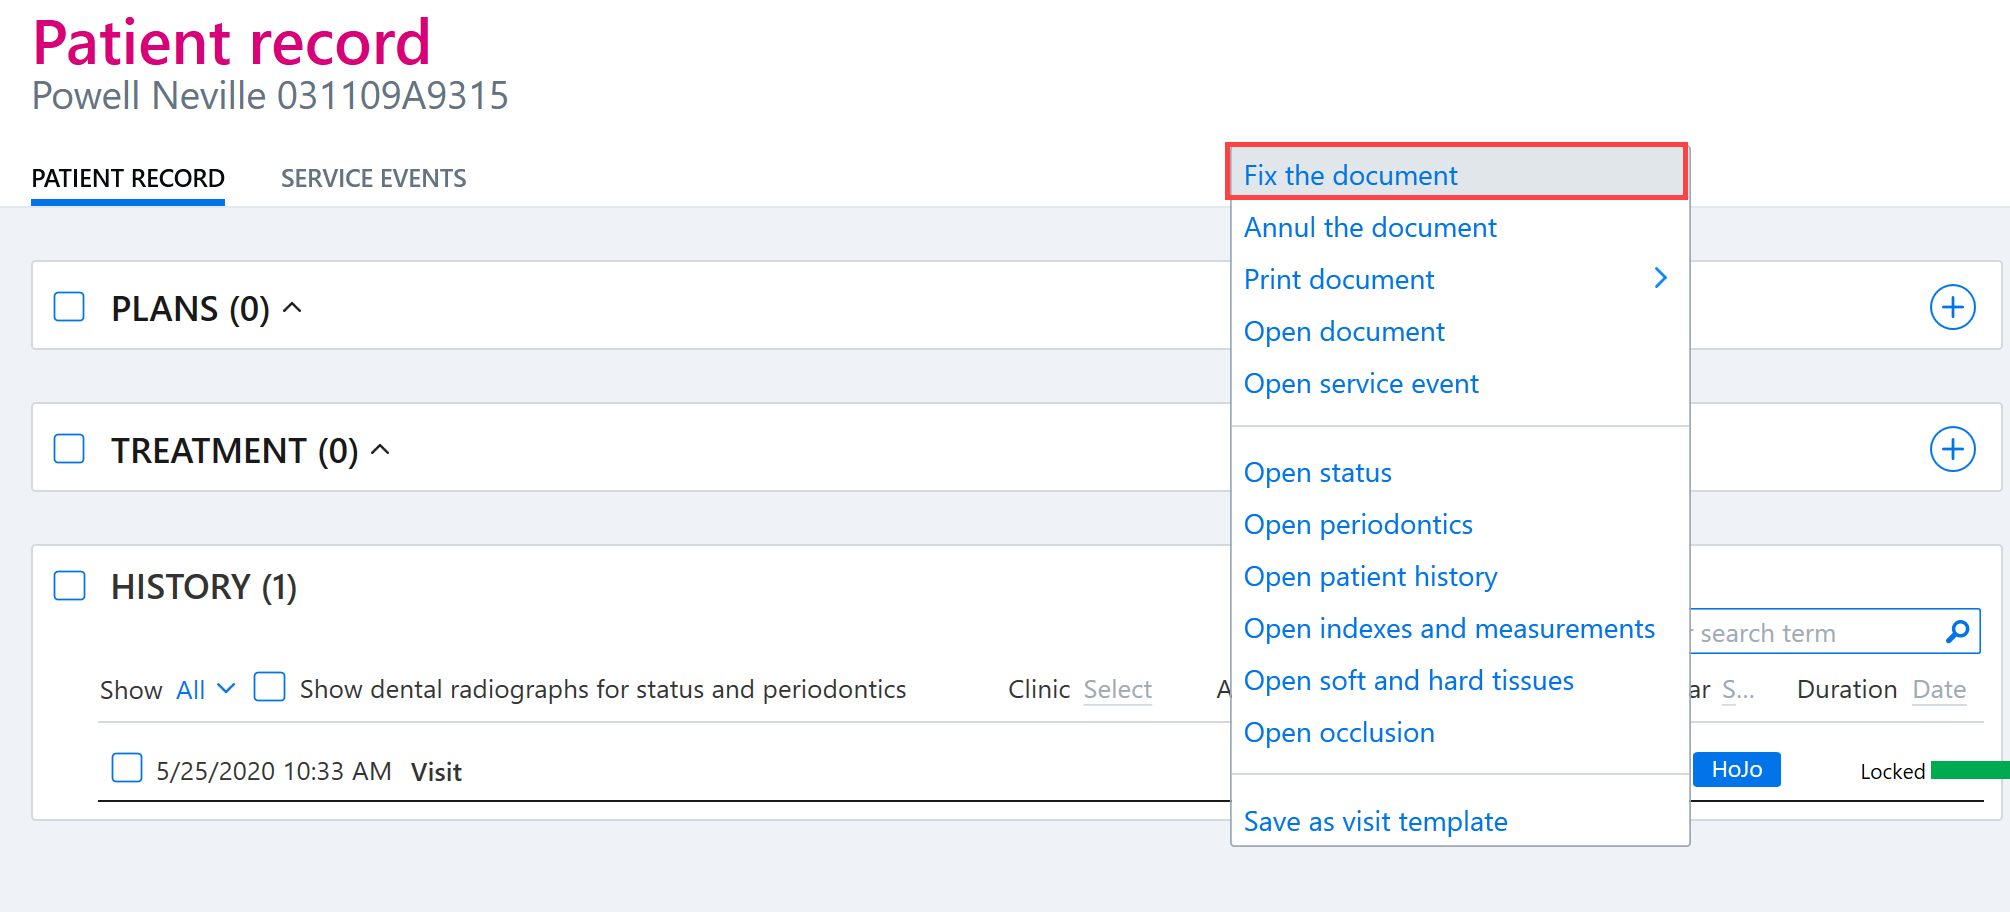
To fix an approved document, click the Additional functions button at the end of the document row and select Fix the document.
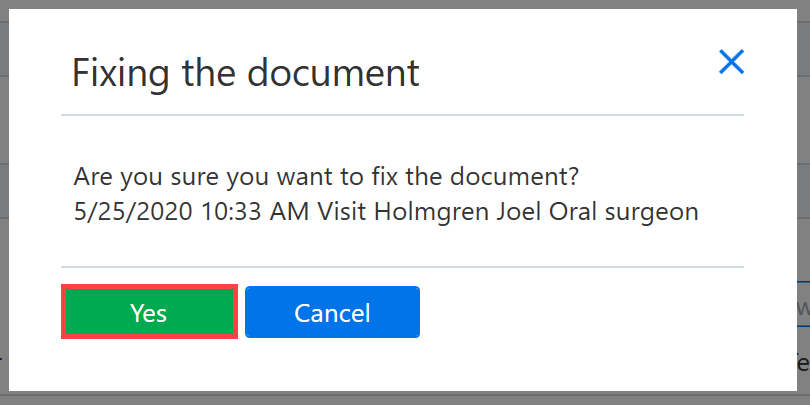
The program then asks for confirmation that you want to fix the document. Click Yes to change the document status from Approved to Incomplete. Corrections can now be made to the document.
Correcting the document moves it back under the Treatment heading. Note! Once the corrections have been made, the document must be approved again.
Annulling the document
Note! Annulling is a powerful tool, annulled documents cannot be returned to the patient record. However, annulling a document does not permanently delete it, as the document remains available for viewing in the Annulled view of the patient record.
The document can be annulled by clicking the Additional functions button at the end of the service event row and selecting Annul from the menu.
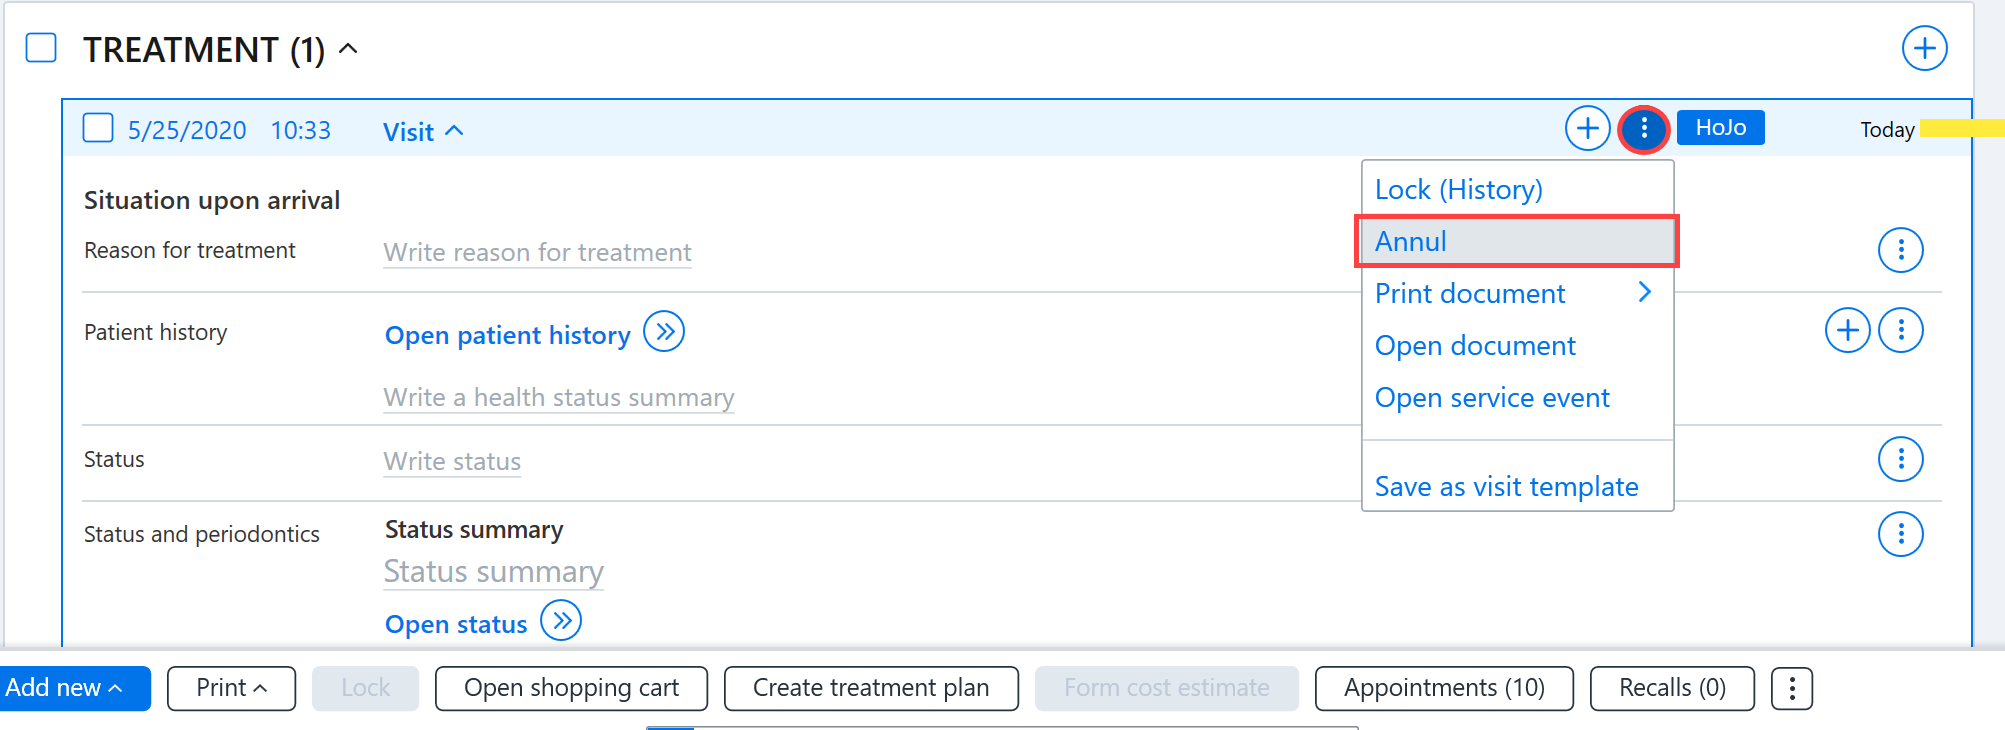
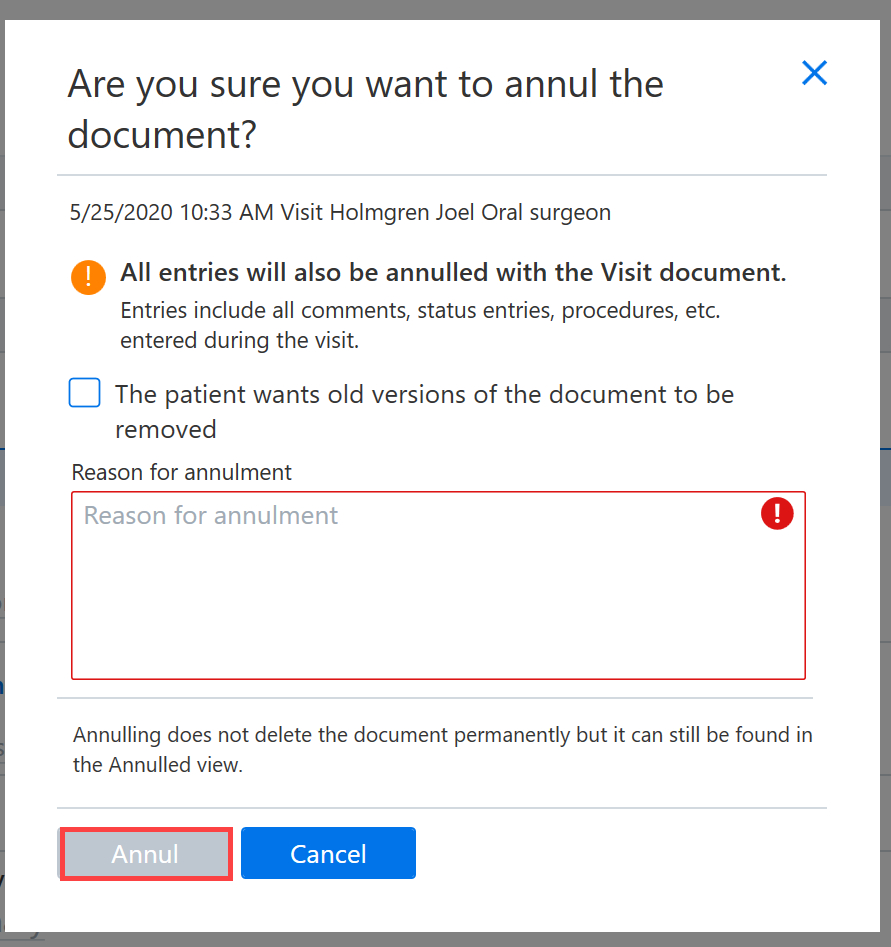
The program checks that you want to annul the document. The reason for annulling the document must be recorded in the presented dialog box, then the annulling can be approved by clicking Annul.
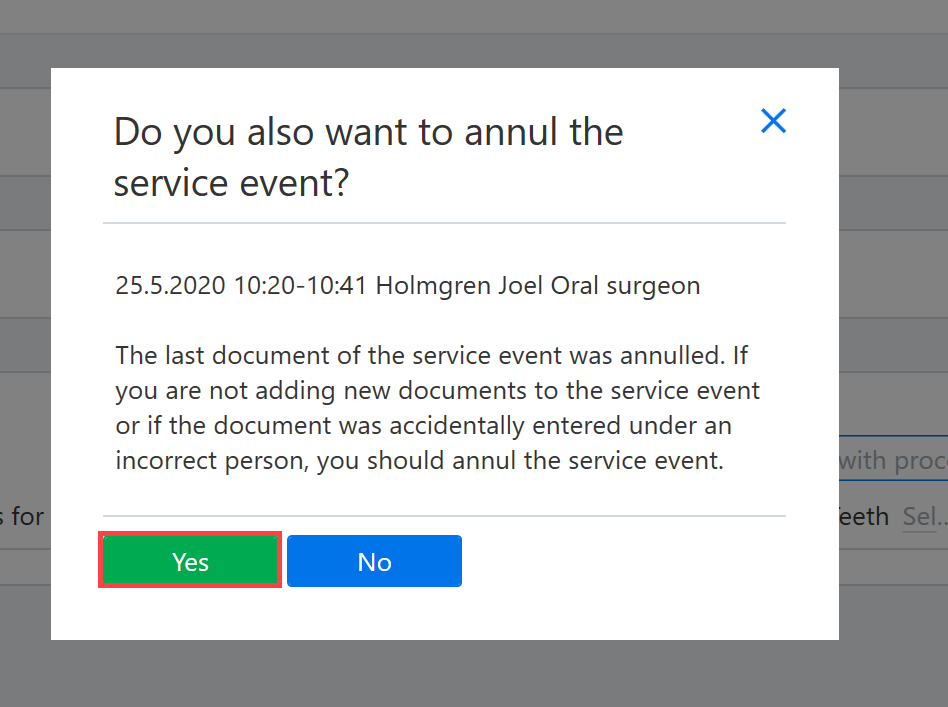
If the annulled document is the last document associated with the service event, you will be asked if you also want to annul the service event itself. You should cancel the service event if you do not intend to add any more documents to it.
Moving a document to another service event
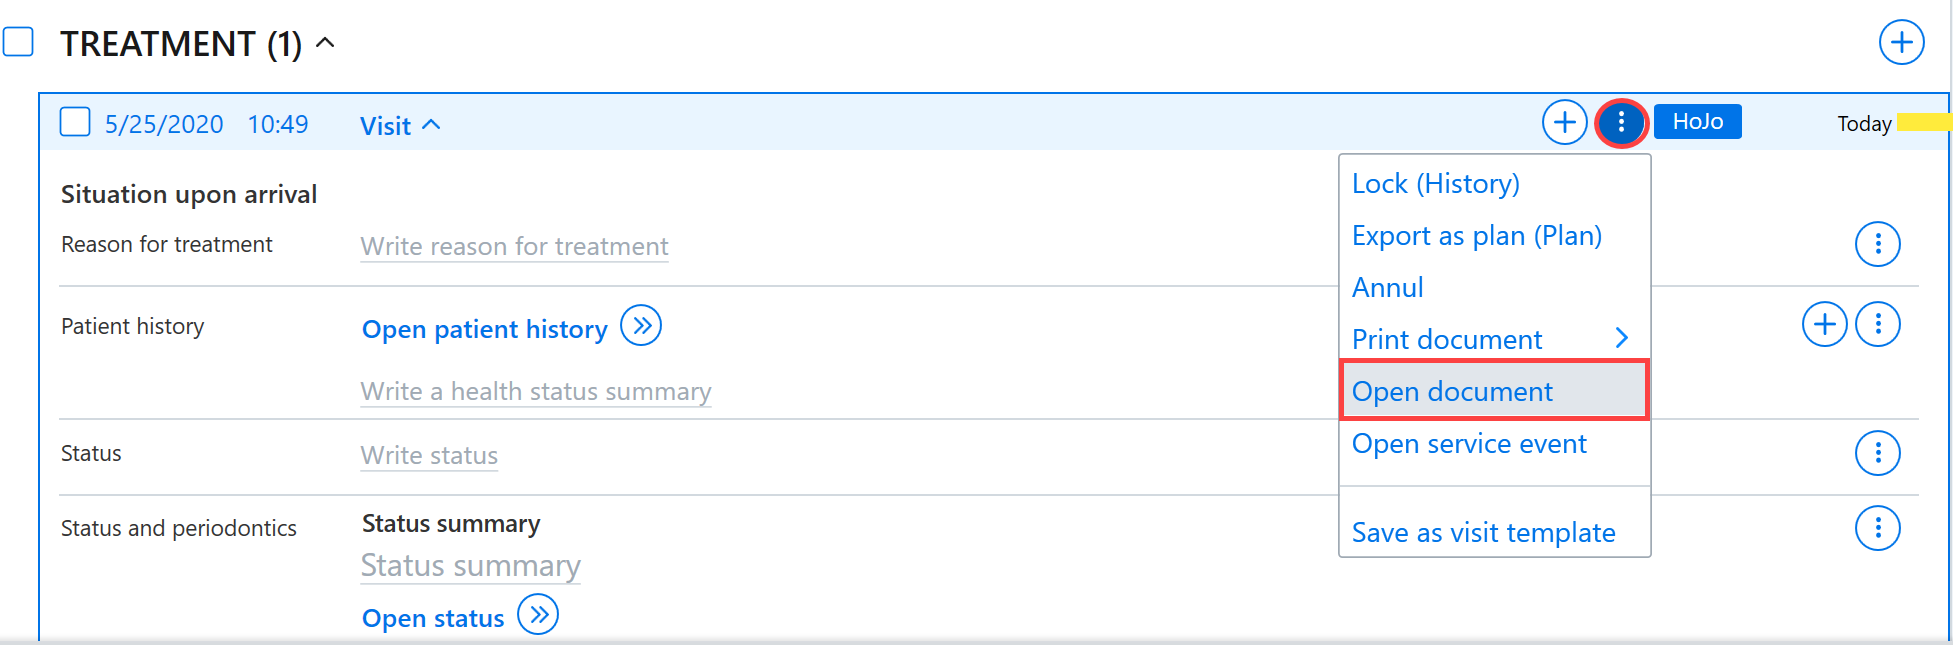
The document can be moved from one service event to another via the document card. To access the document card, click the Additional functions button on the document row and select Open document.
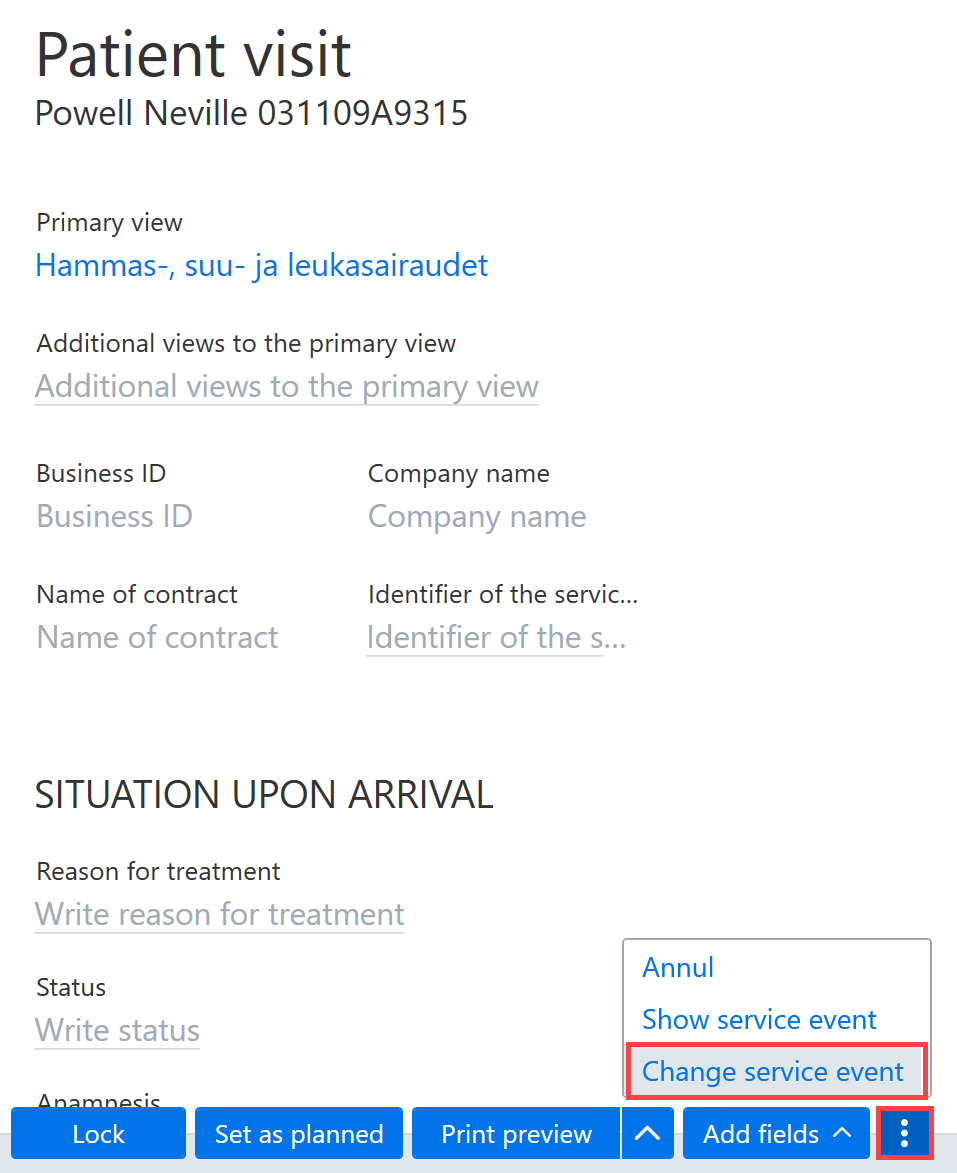
Click the Additional functions button at the bottom of the document card and select Change service event.
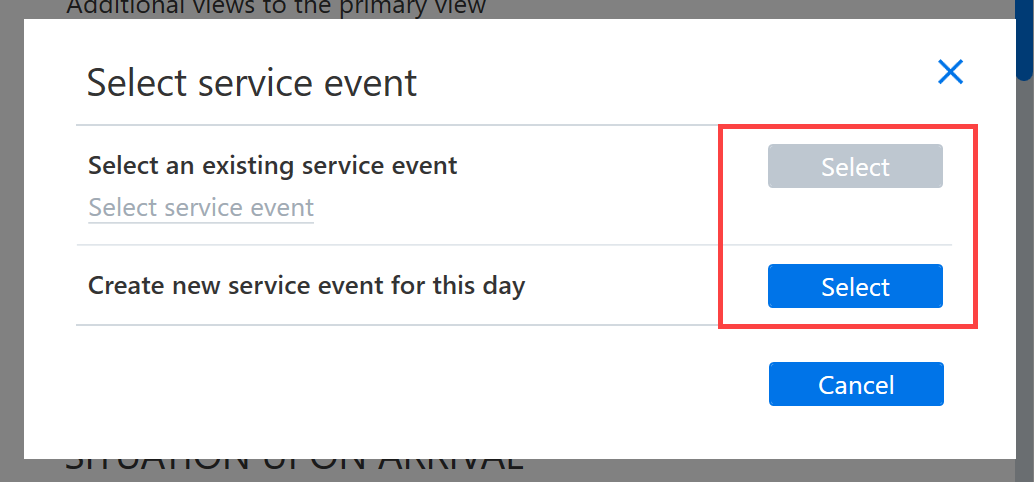
Next, select whether you want the document to be transferred to an existing service event or to be used to create a new service event. The current date is assigned to the new service event, but this can then be changed on the service event card if needed.