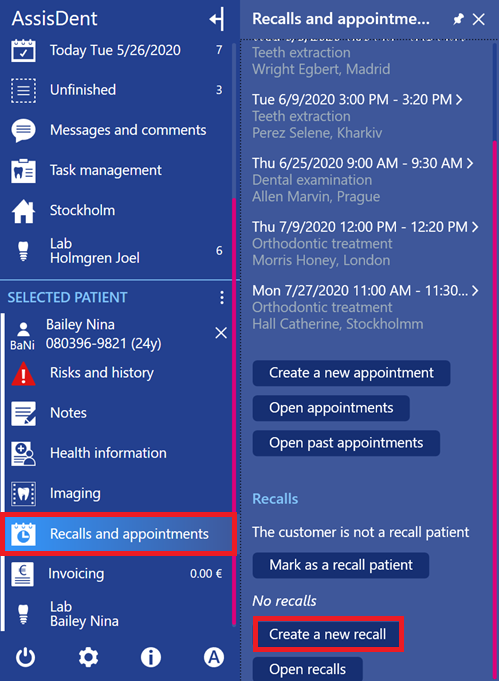
A recall can be created using either the recall register, the patient’s quick entry field or the control panel.
Creating a recall from the recall register
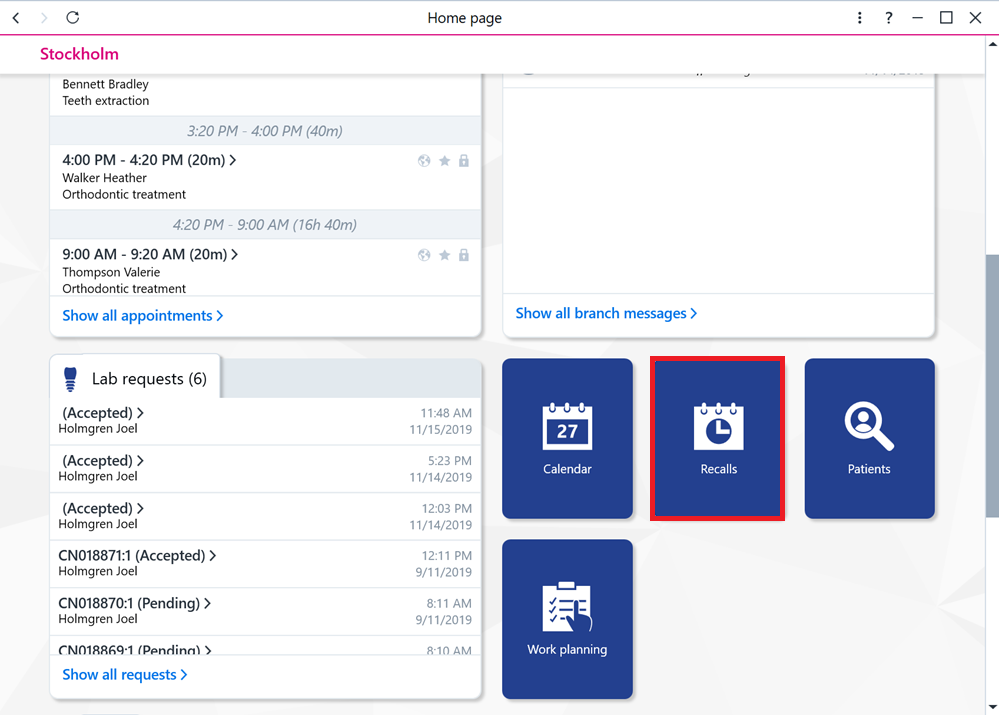
You can access the recall register by selecting Recalls on the home page.
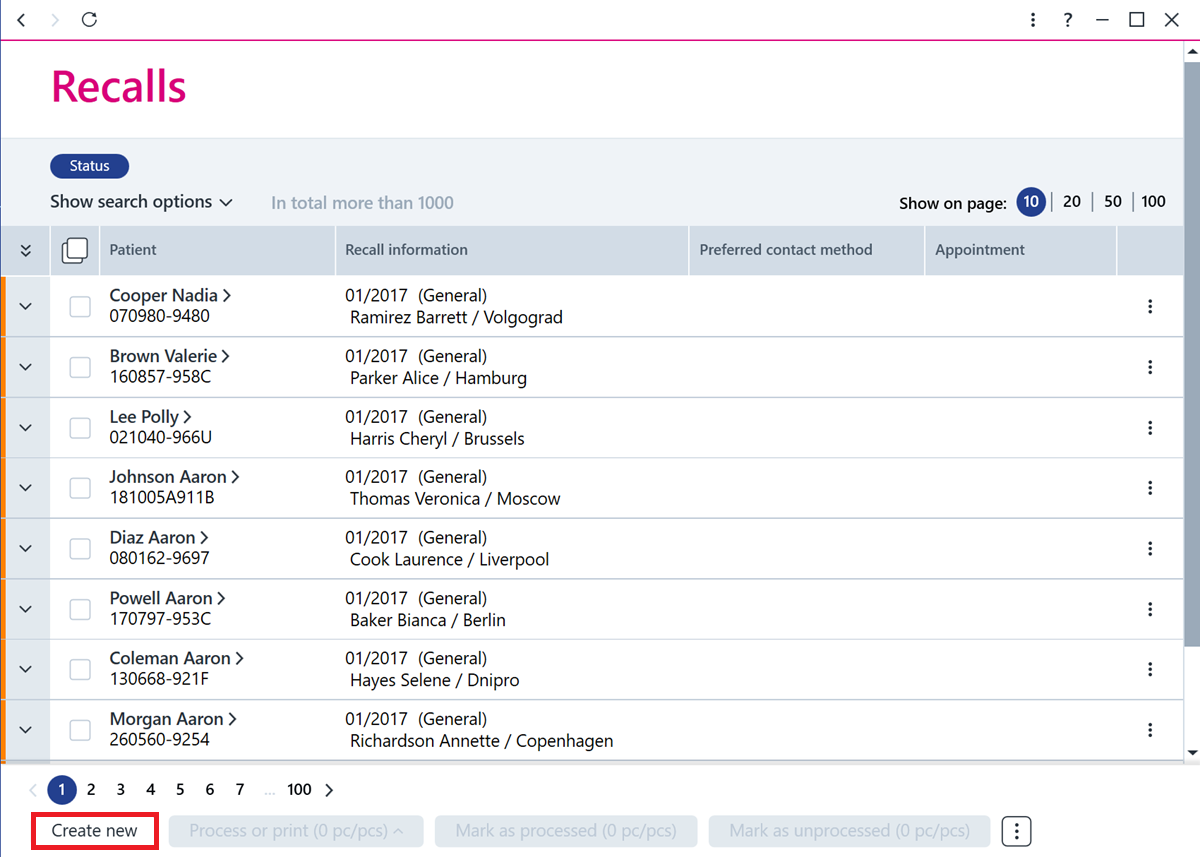
To create a new recall, click the Create new button at the bottom.
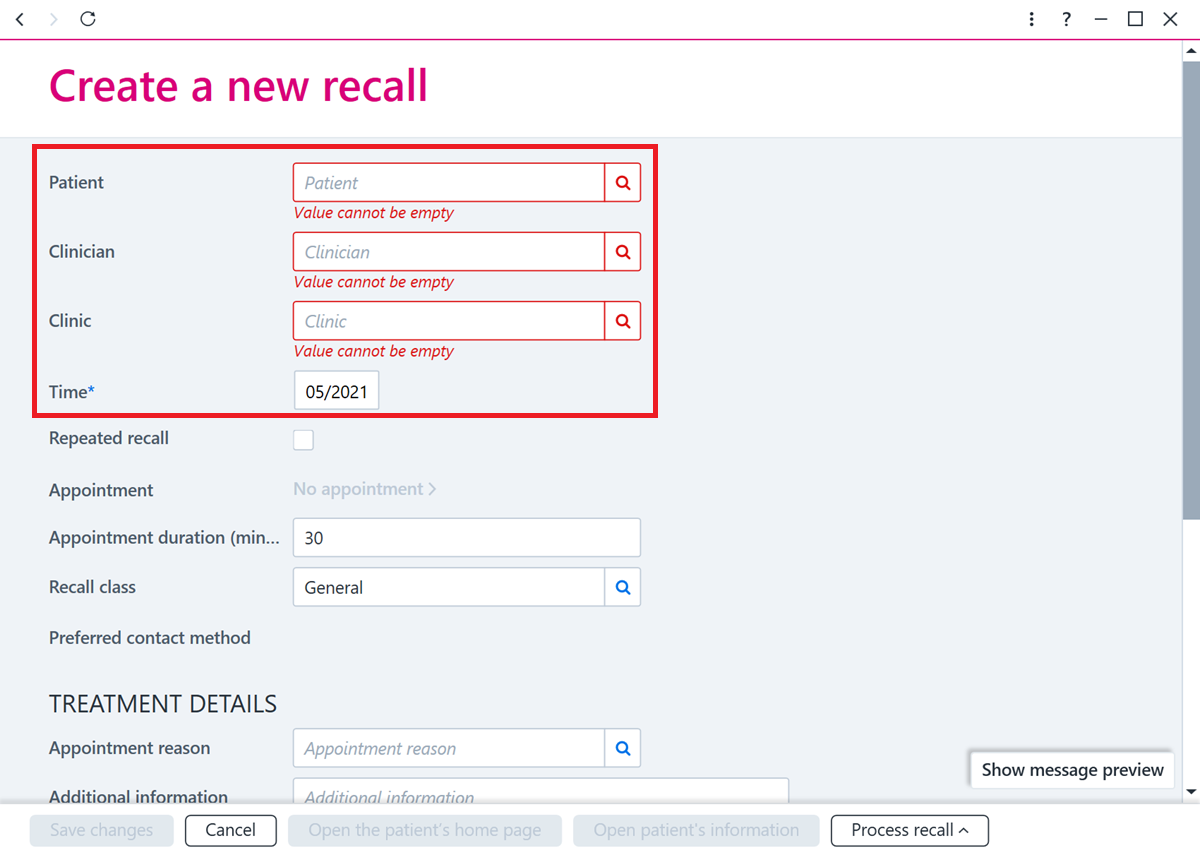
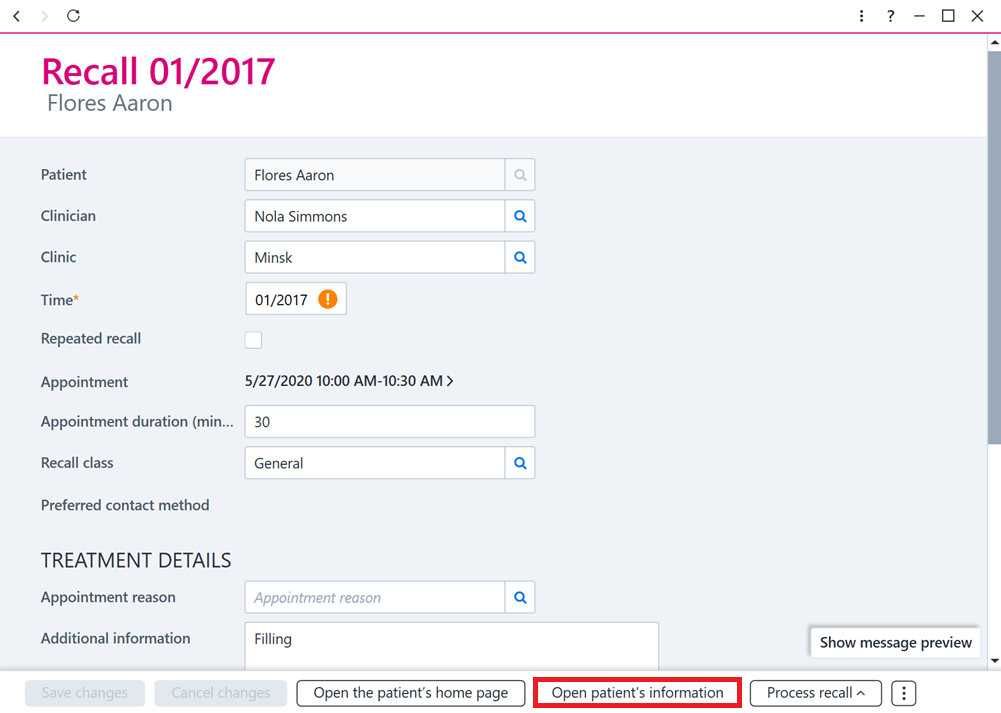
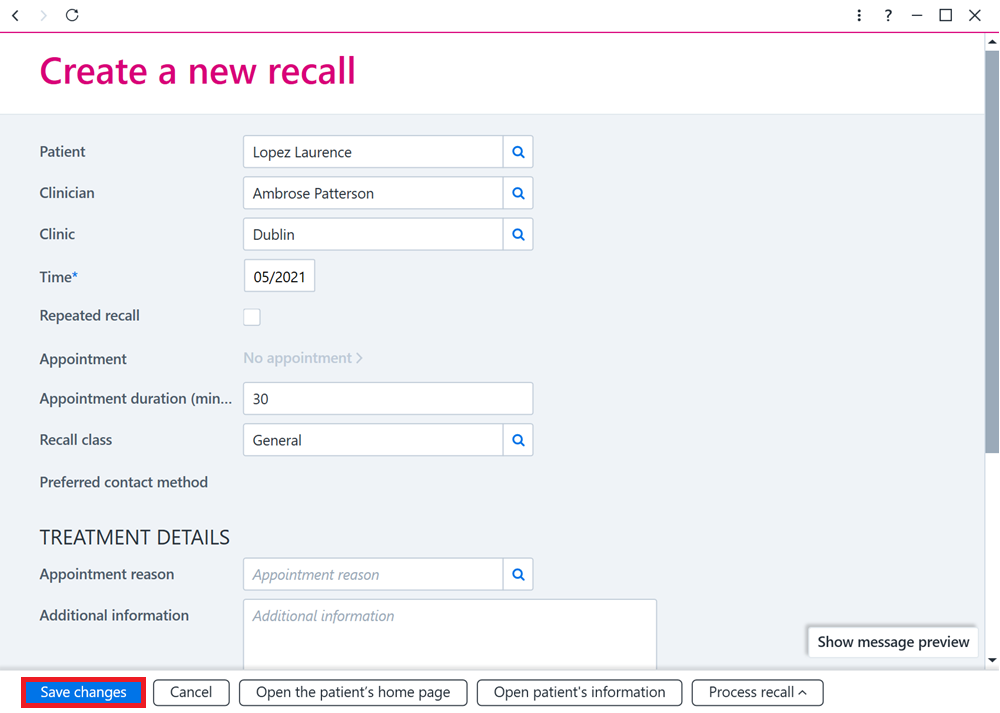
Next, fill in the recall details. The mandatory information is the patient to be invited, the clinician, the clinic and the time of the recall.
If the patient's record indicates that the patient has denied recalls, a message stating this is displayed under the patient's name. Even if a recall ban has been marked for the patient, it does not prevent you from creating a recall. If necessary, the recall permission details can be changed in the patient's data.

You can edit the patient's contact information and contact methods by clicking Open patient information.
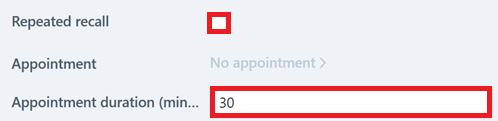
Repeated recall turns on the option to automatically create a new recall after the period of time specified under Recall interval. For example, if the time of the recall is 9/2019 and the recall interval is 12 months, the 9/2020 recall will be generated on 1 September 2019 (If that day has already passed, the new recall will be generated at the beginning of the following month, on 1 October 2019.)
The appointment connected with the recall is automatically set to be 30 minutes long. This setting can be changed if desired.
The recall message model used for the patient depends on the recall class.

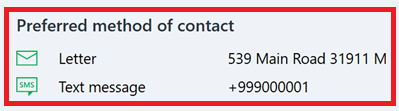
The Recall processing heading displays the patient’s preferred contact method, which may be either text message, phone call, or letter. Note! Email recalls cannot be sent from AssisDent, although email can be marked as a contact method.
Next to the recall method is information about whether the recall message using that method has already being sent or printed. If necessary, the patient's preferred recall methods can be edited by clicking View patient’s information on the recall card.
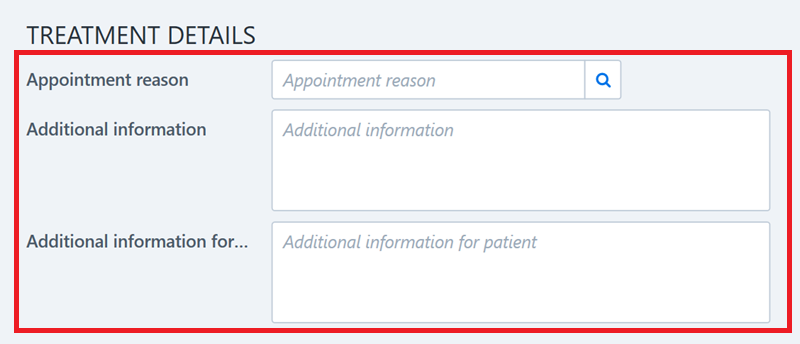
In addition, the appointment reason, additional information and additional information for recall can also be recorded for the patient if desired. Note! The text entered in the Appointment reason and Additional information fields is automatically displayed for the appointment created from the recall.
You can save the recall you have created by clicking the Save changes button. To cancel creating the recall, click Cancel.
If a patient's recall permission information has not been recorded earlier on, creating the recall changes their Recall permission status to Has allowed recalls.
Creating a recall from the control panel
After selecting the patient in the control panel, click on Recalls and appointments and then select Create a new recall.