The recall process starts with the creation of recalls for patients. Once the recalls have been created, they must be processed before they can be sent to the patients. The processing of recalls can be done, for example, once every month.
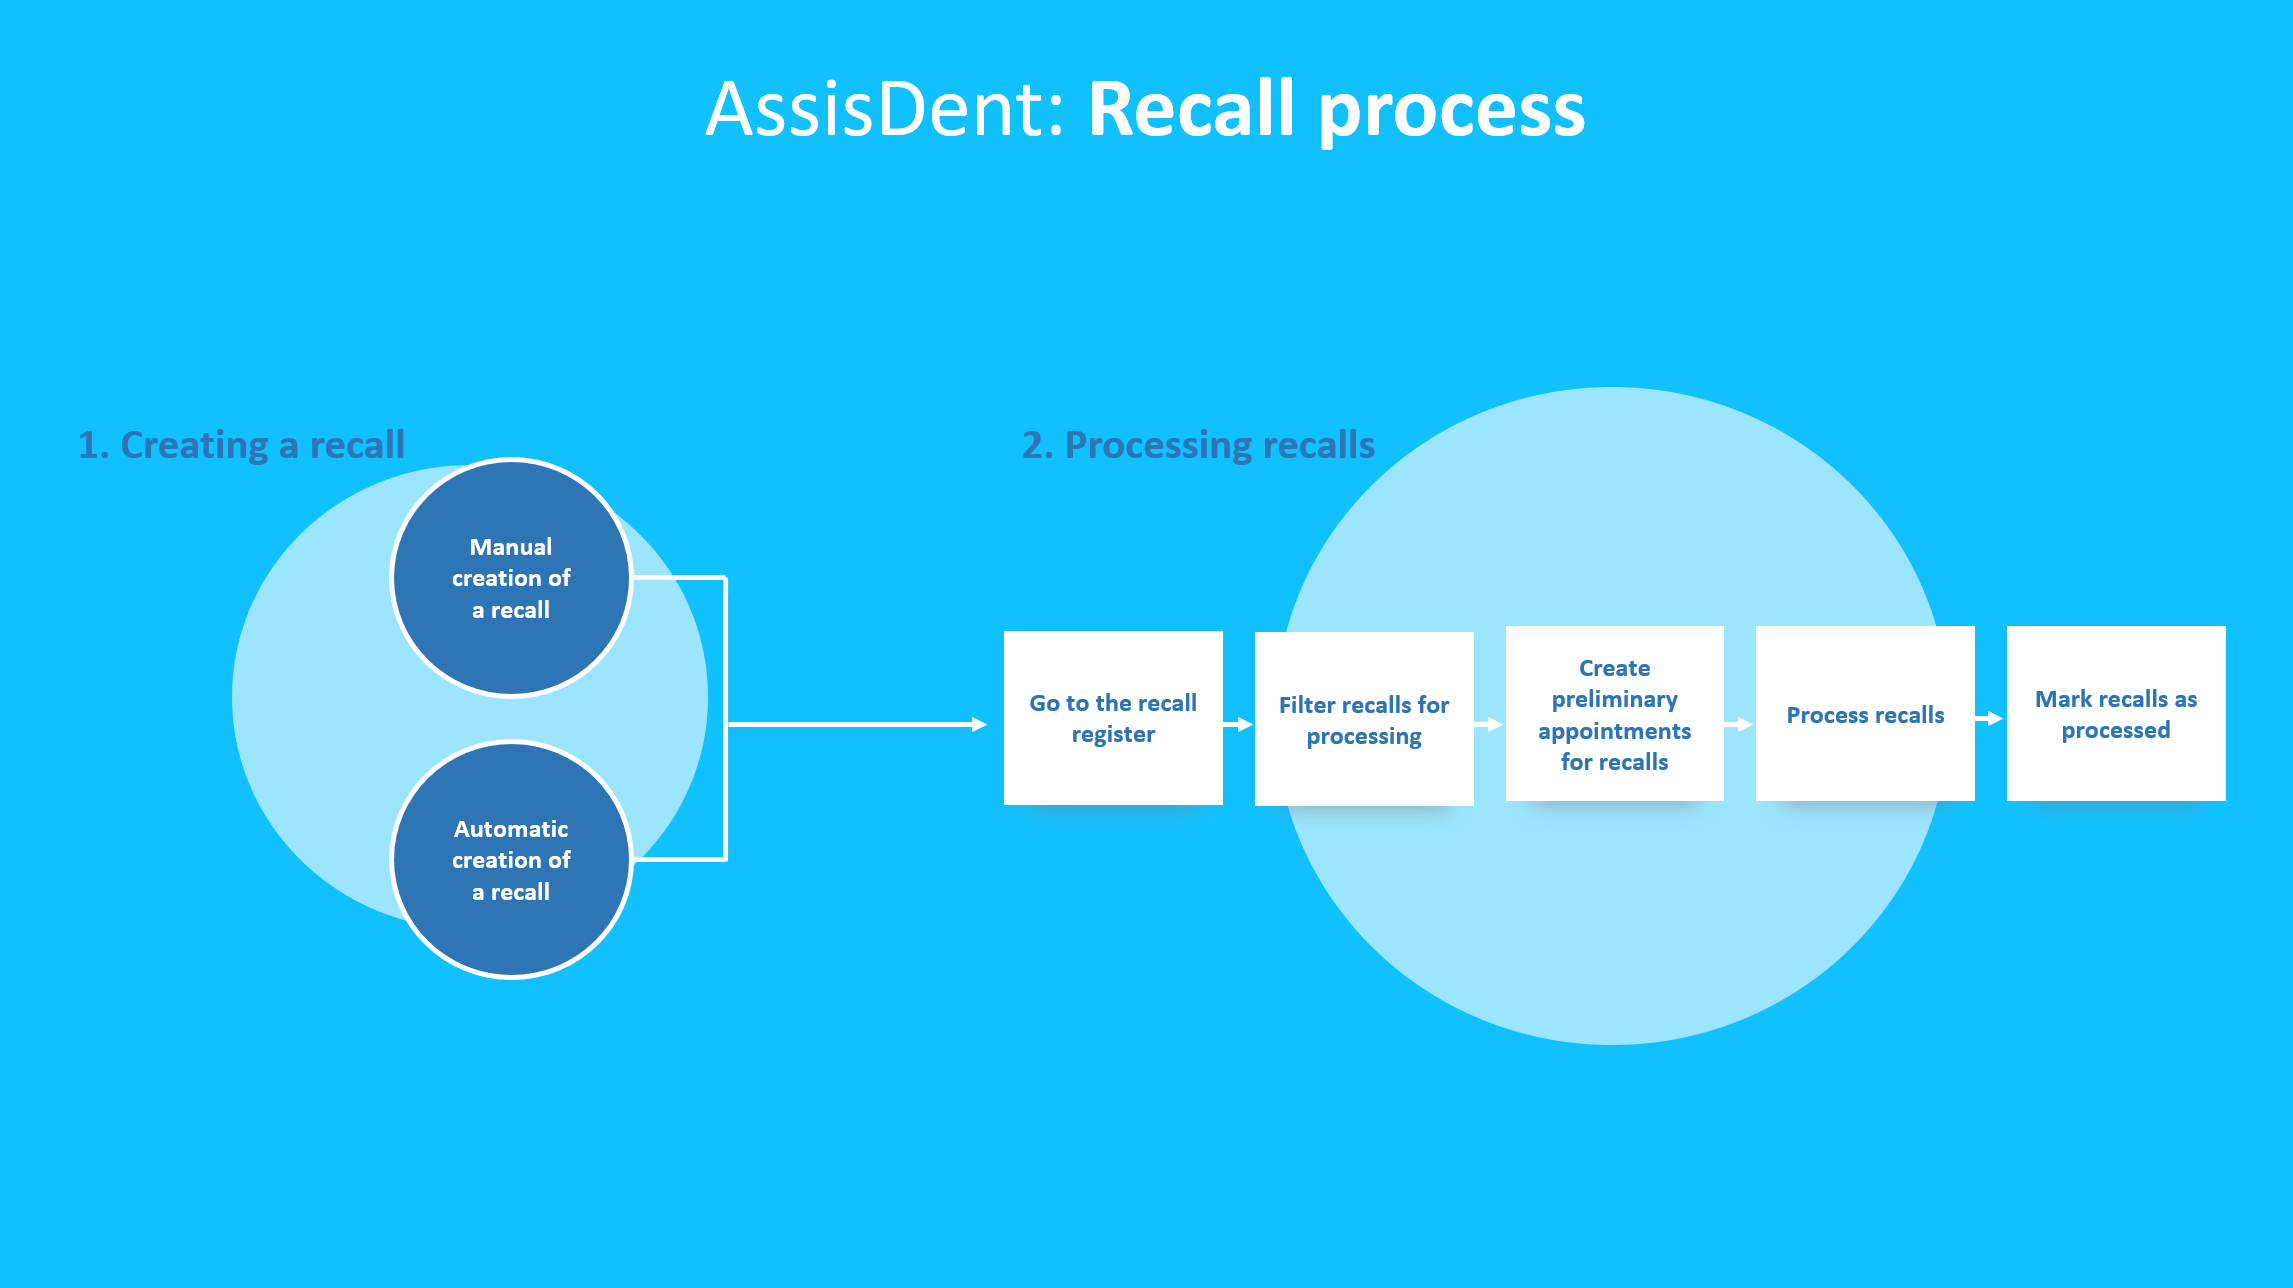
Click here to enlarge the image.
1. Creating a recall
The call can be created manually for the patient, or alternatively repeat recalls can be used to generate new recalls automatically.
See instructions: Creating recalls
2. Processing recalls
- First, go to the recall register and search for the recalls you want to process
In order to process recalls, you must first filter out from the recall register the recalls to be processed. Recalls can be filtered by clinic, time, and a number of other variables.
See instructions: Recall navigation and recall register - Creating preliminary appointments (optional)
If you want to include a preliminary appointment in your recall messages, you can either schedule these appointments manually or use the automatic appointment creation tool.
See instructions: Adding an appointment to a recall and Batch creation of appointments for recalls - Processing recalls
Before processing recalls, you should at least check through the recalls that are marked as To be clarified. Recalls can be printed out or alternatively sent according to either the patient's preferred recall method or the recall method you have yourself selected.
See instructions: Processing and sending recalls - Marking recalls as processed
In order to keep track of which recalls have already been sent, it is a good idea to mark the recalls as processed immediately after processing them. Recalls can also be marked as processed later on.
See instructions: Processing and sending recalls